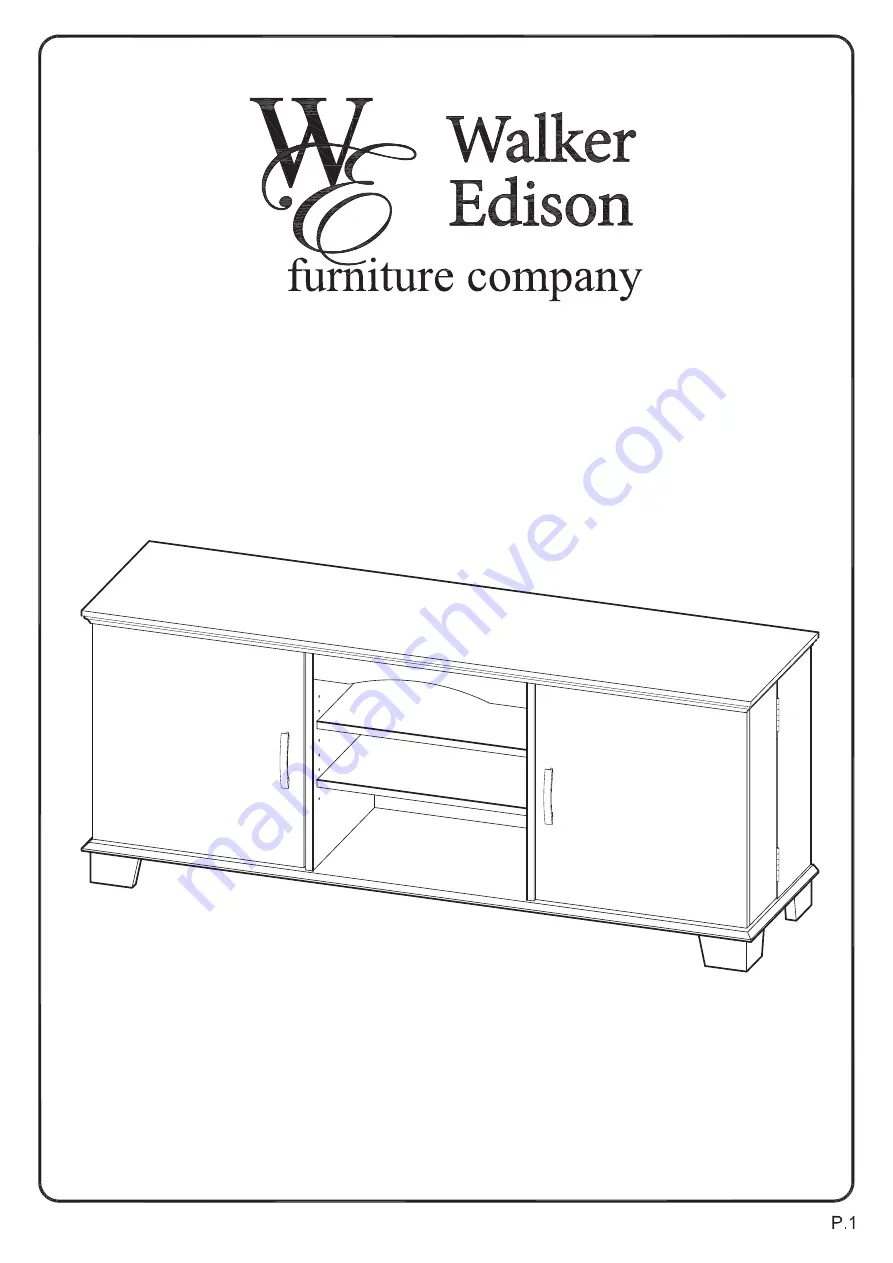
Item #: W60C73
Assembly Instructions
For our most current instructions, to request missing, lost or broken parts, or for any other Customer
Service issues, please visit our website at
www.walkeredison.com or call us at 877-207-5906.
Revised 11/2010
Page 1: ...Instructions For our most current instructions to request missing lost or broken parts or for any other Customer Service issues please visit our website at www walkeredison com or call us at 877 207...
Page 2: ...ews V The provided glue is to secure wood dowels in place When first inserting dowels locate the appropriate hole for the dowel place a small amount of glue in the hole and insert the dowel Wipe away...
Page 3: ...Parts List...
Page 4: ...ock Cam bolt Wood dowel Glue tube Bolt Wrench Door stopper Small round head screw Shelf support pin Door stopper plate Small screw Door hinge Large screw Handle Large round head screw Medium screw Pla...
Page 5: ...Attach door stoppers G to stand top 1 using small round head screws H Screw cam bolts B into panels 3 4 5 6 Note that a cam bolt will be screwed into each side of panels 5 6 Insert dowels C into panel...
Page 6: ...and panels 14 15 17 18 Screw cam bolts B into panels 14 15 17 18 Screw cam bolts B into doors 16 19 Attach door stopper plates J to doors 16 19 using small screws K Attach handles N to doors 16 19 usi...
Page 7: ...to shelves 13 using cam bolts and dowels as guides Insert cam locks A into shelves 13 and tighten with a screwdriver Note that two cam locks will be inserted into each shelf Insert dowels C into feet...
Page 8: ...Insert cam locks A into shelves 13 and tighten with a screwdriver Note that two cam locks will be inserted into each shelf Attach the shelf assembly from the previous step to door 19 using cam bolts...
Page 9: ...6 to slat 7 using cam bolts and dowels as guides Tighten cam locks A with a screwdriver Attach the shelf assembly from Step 6 to door 16 using cam bolts and dowels as guides Insert cam locks A into p...
Page 10: ...g cam bolts and dowels as guides Insert cam locks A into shelf 9 and tighten with a screwdriver Attach shelf 9 to panel 5 then panel 3 to shelf 9 using cam bolts and dowels as guides Insert cam locks...
Page 11: ...ides Insert cam locks A into back panel 10 and tighten with a screwdriver Attach the panel assembly from the previous step to stand top 1 using cam bolts and dowels as guides Insert cam locks A into p...
Page 12: ...Attach stand supports 21 to stand base 2 using bolts E Tighten bolts E with wrench F Carefully slide back panels 11 into place along the grooves at the back of the stand assembly...
Page 13: ...Attach feet 20 to stand base 2 using dowels as guides Attach stand base 2 to the stand assembly using bolts E Tighten bolts E with wrench F 2 2...
Page 14: ...Attach door assembly 14 15 to the stand assembly at door hinges L using large screws M Attach door hinges L to the door assemblies from Steps 8 and 9 using large screws M...
Page 15: ...into the stand assembly at desired shelf heights Carefully slide shelves 8 into place resting on shelf support pins I Attach door assembly 17 18 to the opposite side of the stand assembly at door hin...
Page 16: ...Secure back panels 11 using plastic wedges R and medium screws Q 11 11...