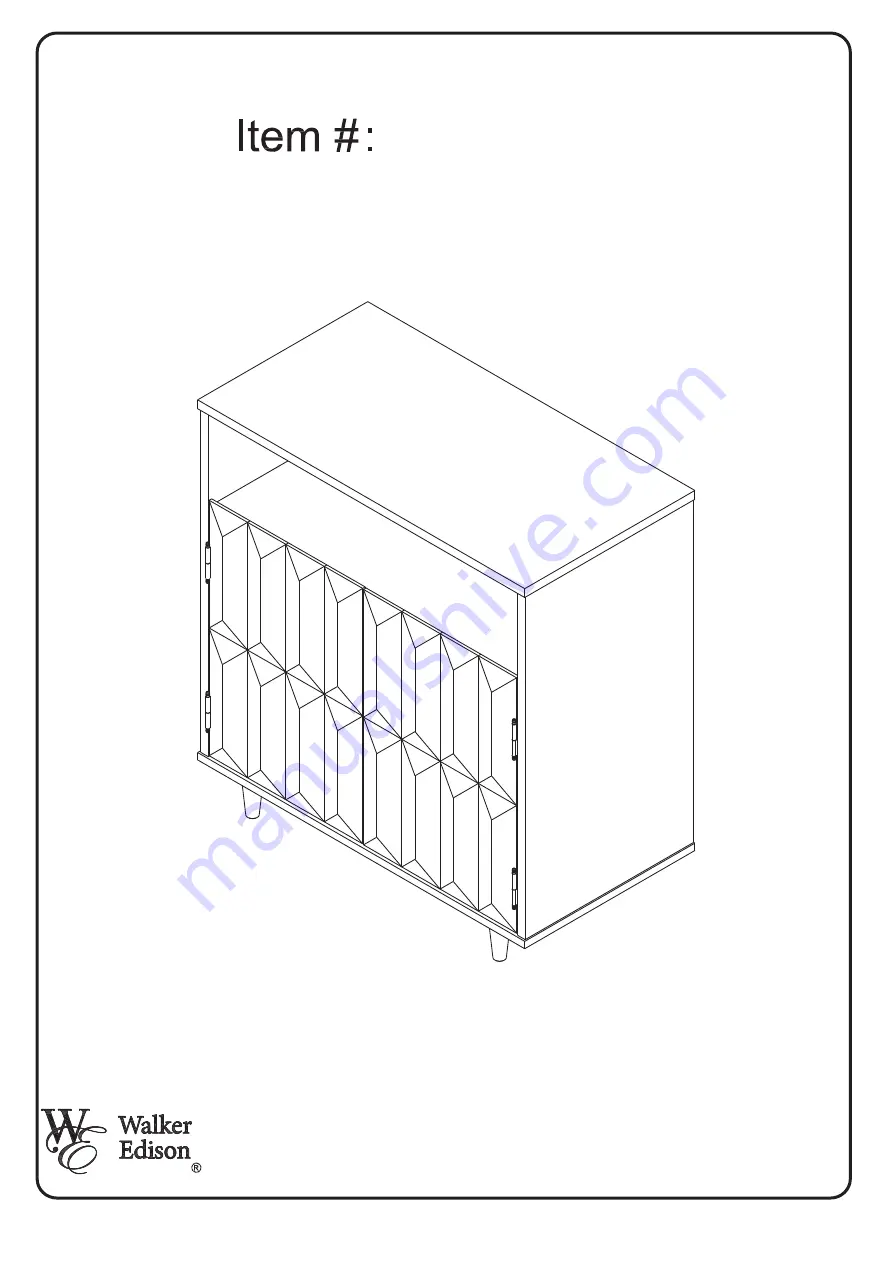
Walker Edison AF30HEN2D Assembly Instructions Manual Download Page 1

P.1

Assembly Instructions

Please visit our website for the most current instructions, assembly tips, to report damage
or request parts. 

www.walkeredson.com

Copyright © 2018, by Walker Edson Furniture Co., LLC, All rights reserved.

Revised 02/2021

AF30HEN2D

Summary of Contents for AF30HEN2D

Page 1: ...ns Please visit our website for the most current instructions assembly tips to report damage or request parts www walkeredson com Copyright 2018 by Walker Edson Furniture Co LLC All rights reserved Re...

Page 2: ...P 2 Mallet or hammer recommended for assembly not included...

Page 3: ...P 3 9 1 3 4 5 6 7 8 10 2...

Page 4: ...P 4 A B C D E F G H I 18 pcs 14x14mm Cam Lock 06 pcs 06 pcs 5 5x28mm Cam Bolt 4 0x3 mm 0 4 0x40 mm 06 pcs 8 0x30 mm 04 pcs 06 pcs 20 pcs 29 pcs 3 5x16 mm 3 5x16 mm Bolt 7x60 mm 04 pcs Plastic Support...

Page 5: ...pcs 01 pc 01 pc 3 5x16mm V W X Y Z Plastic Anchor Washer Strip J K 02 pcs 02 pcs L 02 pcs Magnetic Latch M N Hex key 01 pc Hinge Hinge 01 pcs L1 L2 J1 J2 K1 K2 Mallet or hammer recommended for assemb...

Page 6: ...Insert wooden dowel E into part 1 3 and 4 Insert support F into part 3 and 4 Attach hardware K1 in the pre drilled side of part 4 using screw G Fixing hardware J1 in the pre drilled side of part 3 ac...

Page 7: ...2 2 2 L1 H H H H H H L1 L1 H 07 L 02 H 1 1st 2nd 1 1 Secure part 2 to part 1 with screw H Attach hardware L1 in the pre drilled of part 2 using screw H C 06 4 3 1 C C C C C C Secure part 3 and 4 to pa...

Page 8: ...M Secure parts 5 to part 6 with screw I and key M D 06 6 D D D D D D Secure part 6 to part 3 and 4 with screw D 4 3 5 5 5 5 6 I M I M Use the hex key to insert screw I into the oor Rotate the feet to...

Page 9: ...H H H H H H H H H H H H H H H H 10 10 8 A A A A A A 7 7 B B B B B B A 06 B 06 180 Attach cam bolt A to part 7 Secure part 7 to part 3 and 4 using mini x cam lock B 4 3 Insert part 8 and secure back p...

Page 10: ...9 J2 J2 L2 J2 GG G G G G Attach hardware K2 in the pre drilled of part 9 using screw G Fixing hardware J2 in the pre drilled of part 9 using screw G according to detail below Fixing hardware L2 in the...

Page 11: ...installing as different wall materials may require different types of anchors Serious or fatal injuries can occur from furniture tipping over To prevent the furniture from tipping over we recommend t...

Page 12: ...P 12 Step 12 Assembly Complete 40 Lbs 20 Lbs 20 Lbs 25 Lbs...

Reviews: