


132 Programming the PFC Using WAGO-I/O-PRO
WAGO-I/O-SYSTEM 750
750-882 Media Redundancy ETHERNET Controller
Manual
1.5.0
9.1.1
Configuration using the “EA-config.xml” File
You can also create the file “EA-config.xml” using an editor and store it in the
controller directory “/etc” by means of FTP.
Configuration using the file “EA-config.xml” that is already stored in the fieldbus
controller is described in this section.
Configuration entries in WAGO-I/O-
PRO
overwrite “EA-config.xml” upon
download!
If you wish to perform module assignment directly using the “EAconfig.xml” file
stored in the controller, do not save any configuration data in WAGO-I/O-
PRO
prior to this, as the file is overwritten by entries in the WAGO-I/O-
PRO
on each
download.
1.
Open any FTP client. You can also use the Windows FTP client in the DOS
prompt window:
ftp://[IP address of controller]
, e.g.
ftp://192.168.1.201
2.
Then, enter
admin
as the user login and
wago
as the password.
The file “EA-config.xml” is located in the “etc” folder.
3.
Copy this file to a local directory on your PC and open it in an editor
installed on your PC (e.g., “WordPad”).
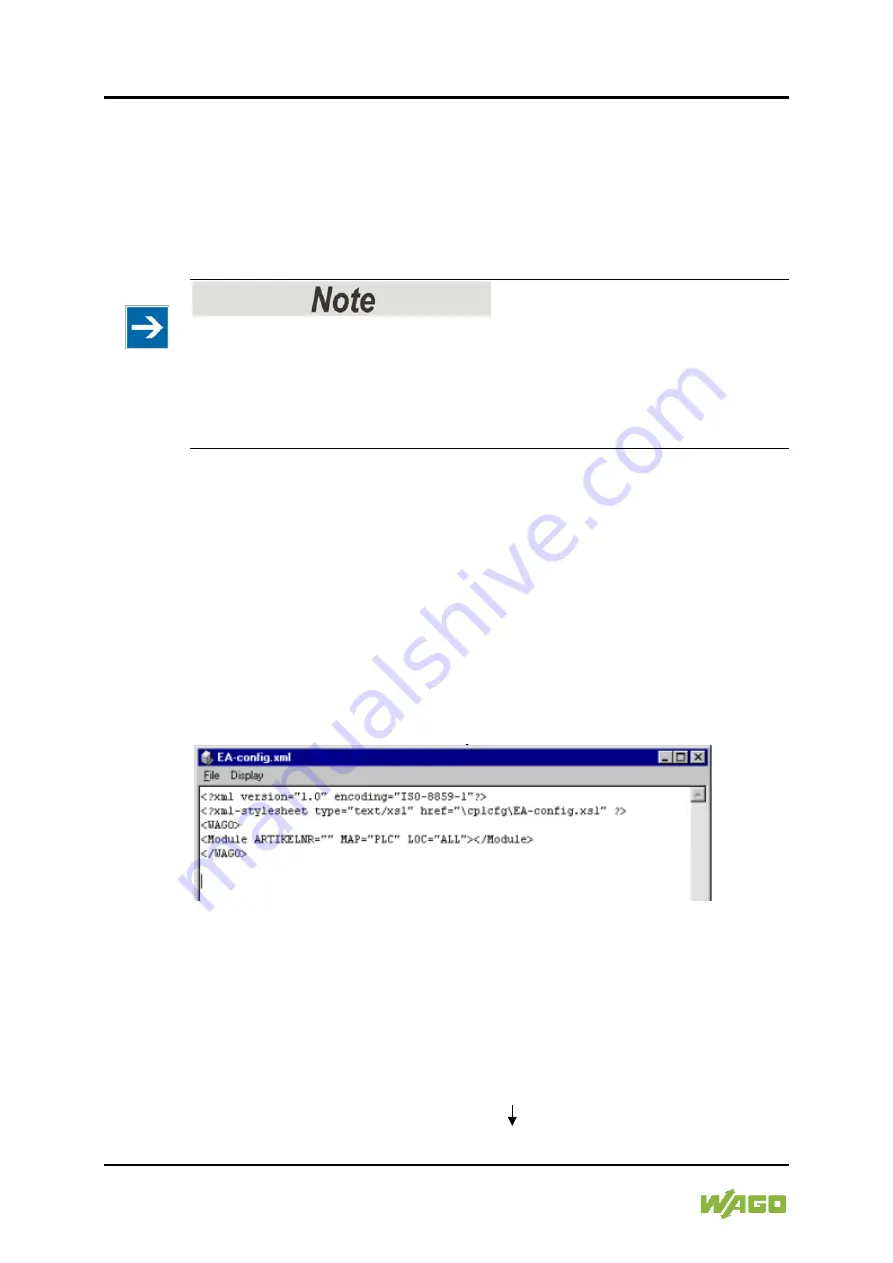
The file already contains the following syntax:
Figure 53: EA-config.xml
The fourth line contains the necessary information for the first I/O module.
The entry MAP=PLC assigns write access privileges to the IEC-61131-3 program
for the first module.
4.
If you wish to change the access rights, replace “PLC” with “FB1” as the
access privileges from MODBUS/TCP.
<Module ARTIKELNR=“ “ MAP=“
PLC
“ LOC=“ALL“> </Module>
<Module ARTIKELNR=“ “ MAP=“
FB1
“ LOC=“ALL“> </Module>