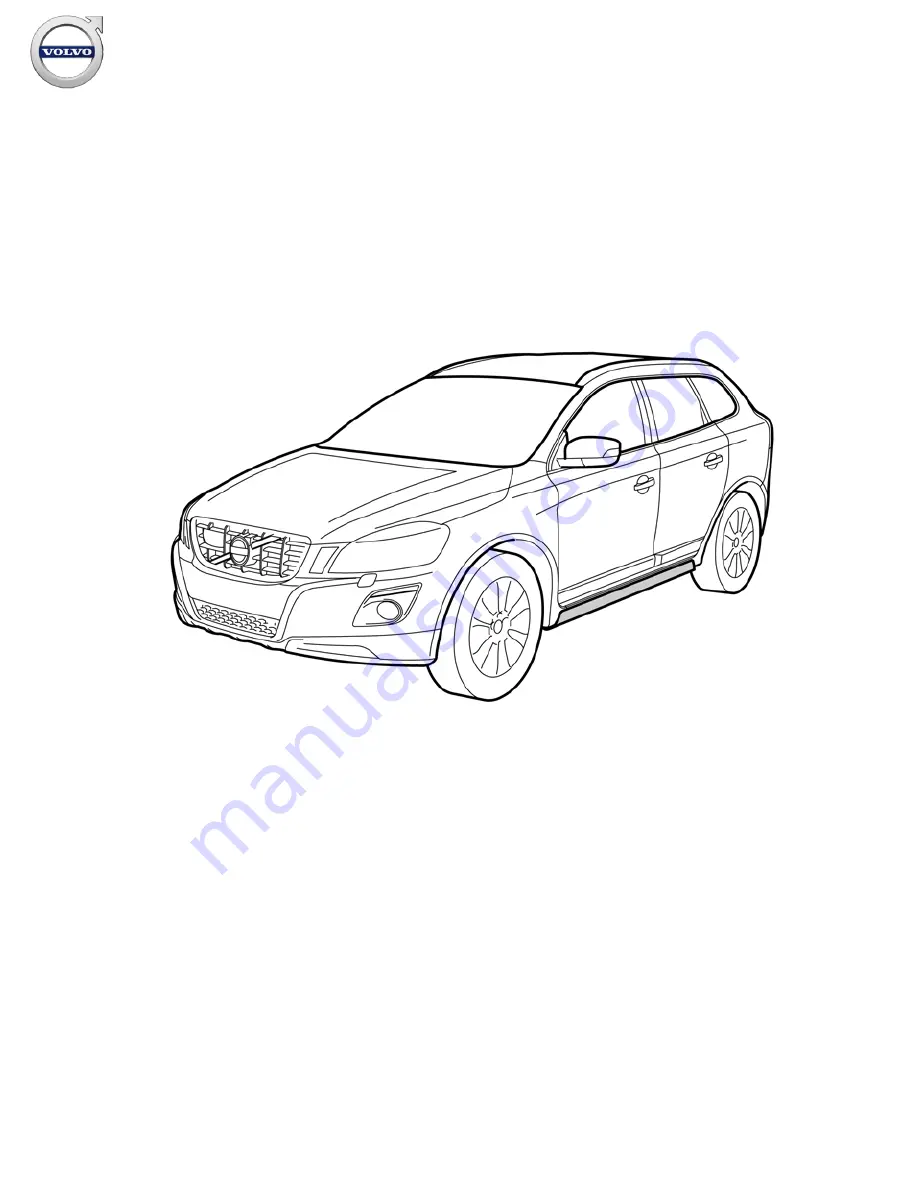
Volvo 30784190 Installation Instructions Manual Download Page 1

Instruction No

Version

Part. No.

31373893

1.4

30784190

Sill decor


IMG-284607


Instruction No

Version

Part. No.

31373893

1.4

30784190

Sill decor


IMG-284607


Installation instructions, accessories


Volvo Car Corporation Gothenburg, Sweden


© Volvo Car Corporation

Sill decor- 31373893 - V1.4

Page 1 / 12

Summary of Contents for 30784190

Page 1: ...4 30784190 Sill decor IMG 284607 Instruction No Version Part No 31373893 1 4 30784190 Sill decor IMG 284607 Installation instructions accessories Volvo Car Corporation Gothenburg Sweden Volvo Car Corp...

Page 2: ...000162 J0000368 IMG 239660 IMG 239681 A0000177 IMG 251688 A0000170 IMG 285341 Installation instructions accessories Volvo Car Corporation Gothenburg Sweden Volvo Car Corporation Sill decor 31373893 V1...

Page 3: ...IMG 213320 Installation instructions accessories Volvo Car Corporation Gothenburg Sweden Volvo Car Corporation Sill decor 31373893 V1 4 Page 3 12...

Page 4: ...the form of images Explanatory text is also given for more complicated steps In the event of any problems with the instructions or the accessory contact your local Volvo dealer 1 IMG 285323 2 IMG 285...

Page 5: ...e top of the sill panel Press in the middle of the pieces of mounting tape 4 IMG 285329 Drill out the six marked holes in the cradle using a 5 mm 13 64 drill bit Remove the swarf Use a feeler gauge to...

Page 6: ...the cradle 6 IMG 285331 Installation of rear cradle Take the rear cradle from the kit Remove the protective tape from the mounting tape at all locations Installation instructions accessories Volvo Car...

Page 7: ...el s upper edge and press at the pieces of mounting tape 8 IMG 285333 Drill out the six marked holes using a 5 mm 13 64 drill bit Remove the swarf Use a feeler gauge to remove swarf between the cradle...

Page 8: ...against the door sill panel and not against the intended lifting points at the front and rear edges of the door sill Workshop lifts that lift all away along the door sill must be used with care Clean...

Page 9: ...bove 15 C 59 F Use the nozzle found on the adhesive tube The bead must not be thicker than the smallest hole in the nozzle Apply a single component adhesive to the groove between both mounting hooks o...

Page 10: ...les A clicking noise should be heard when the decor strip is pressed except from the surfaces where the adhesive is applied Ensure that the entire decor strip clicks into place properly 14 IMG 285336...

Page 11: ...panel towards the sill panel at the front holes Drill out the rear hole using a 5 mm 13 64 drill bit and the front using a 6 mm 15 64 drill bit Note Drill through the middle of the oval hole Remove a...

Page 12: ...he central pin can break off when tapped in Attach the panel in the rear hole using a pop rivet and in the front using a clip with central pin Repeat the operation on the other side 18 Note The vehicl...

Reviews: