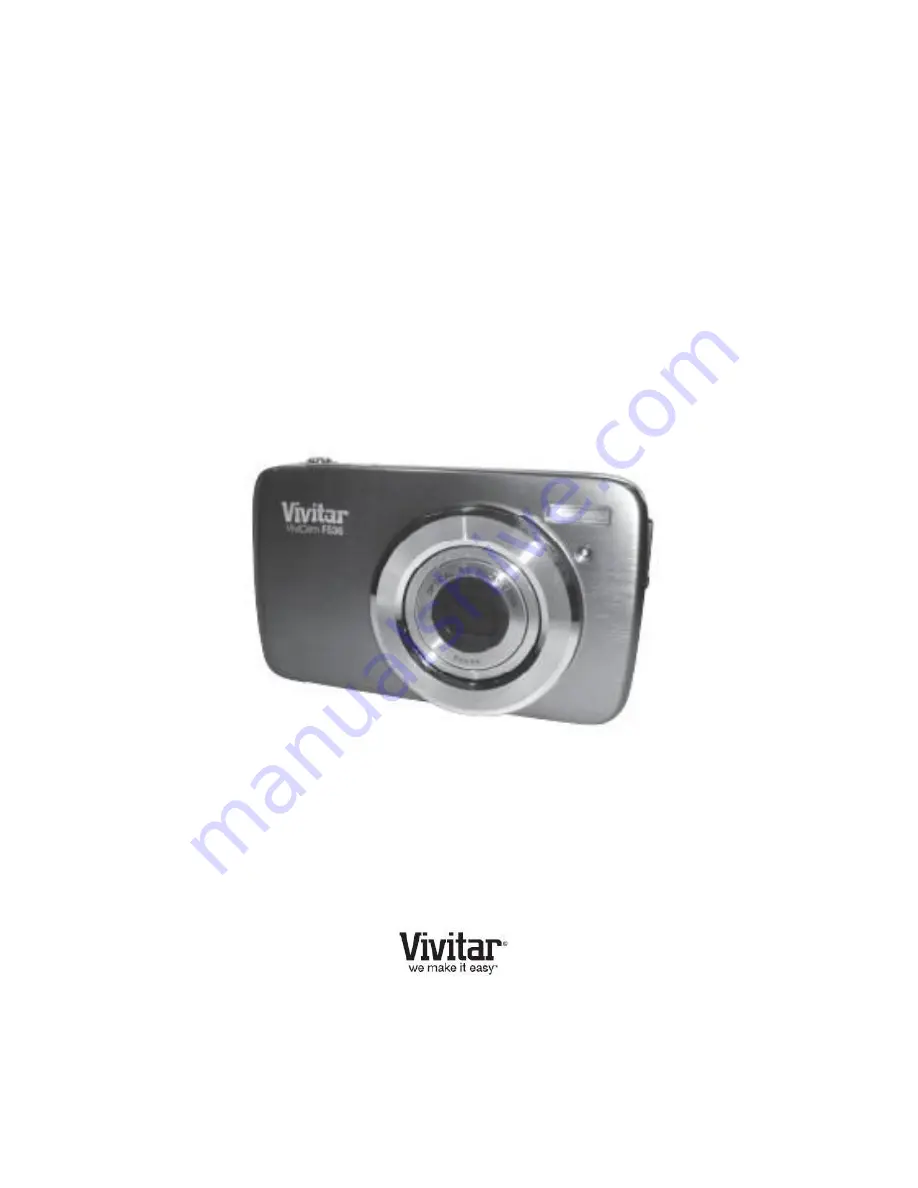
ViviCam F536 Digital Camera
User Manual
© 2010 Sakar International, Inc. All rights reserved.
Windows and the Windows logo are registered trademarks of Microsoft Corporation.
All other trademarks are the property of their respective companies.
Page 1: ...al Camera User Manual 2010 Sakar International Inc All rights reserved Windows and the Windows logo are registered trademarks of Microsoft Corporation All other trademarks are the property of their re...
Page 2: ...avigating the Menus 11 Photo Capture Mode 12 Photo Playback Mode 30 Video Capture Mode 37 Video Playback Mode 49 Installing the Software 54 Connecting the Camera to the Computer 55 Getting Photos and...
Page 3: ...lease read this manual carefully first in order to get the most out of your digital camera Note Your camera needs an SD Memory card up to 32GB for normal use SD Memory cards are not included and need...
Page 4: ...ht 6 LCD Screen 7 LED 8 Zoom Out 9 Zoom In 10 Wrist Strap Connector 11 MODE Button 12 Flash Up Slide Show Button 13 Delete Right Button 14 ViviLink Down Button 15 SET Button 16 Scene Left Button 17 US...
Page 5: ...tery as shown above Power Off the camera Connect the camera with the supplied USB cable either to the AC Charger or to the computer A charge light will turn off when the battery is fully charged Inser...
Page 6: ...D icon will appear on the LCD display If you do not see the SD icon on the display please check if the card was inserted properly 3 Press the POWER button to turn on the camera Setting the Camera Lang...
Page 7: ...era The ViviLink technology allows you to quickly and easily upload your camera s photos and videos to the social networks of your choice with the accompanying software application 1 First you will be...
Page 8: ...DE button once to open the Video Capture mode To take a video aim your camera as desired and press the Shutter button to start the record A red record indicator will appear on the LCD screen while rec...
Page 9: ...External Memory SD Card up to 32GB LCD Display 2 4 Inch TFT Lens Focus Length f 6 0 18mm F3 0 5 5 Zoom 4X Digital Zoom Exposure 3 0EV 3 0EV White Balance Auto Daylight Cloudy Fluorescent Incandescent...
Page 10: ...disk space 1024 x 768 Recommended screen resolution 16 bit color or higher display adaptor CD ROM Drive QuickTime 6 or higher Microsoft Internet Explorer 7 or higher Windows Media Player 10 or higher...
Page 11: ...power off completely Note Your digital camera also has an Auto Power Off feature that will automatically turn off your camera after a specific period of time that your camera is left idle The Auto Po...
Page 12: ...rrent mode 2 Press the LEFT or RIGHT direction control buttons to scroll between the various menus for the current mode 3 Press the UP or DOWN direction control buttons to highlight the desired menu s...
Page 13: ...n out if desired Note The actual shape of these buttons may vary per camera model 6 Press the Shutter button on the top of the camera to capture and save your photo to the memory card 7 You can also c...
Page 14: ...tter Captures the Picture SET Opens the menu options for Photo Capture Mode Saves your selected menu option Note To navigate through the Menus use the Left Up Right and Down directions control buttons...
Page 15: ...s OFF the mountain icon appears on the LCD display Flash Type Description Forced Off Default No flash will appear Use this when you do not want to activate Flash A Auto Flash When you want the camera...
Page 16: ...15 Photo Capture Mode Menus The following are the menus that appear in your camera s Photo Capture Mode...
Page 17: ...o select the next menu item 7 Press the MODE button to exit the menu and return to your previous mode 8 An icon reflecting your selection will display on the LCD screen 9 Remember that this setting wi...
Page 18: ...icon will appear on the selected item 6 Press the LEFT or RIGHT button to select the next menu item 7 Press the MODE button to exit the menu and return to your previous mode 8 An icon reflecting your...
Page 19: ...movement of the camera while capturing the image 1 Press the SET button to open the menus for the current mode 2 Press the LEFT or RIGHT direction control buttons to scroll and select the Anti Shake...
Page 20: ...s from the camera and the face must cover at least 20 1 5th of the picture as seen on the LCD screen Facing the camera The face of the subject s you are photographing must be facing the camera and mus...
Page 21: ...t s you are photographing must be facing the camera and must hold the pose for at least 4 to 5 seconds until the green square s appears around the subject s face Once a smile is detected the camera wi...
Page 22: ...oll through the menu options 4 Press the SET button to select and save the desired option 5 A selected option icon will appear on the selected item 6 Press the LEFT or RIGHT button to select the next...
Page 23: ...ss the LEFT or RIGHT direction control buttons to scroll and select the Color Effect menu 3 Press the UP or DOWN direction control buttons to scroll through the menu options 4 Press the SET button to...
Page 24: ...f the edges of objects in the image are more or less distinct 1 Press the SET button to open the menus for the current mode 2 Press the LEFT or RIGHT direction control buttons to scroll and select the...
Page 25: ...setting will be saved by your camera until you manually change the setting or restore the camera s default factory settings ISO Menu The ISO menu allows you to set the level of sensitivity that your...
Page 26: ...light conditions position of subject brightness background direct light and scenes Spot Meters the area within the spot point frame at the center of the LCD to set the exposure on the subject in the...
Page 27: ...re an image with your camera the image will include a time stamp with the date and time that the image was taken The Date Time menu allows you to set your camera s date and time as desired You can als...
Page 28: ...exit the menu without saving your settings and return to your previous screen Silent Mode Menu You have the option of activating the camera s Silent mode to disable all of the sound effects except for...
Page 29: ...Press the MODE button to exit the menu and return to your previous mode 8 Remember that this setting will be saved by your camera until you manually change the setting or restore the camera s default...
Page 30: ...elect the Format Memory Card menu 3 Press the UP or DOWN direction control buttons to highlight the menu options 4 To exit without formatting the card select Cancel and press the SET button 5 To proce...
Page 31: ...amera will be in Photo Capture mode by default Press the MODE button twice to open the Playback Mode The playback mode will allow you to review and edit photos and videos that you ve already taken wit...
Page 32: ...de Quick Function Buttons Your digital camera has a four directional pad that functions as Quick Function buttons Quick Function Button Action Left Displays the PREVIOUS image Up Views all the Photos...
Page 33: ...to and press SET button You will be asked to confirm the deletion of the photo If you would like to proceed with deleting the current image select Yes and press the SET button to confirm The photo wil...
Page 34: ...GHT direction control buttons to scroll and select the ViviLink menu 3 Press the UP or DOWN direction control buttons to scroll through the menu options 4 Press the SET button to select and save the d...
Page 35: ...mode 2 Press the LEFT or RIGHT direction control buttons to scroll and select the Crop Image menu 3 Press the UP or DOWN to highlight the Crop option 4 Press the SET button to open the Crop option 5 T...
Page 36: ...he Print Photos menu to print the photos that are on your camera directly to a Pictbridge compatible printer 1 Scroll through your pictures and find the one you would like to print 2 Press the SET but...
Page 37: ...ction control buttons to scroll and select the Slide Show menu 3 Press the UP or DOWN direction control buttons to scroll through the menu options 4 Press the SET button to select and save the desired...
Page 38: ...Press the Shutter button on the top of the camera to START the video capture 4 You will see a red icon at the top of the LCD indicating that the record is in progress 5 To STOP the video record press...
Page 39: ...utter STARTS STOPS the video capture SET Opens the menu options for Video Capture Mode Saves your selected menu option Note To navigate through the Menus use the Left Up Right and Down directions cont...
Page 40: ...39 Video Capture Mode Menus The following are the menus that appear in your camera s Video Capture Mode...
Page 41: ...nge the setting or restore the camera s default factory settings Image Size Menu The Image Size menu allows you to choose the desired size of the images taken by your camera Keep in mind that images w...
Page 42: ...Remember that this setting will be saved by your camera until you manually change the setting or restore the camera s default factory settings Macro Menu With the Macro feature you can capture images...
Page 43: ...that are taken with your camera 1 Press the SET button to open the menus for the current mode 2 Press the LEFT or RIGHT direction control buttons to scroll and select the White Balance menu 3 Press t...
Page 44: ...uttons to scroll and select the Image Sharpness menu 3 Press the UP or DOWN direction control buttons to scroll through the menu options 4 Press the SET button to select and save the desired option 5...
Page 45: ...the camera s default factory settings ISO Menu The ISO menu allows you to set the level of sensitivity that your camera has to light in the surrounding environment When the ISO level is increased the...
Page 46: ...Meters the area within the spot point frame at the center of the LCD to set the exposure on the subject in the center of the monitor 1 Press the SET button to open the menus for the current mode 2 Pre...
Page 47: ...allows you to set your camera s date and time as desired You can also disable the timestamp for future images that will be taken with your camera On The timestamp will appear on photos taken Off The...
Page 48: ...Off feature in order to conserve you camera s battery life The designated time represents when your camera will automatically power off When the camera sits idle for the designated period of time the...
Page 49: ...to your previous mode 8 Remember that this setting will be saved by your camera until you manually change the setting or restore the camera s default factory settings Format Memory Card Menu You can...
Page 50: ...settings 5 You will be asked to confirm the resetting to the factory default settings 6 If you would like to proceed with the reset select Yes and press the SET button to confirm The settings will be...
Page 51: ...START playing the video Press the Shutter button again to PAUSE the video and to continue playing and pausing as needed While the Video is playing all the icons on the top section of the LCD disappear...
Page 52: ...USES a playing video W Zoom out Opens Thumbnail View To Navigate in the Thumbnail View press the UP DOWN LEFT RIGHT direction buttons To select a JPG in the Thumbnail View press the SET button SET Ope...
Page 53: ...our choice with the accompanying Vivitar Experience Image Manager application 1 Press the SET button to open the menus for the current mode 2 Press the LEFT or RIGHT direction control buttons to scrol...
Page 54: ...and select the Protect Lock menu 3 Press the UP or DOWN direction control buttons to scroll through the menu options 4 Press the SET button to select and save the desired option 5 Press the MODE butto...
Page 55: ...f the window does not appear open the application s CD DVD drive and click on Setup exe to launch the installer 3 On Macintosh Click the icon that appears on the desktop to install the Vivitar Experie...
Page 56: ...e folder to where the program will be installed and then click Install 11 Please wait while the application continues the installation process on your computer 12 On PC Click the Close button when the...
Page 57: ...n it will be selected automatically 5 Select a location on the computer where to place the new photo and video files 6 Add the new photo and video files to albums if desired 7 Select to remove the med...
Page 58: ...plication s Home page Transfer media from my camera to my computer manually Using Windows 1 Use the USB cable that came with your camera to connect your camera to your computer 2 MSDC appears on the L...
Page 59: ...ur computer Optionally select the files and choose Copy from the Finder s Edit menu Then select a folder and choose Paste from the Edit menu 6 We recommend that you copy the images into the Pictures f...
Page 60: ...se including but limited to repair by unauthorized parties tampering modification or accident What To Do When Service Is Required When returning your defective product postage pre paid for service you...
Page 61: ...some sample photos and then try downloading them again With test photos if the camera powers off before you upload them to the computer the photos are not stored in the camera s memory These photos sh...