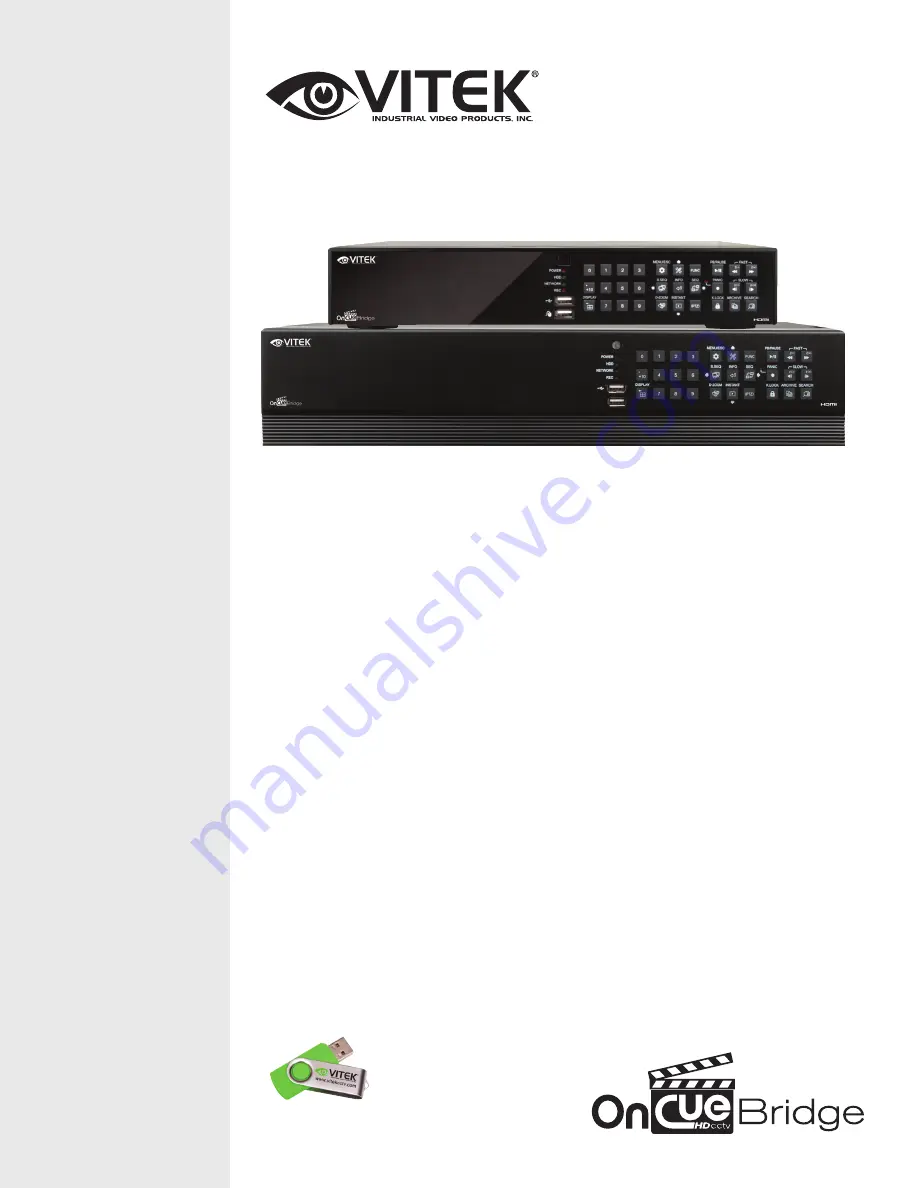
Vitek OnCue Bridge Quick Start Manual Download Page 1

OnCue Bridge

8, & 16 Channel Complete 

EX-SDI, TVI, AHD, CVI, Analog & 

IP Recording Solution

• 8 & 16 Channel Stand-alone Real-time Video Recorders
• Supports IP, EX-SDI, TVI, AHD, CVI, Analog (CVBS) Cameras with automatic 

format detection 

• Full HD MegaPixel Real-time recording, live display, and playback
• Panorama (Thumbnail) Search
• HDMI 2.0 (4K), VGA, and BNC Outputs
• Plug and Play & Auto configuration for IP Cameras via OnVIF or generic protocol
• Point-Of-Sale (POS) Integration 
• Alarm In/Out
• 2-way Full Duplex Audio
• Video Analytics with Search Feature (Camera Dependent)
• Remote Viewing via CMS Software, Internet Explorer, and Mobile Phones (iOS/

Android)

• Web-based remote configuration
• Advanced Video Detection: Camera tampering, Camera lens blocking, Day&Night, 

Defocus

• Supports up to 30TB Internal Storage (VT-HDOC16BR) / 12TB Internal Storage 

(VT-HDOC8BR)

• eSATA for storage extension of up to 5 more HDD
• Configurable Advanced Mirroring (Dual Recording, RAID1)
• RS-485 / CoC (Control Over Coax) PTZ Control

FEATURES

VITEK

QUICK START GUIDE

* Complete User 

Manual on included 

USB Flash Drive.

Summary of Contents for OnCue Bridge

Page 1: ... Point Of Sale POS Integration Alarm In Out 2 way Full Duplex Audio Video Analytics with Search Feature Camera Dependent Remote Viewing via CMS Software Internet Explorer and Mobile Phones iOS Android Web based remote configuration Advanced Video Detection Camera tampering Camera lens blocking Day Night Defocus Supports up to 30TB Internal Storage VT HDOC16BR 12TB Internal Storage VT HDOC8BR eSATA...

Page 2: ...ect e SATA storage to expand HDD 5 Audio Output RCA connector for audio signal out Line out 6 CVBS Monitor Output TVI HD Spot Composite video output for the spot live screen BNC TVI Full HD for 8 16ch 7 VGA Output Video Graphic Array 15 pin D sub connector for the analogue VGA output 8 DIGITAL VIDEO OUT Digital video output for the main monitor HDMI 9 RJ 45 Network Port 1G Base T Port for IP camer...

Page 3: ...ing using the default settings of 8fps Continuous 3 Camera Connection IP To connect an IP camera to the Bridge there are two ways to do this 1 To connect a camera from an offsite location enter main menu and click on Camera then Click on CAM PORT to pop up the following screen On this screen under TYPE choose which channel to use for the IP camera and choose MANUAL Next click on the next to TYPE a...

Page 4: ...ve The default USER name is ADMIN and password is 1234 The system will ask for you to change Username and password from default 2 Below is a quick description of the Toolbar at the bottom of the screen Tool bar has current time and date network connection status back up storage connection status automatic screen switch operation HDD installation currently working audio Also tool bar includes log o...

Page 5: ...e app then activate push alarm 3 QR code use On mobile app you can move to registration of P2P and take picture of the QR code 4 Click Next below Step 2 1 Email account registration Network set up information Self Diagnosis result DVR event can be reported by email if you fill in below 2 Password set up Please fill in password for ADMIN to access remotely and locally 3 Use above password when you ...

Page 6: ...isplays the internal IP address of the network environment where the DVR is installed Global IP Address Displays the external IP address of the network environment where the DVR is installed SUBNET MASK Displays the SUBNET MASK of the network environment where the DVR is installed DNS Server Displays the DNS Server of the network environment where the DVR is installed DVR Port Displays DVR port Au...

Page 7: ... Date Time To set the Date and Time on the recorder click on the Set up icon on the Toolbar Click on System Icon to bring you to the Date and Time set up 1 First set the Time Zone and click on OK 2 next set the date and time in this menu and click APPLY 3 select which format for the Date MM DD YYYY DD MM YYYY or YYYY MM DD 4 select which format for the time AM PM or 24 Hour 5 set the Daylight savi...

Page 8: ...w On the Minute Bar 10 double click on the minute to start viewing 8 Web Viewing To Access the OnCue Bridge via the network simply type in the Auto DDNS that was assigned to the recorder during network setup into Internet Explorer Example Once at login screen click on ActiveX WEB Viewer and download the Active X plug in after plug in is installed you will be asked to enter User Name and Password t...

Reviews: