VL-NVR 4/8/16CH Quick Guide V1.1
Page 16
camera list. Select one camera window on the left side of the interface and then double click any camera in the list to preview
the camera image in the selected window.
Click
on the top right corner and then select “Single Channel Sequences” to view all the added groups in the group list;
click one group in the list to view all the added cameras in the group. Select one camera window on the left side of the interface
and then double click one group in
the group list to preview the cameras’ images one by one in the selected window.
Click
on the top right corner and then sele
ct “Customize Display Modes” to view all the display modes in the display mode
list. Double click one display mode in the list to switch to the display mode for previewing.
Click
on the top right corner and then select “Face Match” to go to face recognition interface. (This function is only
available for models with face recognition function).
The buttons in the right-hand area, labelled as
in the previous screen menu, are listed in the table below.
Icon / Button
Meaning
Shows current logged in user.
Click to go to intelligent analytics interface
Click to go to record search interface.
Click to go to playback interface (click on the tool bar at the bottom of the
live preview interface to set the default playback time).
Click to pop up the setup panel.
Click to log out the system.
Click and then
select “Logout”, “Reboot” or “Shutdown” in the popup window.
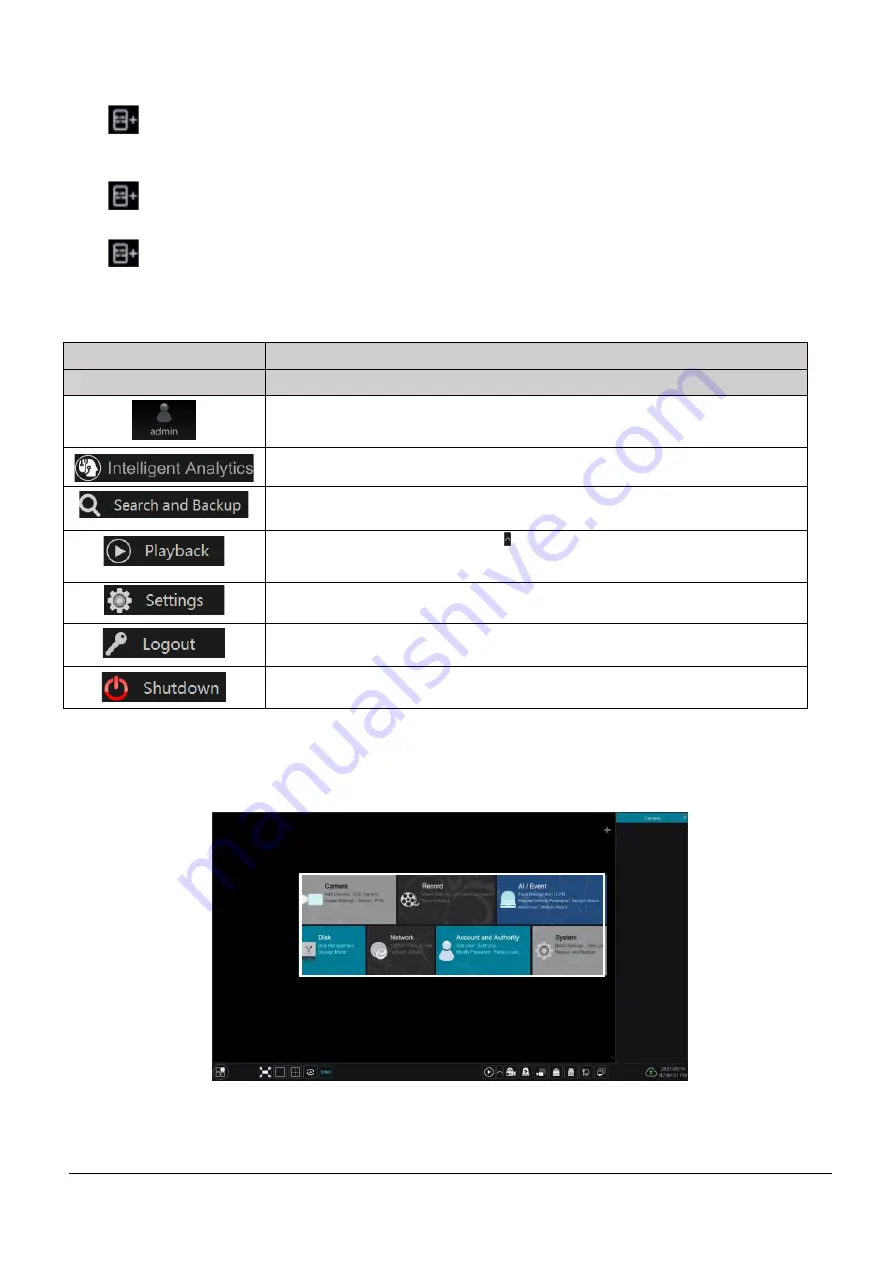
2.4.2 Setup Panel
Click Start
→
Settings to pop up the setup panel as shown below.
The setup panel (above) includes seven modules. Each provides related setup functions for all aspects of setting up the NVR
recorder. Follow the relevant sections;


