background image

11

Vision-64 User Guide

Issue 1.03

Copyright 

©

 2002-2005 Digflex Pty Ltd

TOKENS

This section outlines how to add and delete token cards that allow 
an alternate method for users to turn the system on and off via a 
prox reader enabled Keypad or an external reader.  The system 
can also be configured to automaticall open a door if it has been 
fitted with an electric door lock.  You should discuss this feature 
with your installer for more details on your particular installation.

A token is a small plastic tag card that has a unique ID.  A user can 
place the token card in front of a keypad that has a built-in token 
reader to turn the system or specific areas on and off.

Access > Token >

Add Token

MENU  1-2-0

This menu allows a Master user the ability to add a new token for   
for those users that have been assigned to the same area(s) as the 
Master user. 

1.  Enter [MENU] + [1] + [2] + [0].  

A list of users will display on the keypad.
Use the [

] and [

] keys to select the user that you want to 

add a token for, then press [OK] to select.  
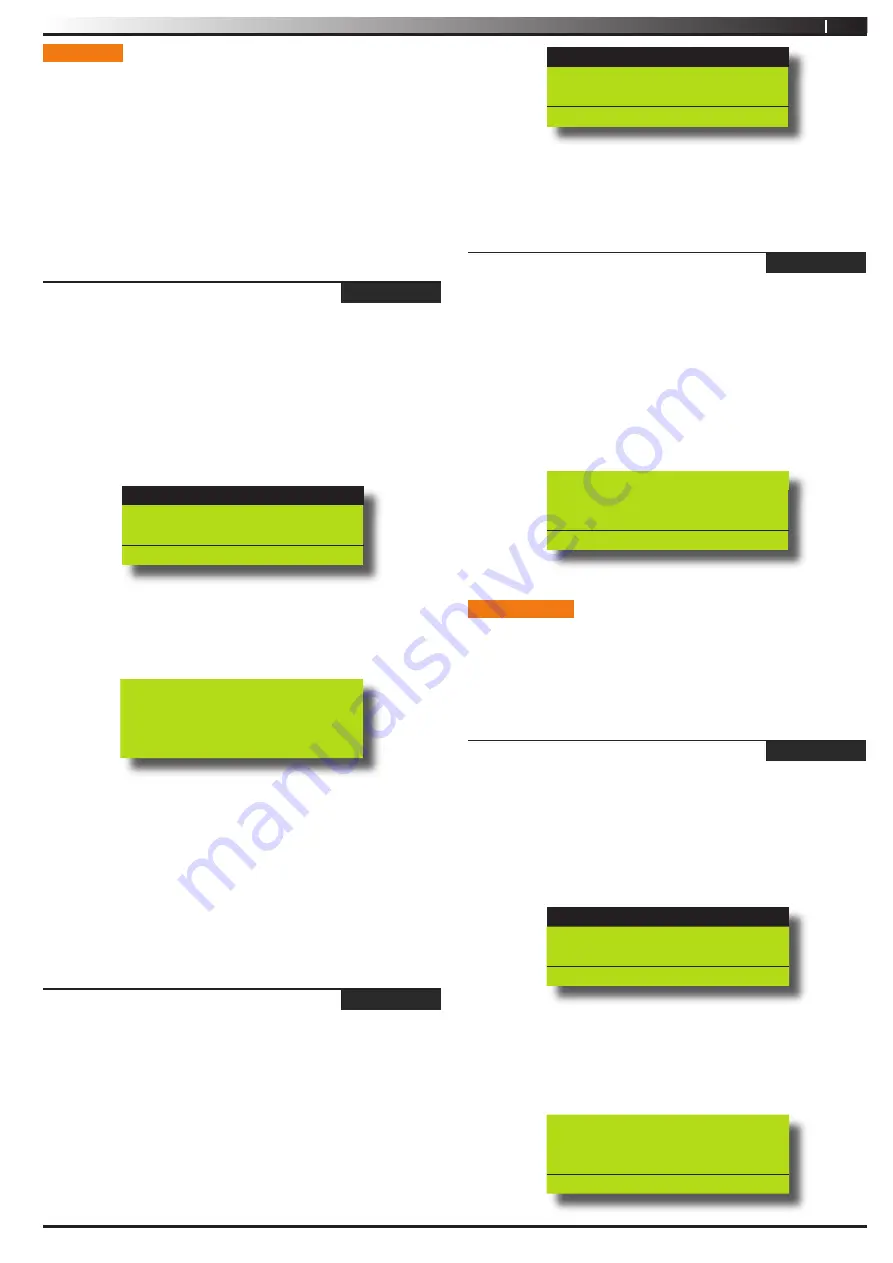
U001 JOHN SMITH

U002 DEBBIE SMITH
U003 USER 3 NAME
Press 



, OK or MENU

If you are using a keypad with built in reader the system will 

prompt you to present the token to the keypad. Once the 

token is presented the keypad we beep and return to the 

menu. 

To Add token for U001
JOHN SMITH swipe new
token

If you are learning the token via an external reader the 

system will prompt you to select the reader to learn from.

Use the [

] and [

] keys to select the reader and then repeat 

step 3 presenting the token to the external reader.

A Master user can only delete a PIN for those users that have been 
assigned to the same area(s) as the Master user.  A Master user 
cannot delete their own PIN. 

Access > Token >

Delete Token

MENU  1-2-1

This menu allows a Master user the ability to delete a token for    
those  users  that  have  been  assigned  to  the  same  area(s)  as  the 
Master user. 

1.  Enter [MENU] + [1] + [2] + [1].  

A list of users will display on the keypad.
Use the [

] and [

] keys to select the user who’s token you 

want to delete, then press [OK] to select.  

2.

3.

4.

2.

U001 JOHN SMITH

U002 DEBBIE SMITH
U003 USER 3 NAME
Press 



, OK or MENU

When prompted press the [OK] key to confirm token 

deletion.

Access > Token >

Token Status

MENU  1-2-2

This menu allows a Master user the ability to identify a token which 
has been programmed into the system. Only tokens that have been 
assigned to the same area(s) as the Master user cn be identified. 

1.  Enter [MENU] + [1] + [2] + [2].  

The system will prompt you to present the token to the 

keypad.
Once the token is presented the system will display the 

owner of the token. 

Token belongs to ur002
DEBBIE SMITH

Press OK or MENU

RF KEYFOB

This section outlines how to add and delete RF keyfobs that allow 
an alternate method for users to turn an area(s) on and off.  The 
RF Keyfob must be compatible with the RF Receiver that has been 
installed by the security company.  

Access > RF Keyfob >

Add Keyfob

MENU  1-3-0

This menu allows the security installer or a master user to program 
the user’s keyfob ID number.

1.  Enter [MENU] + [1] + [3] + [0].
 

A list of users will display on the keypad.

U001 JOHN SMITH

U002 DEBBIE SMITH
U003 USER 3 NAME
PRESS 



, OK or MENU

2.  Use the [

] and [

] keys to select the user that you want 

to add the RF keyfob ID, then press [OK] to select.  

Alternatively, you can enter the user number you, then press 

[OK].

The keypad will prompt you to enter the RF keyfob ID number:

Enter keyfob RFid for
U016 User 16 Name
000000000
Press OK or MENU

3.

2.

Summary of Contents for VISION-64

Page 1: ...User Guide VISION 64 Security Controller Issue 1 03...

Page 2: ...it level from this device is set as a fixed level and because of this there may be circumstances where the performance is less than optimal Before reporting such occurrences as faults please check the...

Page 3: ...n 14 Turn All Areas Off 14 Move To Area 14 Chime On Off 14 Area Name 15 Inputs 15 Zone Status 15 Bypass Zones 15 Set Chime Zones 16 Set Part 2 Zones 16 Smoke Sensor Reset 17 Zone Name 17 Walk Test All...

Page 4: ...1 Area Properties 3 1 0 Zone Name 4 9 0 External Siren Test 1 2 Token 2 1 0 Area Name 4 9 1 Internal Siren Test 1 2 0 Add Token 3 9 Input Testing 4 9 2 Strobe Test 1 2 1 Delete Token 3 9 0 Walk Test...

Page 5: ...before reading the rest of this guide Zones A Zone is a detection device or group of devices connected to your security system Zones are identified by the area they monitor such as a front door bedro...

Page 6: ...cursor left when programming text or telephone numbers The key allows you to move the cursor right when programming text or telephone numbers The key allows you to navigate through menus or to toggle...

Page 7: ...a continuous siren tone It sounds for the time set by your security company Trouble Tone When a system component is not functioning properly your keypad sounds 4 fast short beeps followed by a 5 secon...

Page 8: ...ed the keypad will display the Part On icon 5 To turn the system off enter your PIN then press OFF TURNING THE SYSTEM OFF When the system is on you must enter through a designated entry door to preven...

Page 9: ...o exit without saving Your PIN has now been changed PROGRAMMING TEXT USING THE KEYPAD When programming text via the keypad various keys on the keypad operate differently A group of characters is assig...

Page 10: ...d to the same area s as the Master user At factory default each PIN is fixed to 4 digits in length The default PIN for User 1 Master user is 2580 Enter MENU 1 1 2 A list of users will display on the k...

Page 11: ...ned to the same area s as the Master user A Master user cannot delete their own PIN Access Token Delete Token MENU 1 2 1 This menu allows a Master user the ability to delete a token for those users th...

Page 12: ...the master user has been assigned to At factory default each user is assigned to operate Area 1 1 Enter MENU 1 4 1 A list of users will display on the keypad 2 To assign areas to a user use the and k...

Page 13: ...3 Name Press OK or MENU Use the up and down arrow keys to highlight the Access Group then press the ON key to select or the OFF key to deselect Access Group 1 Access Group 2 Access Group 3 Press OK ON...

Page 14: ...least one area that has a keypad assigned to it to be disarmed before you can access this command 1 Enter MENU 2 0 3 Areas Commands Move To Area MENU 2 0 4 This menu allows you to operate multiple ar...

Page 15: ...le as standard with an additional 48 wireless zones available when the optional radio received is fitted Your installer will advise you on the exact makeup and configuration of your system Inputs Comm...

Page 16: ...me is OFF To turn ON Press ON To Go Back Press OK If the zone is programmed for chime the keypad will prompt Zone 1 Name Z001 Zone Chime is ON To turn OFF Press OFF To Go Back Press OK 4 Press ON or O...

Page 17: ...allows you to test all zones within an area at the same time To successfully walk test each zone you must open and close each zone 1 Press MENU 3 9 0 The keypad will display a list of areas that are a...

Page 18: ...U to exit without saving Outputs Commands Turn Output On Off MENU 4 0 1 This menu allows you to turn outputs that have been programmed by your security company on or off These outputs can be programme...

Page 19: ...nu allows you to test any internal sirens which have been connected by your installer The test will last for 5 seconds 1 Enter MENU 4 9 1 If the system has been partitioned the keypad will display a l...

Page 20: ...t Domestic Phone Number MENU 5 1 5 Domestic reporting allows the Vision control panel to send reports to personal telephone numbers eg mobile telephone numbers Up to three different telephone numbers...

Page 21: ...and right For special characters eg pause or etc use the and keys 3 Press OK to save and exit or press MENU to exit without saving Comms Commands Call Forward Off Number MENU 5 1 7 When you enter your...

Page 22: ...le Voltage Temperature and Area Assignment information 1 Press MENU 6 0 0 Kp001 Keypad 001 Kp002 Keypad 002 Exit Press OK or MENU 2 Use the and keys to select the keypad that you want to view then pre...

Page 23: ...rpretation of system trouble events when and if they occur Some events such as open zones will appear and single events while other may be grouped together In this case you need to drill down to see t...

Page 24: ...Only Line 2 Displays the source of the event eg zone name and zone number or user name and user number Line 3 Displays the event description 1 Press MENU 7 0 2 The keypad will display the most recent...

Page 25: ...our security company Comms Test Fail The system has failed to send its periodic report to the monitoring station You should contact your security company Buss Trouble The system has failed to communic...

Page 26: ...op times in 24 hour format 00 00 to 23 59 hours 4 Press OK to save and exit or press MENU to exit without saving System Schedules Day MENU 7 5 2 This menu programs which days of the week the timer exe...

Page 27: ...eases above the maximum temperature the keypad will display High temp xx xx programmed temperature to be monitored 1 Press MENU 7 7 3 The keypad will display the current temperature settings Keypad Hi...

Page 28: ...take up to two minutes to complete and the keypad will display the voltage of the battery during the test 1 Press MENU 7 9 2 The keypad will display the battery voltage whilst under test Battery test...

Page 29: ...29 Vision 64 User Guide Issue 1 03 Copyright 2002 2005 Dig ex Pty Ltd Installation Details INSTALLED BY DATE PHONE FAX EMAIL SERVICE PHONE FAX EMAIL MONITORED BY PHONE FAX EMAIL WARRANTY EXPIRES NOTES...

Page 30: ...rt Send 21 D Date Time 24 F Features 5 H Holidays Name 26 Start Stop Days 27 I Inputs Chime Zones 16 Part 2 Zones 16 Zone Bypass 15 Zone Status 15 K Keypad Display 23 Hi Lo Temperature 27 Icon Descrip...

Page 31: ...Forward Off 21 Call Forward On 21 Domestic 20 Testing Battery Test 28 Walk Test All Zones 27 Test Report Send 21 Timer Groups 12 Trouble 23 Turn Off 8 U User Area Assignment 12 W Walk Test All Zones 1...

Page 32: ...Digiflex Pty Ltd P N MACC110 U DIGIFLEX PTY LTD Unit 5 8 Millennium Court Silverwater NSW 2128 AUSTRALIA Phone 612 97417000 Facsimile 612 97417042 www digiflex com au Our Vision Is Your Peace Of Mind...

Reviews: