Vilar UP-009 Quick Start Manual Download Page 1


1

UP-009 Quick Start Guide 

Thank  you  for  purchasing  a  Vilar  IP  Camera.  The  VS-IPC  1002  is  a  high 
performance IP Camera. The camera provides many features such as steady 
network  connection,  powerful  customer  management,  compatibility  and 
security. You can use it simple and convenient.   

This guide explains how to install this camera fast. For more details, please refer 
to the [ UP-009 IP Camera User Manual.doc] on accessory CD. 
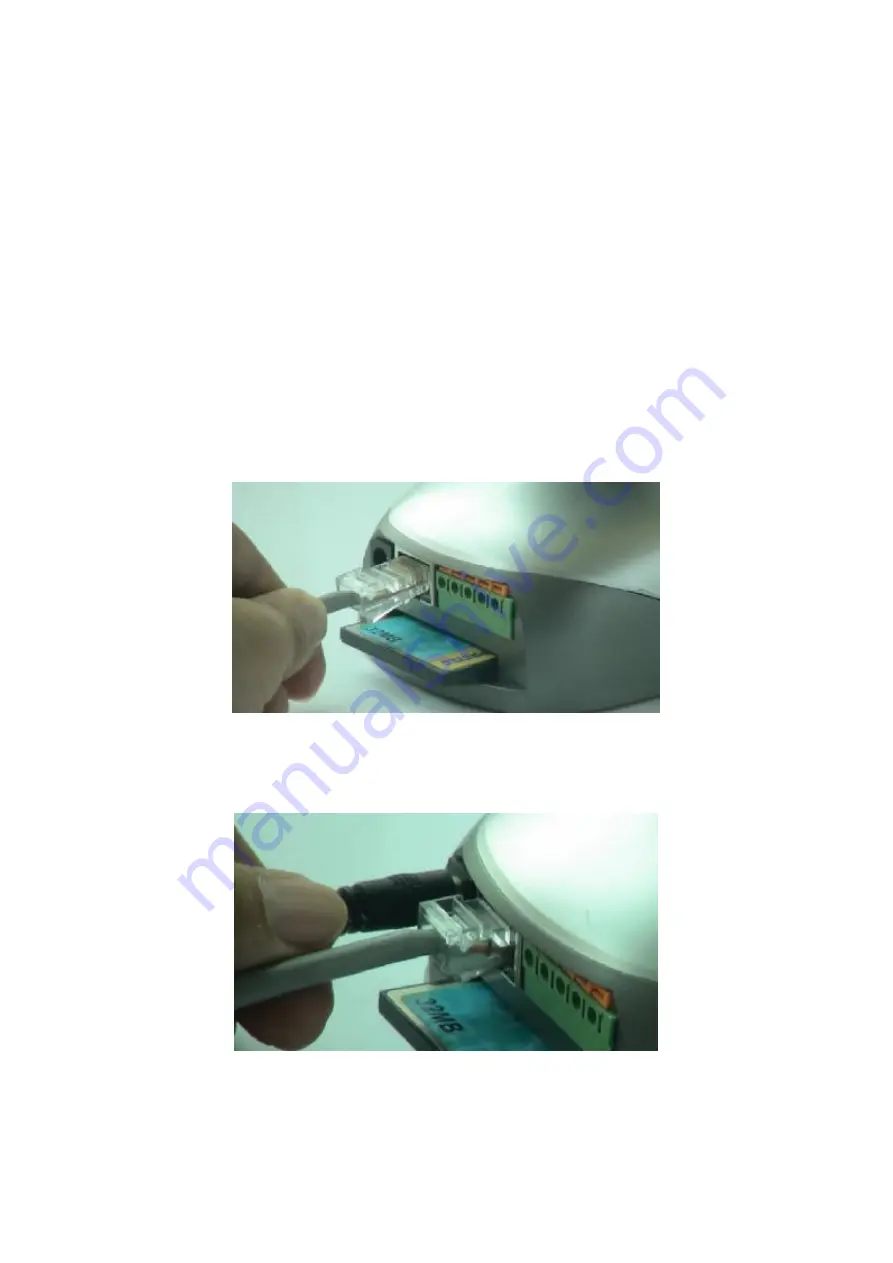
Connecting the LAN 

Connect the network cable to the RJ45 network connection port. 


Connect the power adapter to the IP Camera power socket and then insert the 
plug into an available power outlet. 


Start up your computer, and make sure it connects to the LAN successfully. Click 

Start

>

Running

, and enter 

command


(for Windows 95/98/ME) or


cmd


(for Windows2000/XP). Then select 

OK

 and enter 

ipconfig

, press

 enter


Summary of Contents for UP-009

Page 1: ...nstall this camera fast For more details please refer to the UP 009 IP Camera User Manual doc on accessory CD Connecting the LAN Connect the network cable to the RJ45 network connection port Connect t...

Page 2: ...ddress Subnet Mask and Default Gateway You might use this information to set your device Insert the accessory CD into the CD ROM copying the VilarWizard_CN exe which is green software from the CD to y...

Page 3: ...92 168 100 1 to 192 168 100 255 only If your IP Camera s IP Address is not in this range you cannot access it Therefore you can click Setup IP button to change IP Camera s IP address and adjust it ada...

Page 4: ...fault Gateway 10 0 8 1 IP Address 10 0 8 210 After that click ok and then enter the administrator s username as admin and the administrator password as 123456 Click OK the system starting assign a new...

Page 5: ...5 Click OK after you saw the successfully prompt Then new IP address of your camera has been shown in the interface...

Page 6: ...Above interface can be indicated means your IP camera is connect to network successfully Also you can enter your camera IP address into the Internet explorer to access such as http 10 0 8 210 Click t...

Page 7: ...rectly you will see the follow dialog box Click Install to continue If you cannot see the message as above you have to modify the Internet Explorer security configuration Setting Internet Explorer IE...

Page 8: ...controls and plug in Select Enable 5 Click OK to save it In addition the IPCam also can be a Trusted Sites the setting process as follow 1 Select Internet Options in Tools menu of IE 2 Switch to Secur...

Page 9: ...will be forward to LAN 192 168 0 2 s 80 port 2 Another method is the DMZ Host If enabled to use a LAN device as the DMZ host the outside PC will be able visit this LAN device directly as if there is n...

Page 10: ...t Please visit http www vipcam cn enter the product serial number and original password login You can find the serial number and password of your camera in the back cover of this guide Setting your DD...

Page 11: ...it means DDNS configuration is successful Please attention that your LAN have to open the UDP port when you using DDNS If you have any question please contact your network administrator or the Vilar...

Page 12: ...en PPPoE function please use network cable connects your camera to your PC network card directly running VilarWizard_CN exe or enter your camera s IP address into IE to visit your camera Select Networ...

Page 13: ...es and then the LCD monitor will indicate the PPPoE status and IP address When you use ADSL to connect your camera with internet you need starting DDNS service because the system assigns a different I...

Reviews: