for WB with single-hole fittingModel
Year built:
8545.31
from 03/2019
en_INT
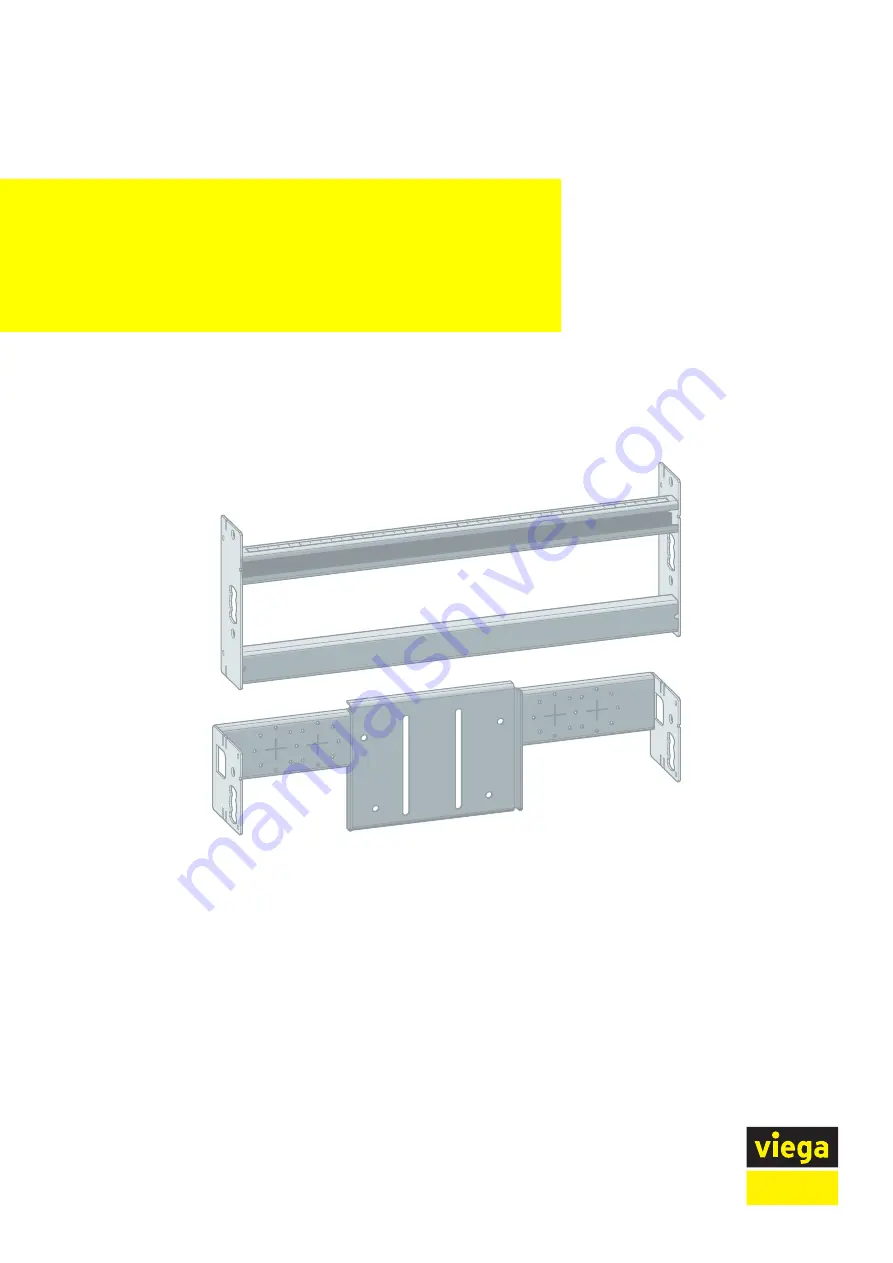
Prevista Dry Plus washbasin module, bar‐
rier-free
Instructions for Use
Page 1: ...for WB with single hole fitting Model Year built 8545 31 from 03 2019 en_INT Prevista Dry Plus washbasin module bar rier free Instructions for Use...
Page 2: ...Prevista Dry Plus washbasin module barrier free 2 from 11...
Page 3: ...nded use 6 2 1 1 Areas of use 6 2 2 Product description 6 2 2 1 Overview 6 2 2 2 Compatible components 6 3 Handling 7 3 1 Assembly information 7 3 1 1 Mounting conditions 7 3 1 2 Installation dimensio...
Page 4: ...nd to possible operating instructions The installation of Viega products must take place in accordance with the general rules of engineering and the Viega instructions for use 1 2 Labelling of notes W...
Page 5: ...e g DIN DVGW Some passages in the text may refer to technical codes in Europe Germany These should serve as recommendations in the absence of corresponding national regulations The relevant national l...
Page 6: ...Washbasin module 2 Wall bracket for concealed odour trap 3 Screws for fixing in support profile 4 Assembly accessories concealed odour trap 5 slot nuts 6 Assembly accessories wall plates 7 threaded ro...
Page 7: ...e mounted on even wall surfaces With the construction height the marked height of the upper edge of the finished floor must be observed 3 1 2 Installation dimensions NBY 3 2 Assembly 3 2 1 Mounting mo...
Page 8: ...ve an inner distance of 420 mm Secure the module onto the open mounting rail with the slot nuts supplied Insert the slot nut into the opening of the module Push the slot nut in until it engages Set th...
Page 9: ...e metal bars of the rails Bend the sides of the metal bars of the fitting holder Set the height of the module according to the ceramic manufactur er s instructions 25 Nm 9 9 Handling Prevista Dry Plus...
Page 10: ...and Tighten the nuts of the threaded rods with a fork spanner size 17 Place the protective caps on the threaded rods Make the water connections Cut the gypsum cardboard cladding panel to size W J F H...
Page 11: ...ding panels 3 3 Disposal Separate the product and packaging materials e g paper metal plastic or non ferrous metals and dispose of in accordance with valid national legal requirements Handling Previst...