Instructions for Use
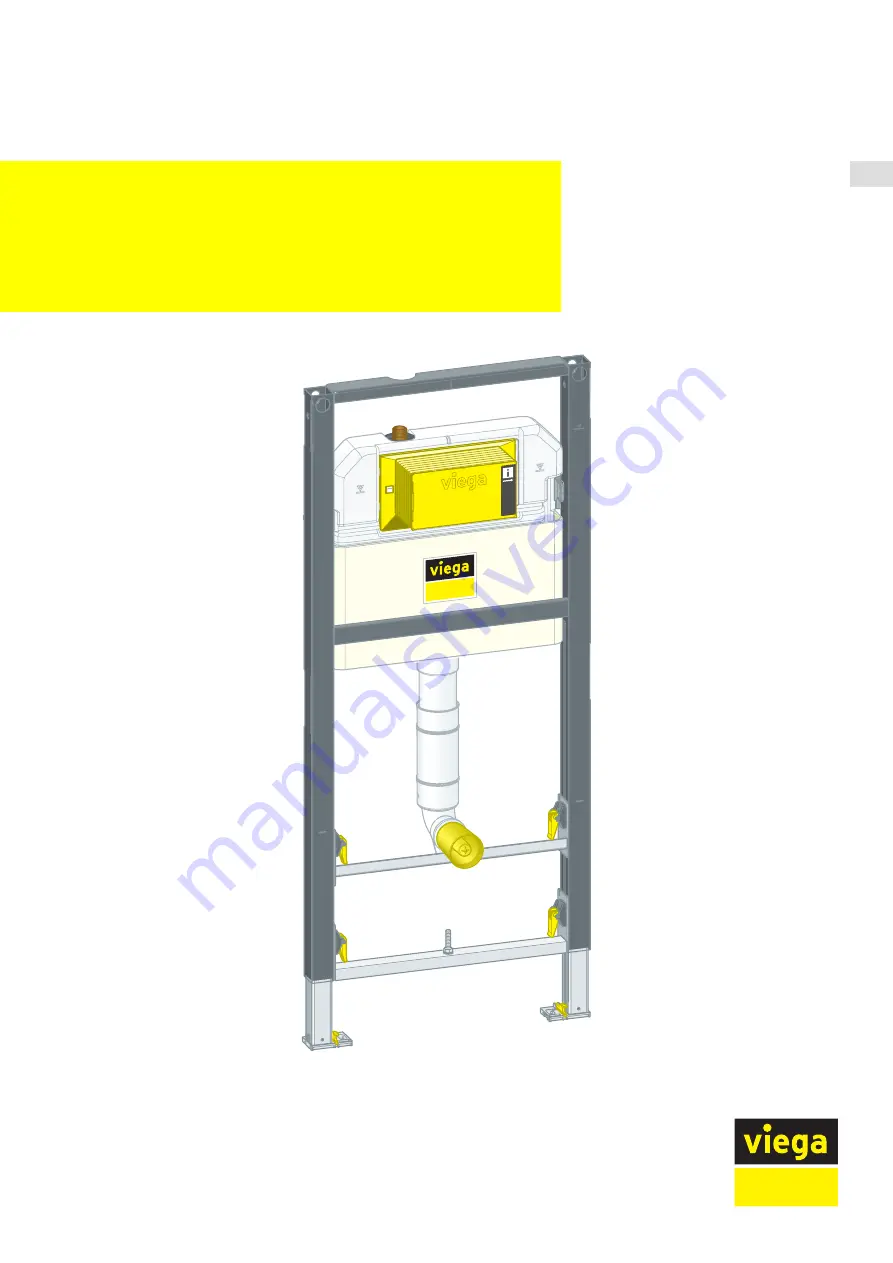
Prevista Dry WC element floor-
standing WC or children's WC
for WC flush plates for Prevista
Model
Year built (from)
8522.33
03/2019
INT
Page 1: ...Instructions for Use Prevista Dry WC element floor standing WC or children s WC for WC flush plates for Prevista Model Year built from 8522 33 03 2019 INT...
Page 2: ...components 6 2 4 3 Technical data 7 2 5 Accessories 8 3 Handling 9 3 1 Assembly information 9 3 1 1 Mounting conditions 9 3 1 2 Installation dimensions 10 3 2 Assembly 10 3 2 1 Shortening the element...
Page 3: ...d to possible operating instructions The installation of Viega products must take place in accordance with the general rules of engineering and the Viega instructions for use 1 2 Labelling of notes Wa...
Page 4: ...g DIN DVGW Some passages in the text may refer to technical codes in Europe Germany These should serve as recommendations in the absence of corresponding national regulations The relevant national la...
Page 5: ...996 1 1 Suitable concreted walls DIN 1045 Suitable support profiles DIN 18183 2 2 Safety advice 2 3 Intended use 2 3 1 Areas of use The Prevista Dry WC element is suitable for mounting on masonry wall...
Page 6: ...r valve 2 4 2 Compatible components The WC element is compatible with all common WC ceramics even with larger projection barrier free The WC element can be extended by the following compatible compo n...
Page 7: ...the fixing element 2 4 3 Technical data Small flush volume Factory setting approx 3 l setting range approx 2 4 l Large flush volume Factory setting approx 6 l setting range approx 3 5 7 5 l Water pre...
Page 8: ...nting directly onto the installation body or corner mounting on masonry or metal support profile Prevista Dry fixing set model 8573 for single mounting of Prevista Dry elements to the solid wall Previ...
Page 9: ...he WC element is suitable for floor standing WCs baby WCs and WCs for children The WC element has an R inch water connection NOTICE Always use the newly delivered hose set for the water connection Do...
Page 10: ...Installation dimensions Fig 2 Dimensional drawing 3 2 Assembly 3 2 1 Shortening the element optional Pull the feet out of the element Handling Prevista Dry WC element floor standing WC or children s...
Page 11: ...Push top crossbeam downwards Pull the flushing pipe off the cistern Pull the crossbeams out of the element Use a hacksaw to shorten the element at the markings Handling Prevista Dry WC element floor...
Page 12: ...en the flushing pipe Insert the flushing pipe Attach the flushing pipe to the crossbeam INFO Make sure the feet are correctly seated Push the feet into the element Handling Prevista Dry WC element flo...
Page 13: ...ng multiple WC elements with an interval of 500 mm Viega recommends the use of a Prevista Dry support bracket model 8570 48 Observe the instructions for use of the support bracket when mounting Handli...
Page 14: ...the fixing points on the floor n X3 375 mm Drill the holes Insert the dowels INFO Mount the Prevista Dry fixing set pursuant to the instruc tions for use for the fixing set Loosen the feet of the elem...
Page 15: ...accordance with the on site marking of the upper edge of the finished floor n X 1000 mm Tighten the feet of the element using a fork spanner The element is attached to the wall 9 Handling Prevista Dry...
Page 16: ...il above the ele ment the Prevista Dry Plus fixing set model 8570 49 must also be used See example with WC element model 8521 Position the element on the floor rail Fix the feet on the floor rail usin...
Page 17: ...Fix the element with the Prevista Dry Plus rail connectors The WC element is fixed in the Prevista Dry Plus pre wall con struction Handling Prevista Dry WC element floor standing WC or children s WC 1...
Page 18: ...rough 90 Screw the feet together with the support profile Adjust the construction height of the element in accordance with the on site marking of the upper edge of the finished floor Attach the elemen...
Page 19: ...direction Remove the cover plate Place the press connector onto the water supply Press the connection Seal the threaded connectors of the corner valve Screw the corner valve into the thread side of th...
Page 20: ...and the cistern to each other Remove the protective cap from the water supply hose Screw the water supply hose and the corner valve to each other hand tight INFO If a WC flush plate with electronic fl...
Page 21: ...Turn the cover plate lock by 90 in a clockwise direction Place the revision shaft on the cover plate To remove the revision shaft press in the fixing clips at the side Handling Prevista Dry WC elemen...
Page 22: ...Fit the protective plug for the flushing pipe elbow Fit the protective plug for the drain elbow Fit the protective plug for the flushing pipe elbow Fit the protective plug for the drain elbow Variabl...
Page 23: ...gentle pressure Cut out the recesses for the site protection and the revision shaft Clad the element with suitable gypsum cardboard cladding panels 3 2 6 Setting the flush volume For an electronic fl...
Page 24: ...ssible n The water supply has been shut off n The ceramic has been mounted Fold the tabs forward Lift the drain valve Remove the drain valve through the revision opening Handling Prevista Dry WC eleme...
Page 25: ...me at the drain valve Requirements n The drain valve has been dismounted n The flushing throttle has been removed Unlock the flushing throttle Set the flush flow at the throttle Setting the flush flow...
Page 26: ...concentration of calcium or magnesium salts there is the risk of limescale deposits developing on the inlet and drain valves The valves may have to be replaced depending on the extent of the deposits...
Page 27: ...Viega Technology GmbH Co KG service technik viega de viega com INT 2020 02 VPN190460...