


72
•
Configuring the ViconNet System
XX185-30 Rev 807 Kollector Lite
6. To configure/modify additional relays, repeat steps 1 to 5, as required.
As you select another button in the
Device Settings
window, the new or modified name of the relay that
you have just configured is displayed automatically on the appropriate button in the
Relay
section and
the configuration is automatically saved.
7. Click
. The new or modified relay configuration is saved automatically in the system (without
requiring a reboot) and the relay appears in the
Controls
area in the ViconNet
Main
window as an
available device.
NOTE:
You can also define an external relay box by selecting
Controls (RS232/422/485)
in the System
Settings window. For more details, refer to Configuring an External Control, page 156.
Configuring/Modifying PTZ Controls
When you use PTZ cameras in the ViconNet system, you must configure/modify each device according to
its specific camera specifications, such as the driver, version number and so on.
To configure/modify PTZ controls:
1. In
the
Device Settings
window, shown on page 66, select the appropriate PTZ camera button from the
Video
section of the
Devices List
area.
NOTE:
When working in the Device Settings window, you can click
Undo
to restore the last saved
settings, if required.
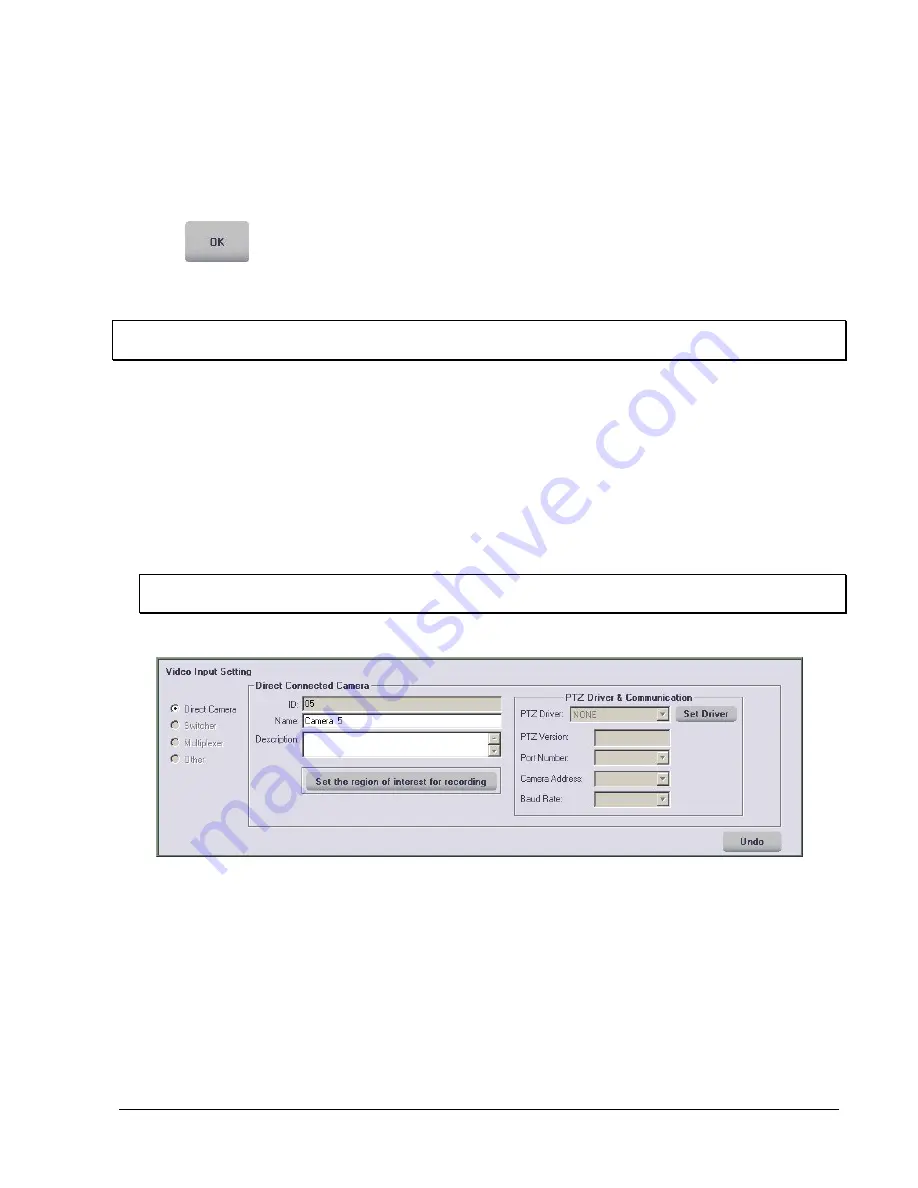
2. In
the
PTZ Driver & Communication
area, enter the required PTZ configuration settings, as follows:


