


XX185-30 Rev 807 Kollector Lite
Configuring the Network
•
261
Configuring a Network with DHCP
This section describes how ViconNet uses networking, in particular the use of the Dynamic Host
Configuration Protocol (DHCP) and assumes some knowledge of networking and assigning IP addresses in a
Windows environment. Adherence to this setup will ensure stable ViconNet network connectivity. It is very
important to remember that IP addresses
must
be assigned within the ViconNet application. Never assign an
IP address, either statically or dynamically, in Windows unless otherwise noted.
If you do not have enough IP addresses for all your sites, a DHCP server can be used. The DHCP server
switches dynamically between IP addresses, so that all sites may have varying IP addresses.
ViconNet manages its network elements within itself. It is
strongly
advised to manually assign IP addresses
to each ViconNet networked device, avoiding DHCP. However, if DHCP must be used, the procedures in this
section must be followed.
The Nucleus and backup Nucleus should never have their IP addresses assigned by DHCP, as these are
ViconNet's core networking components. Furthermore, these IP addresses should never be changed, as all
other ViconNet transmitters and Workstations refer to them. (An IT administrator can reserve (set) IP
addresses on the DHCP server for the Nucleus and backup Nucleus units.)
To set up a Kollector Lite with DHCP:
NOTE:
A DHCP server
must
be connected to the system prior to and during the DHCP setup phase of the
ViconNet software.
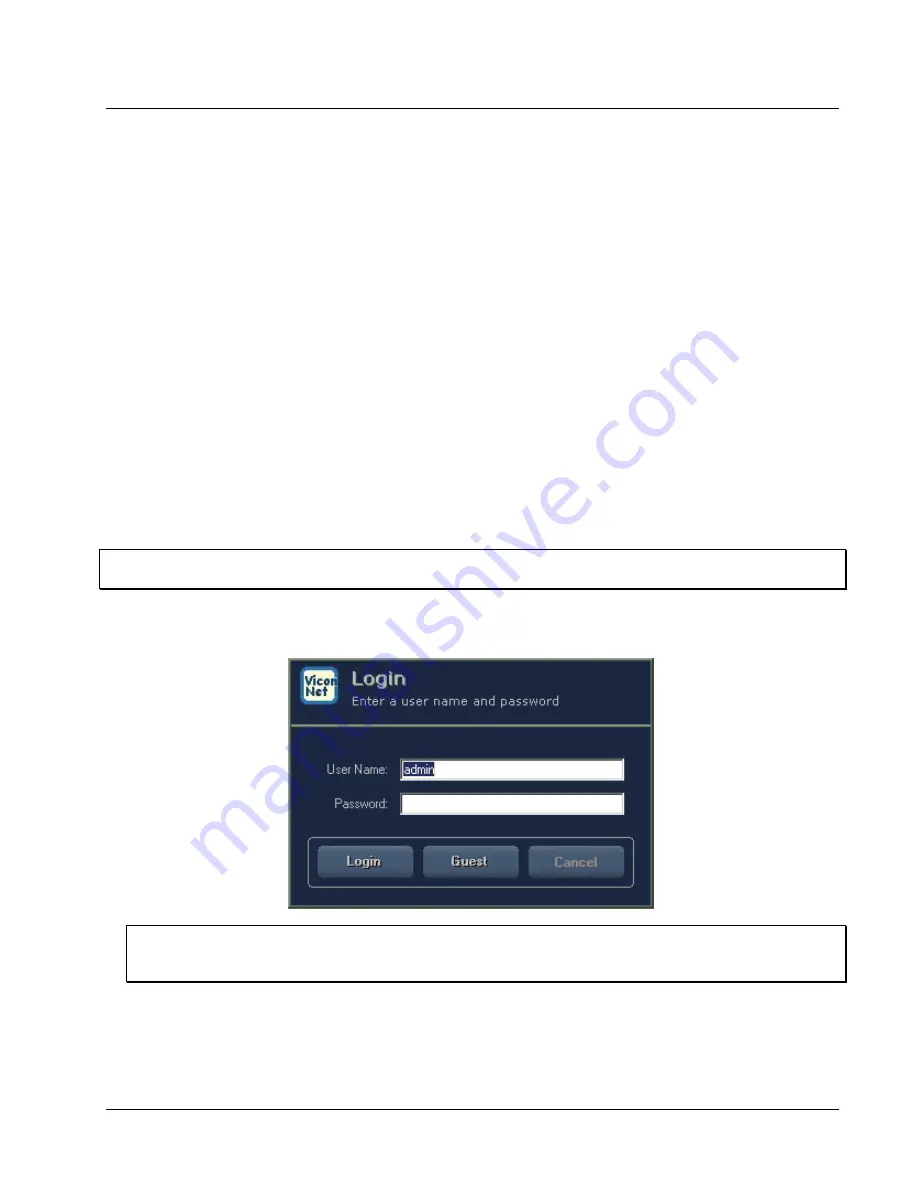
1. Turn the Kollector Lite on by pressing its ON button. The ViconNet
Login
window is displayed, showing
the name of the last logged in user.
NOTE:
If you restart your site, you will be logged in automatically to the ViconNet application (if the
Auto
Login
setup is active, as described in the Configuring Auto Login section in Chapter 3,
Configuring the ViconNet System).
2. In
the
User Name
field, enter your assigned user name. If you are an administrator entering for the first
time, enter
admin
.


