ONX-220 User's Guide
22135173, Rev. 000
June 2020
95
Chapter
5 Ethernet Testing
Specifying Ethernet settings
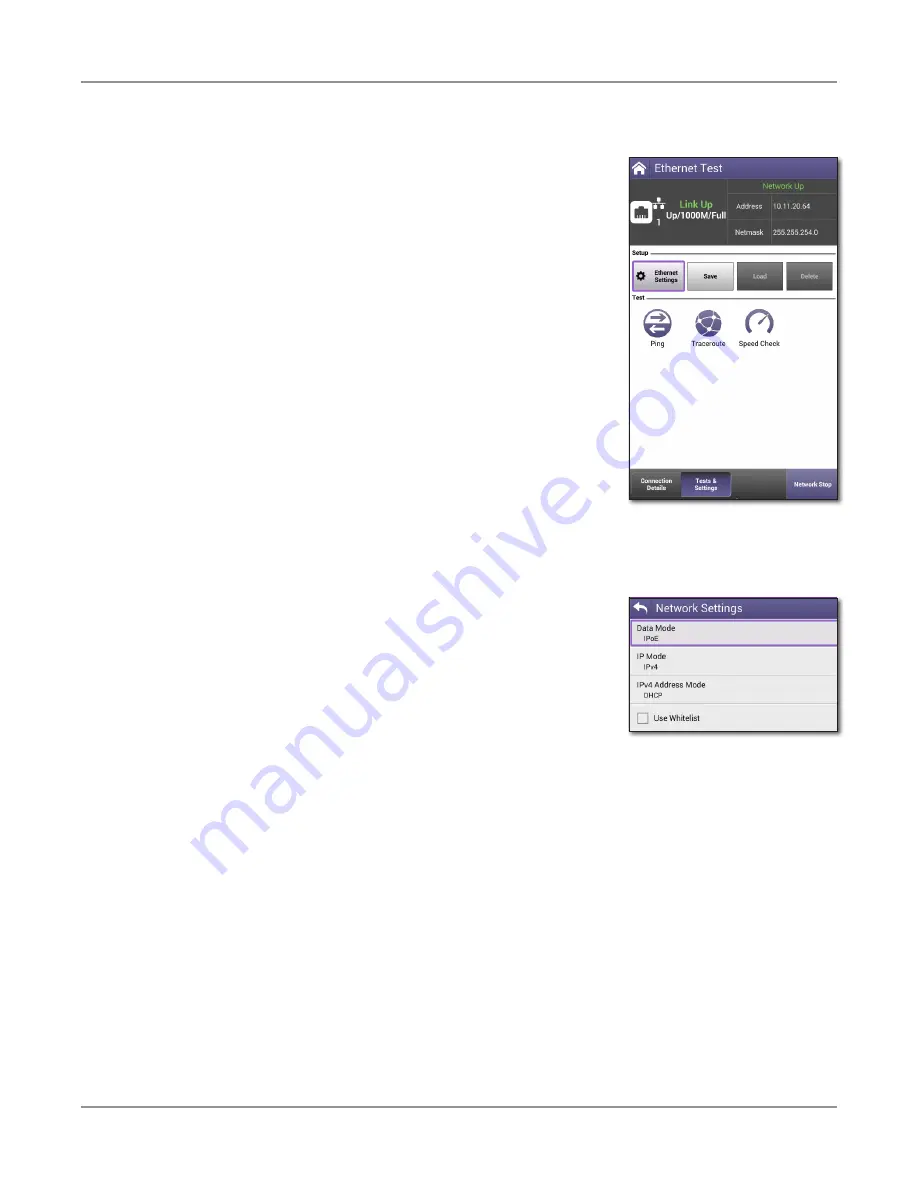
Before you begin testing, make sure the test settings on the
OneExpert match the settings of the line that you are testing.
y
To access the setup screen, select the
Tests & Settings
button or use the Tray menu (swipe down from the top).
Loading a test profile
If you have previously specified the settings and saved a
test profile for Ethernet testing, you can load that profile
so you don’t have to specify all of the settings again.
1. Press the
Load
button. (If no profiles have been
saved, the button is grayed out.) A list of setting
profiles appears.
2. Select the profile to load. The settings are loaded.
Configuring a new Ethernet profile
1. From the
Tests & Settings
menu, press the
Ethernet
Settings
button.
2. Select
Data Mode
and then specify IPoE, PPPoE, or
MultiVLAN. None turns the data layer off.
3. Select whether to do Automatic Login.
4. Select MAC Address Mode and specify factory default or
user defined.
5. Specify whether VLANs are used (a checkmark indicates they are used).
6. If VLANS are used, specify the following:
– Enter the
VLAN ID
and
Priority
.
– Select
IP mode
and then specify the network mode: IPv4, IPv6, or IPv4/IPv6 Dual
Stack.
7. Specify the LAN network settings as described in step 5 of
Summary of Contents for ONX-220
Page 1: ...ONX 220 User s Guide ...
Page 8: ...ONX 220 User s Guide 22135173 Rev 000 June 2020 8 ...
Page 34: ...ONX 220 User s Guide 22135173 Rev 000 June 2020 34 Chapter 1 Quick Tour ...
Page 78: ...ONX 220 User s Guide 22135173 Rev 000 June 2020 78 Chapter 3 Menus and Workflow ...
Page 98: ...ONX 220 User s Guide 22135173 Rev 000 June 2020 98 Chapter 5 Ethernet Testing ...
Page 198: ...ONX 220 User s Guide 22135173 Rev 000 June 2020 198 Chapter 11 Test Results ...
Page 211: ......


