FVAm™ Series Benchtop MPO Autofocus Microscope User Guide
22132675 Rev. 101, Standard, 3-3
Performing Pass/Fail tests and working with saved test results
Starting a Pass/Fail test from FiberChekPRO
Starting a Pass/Fail test from FiberChekPRO
Note:
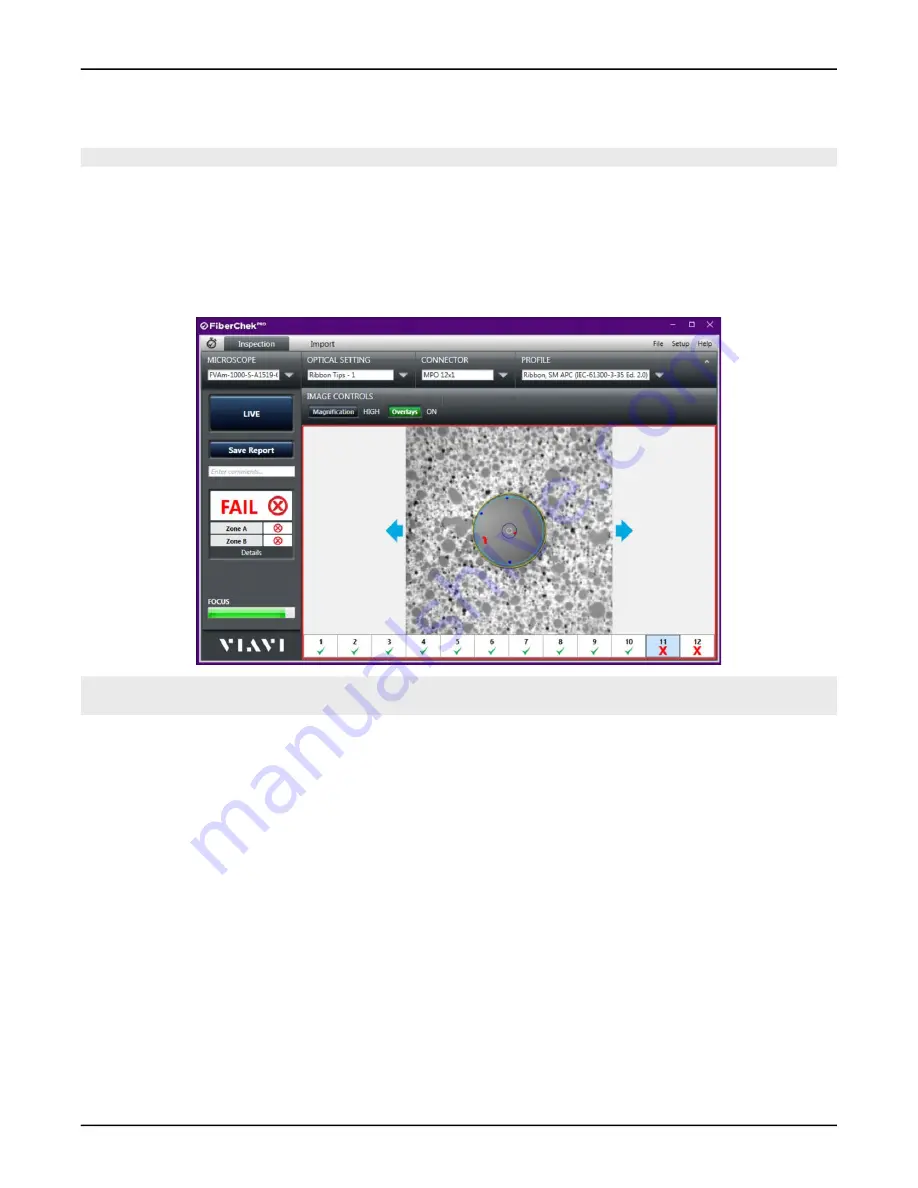
The images used in this procedure show a Pass/Fail test performed on an MPO fiber connector.
“Requirements for Pass/Fail tests” on page 3-2
.
Step 2 Use the image controls on the
Inspection
page to ensure that the focus quality of the live image is
suitable for inspection.
Step 3 On the FiberChekPRO
Inspection
page, click
TEST
to start the test.
When the test is completed, the results are automatically displayed with overlays.
Note:
For information about using the tools of the inspection software to analyze test results, refer to the
FiberChekPRO Automated Fiber Inspection and Analysis Software User Manual
.
Step 4 Optionally, click
Overlays
to hide or show the overlays as needed.
Step 5 Optionally, click
Save Report
to generate a report.
▪ In the
Save As
dialog, type a name for the report in the
File name
field, and then click
Save
to save
the report to the default folder on the computer where FiberChekPRO is installed, or navigate to
another location on the computer.
The default folder is located at
C:\Users\
userName
\Documents\Viavi\FiberChekPRO\Archives\FVAm-
deviceID
\
YYYYMMDD
.


