1.
The
Status bar
displays the current date, talk set and battery level.
2.
The
Configuration
group provides selection on number of jumper(s) referencing is
set to, and determine single or bi-directional test is performed during an AUTOTEST.
3.
The
Test Settings
group provides results oriented configurations necessary to
perform an AUTOTEST.
4.
The
Project Settings
group provides non-results oriented configurations before
performing an AUTOTEST.
5.
The
System Settings
group settings provides device, time, localization and device
related configurations. The Information group at the top provides hardware
information such as the device Information (Local/Remote), name, battery level, etc.
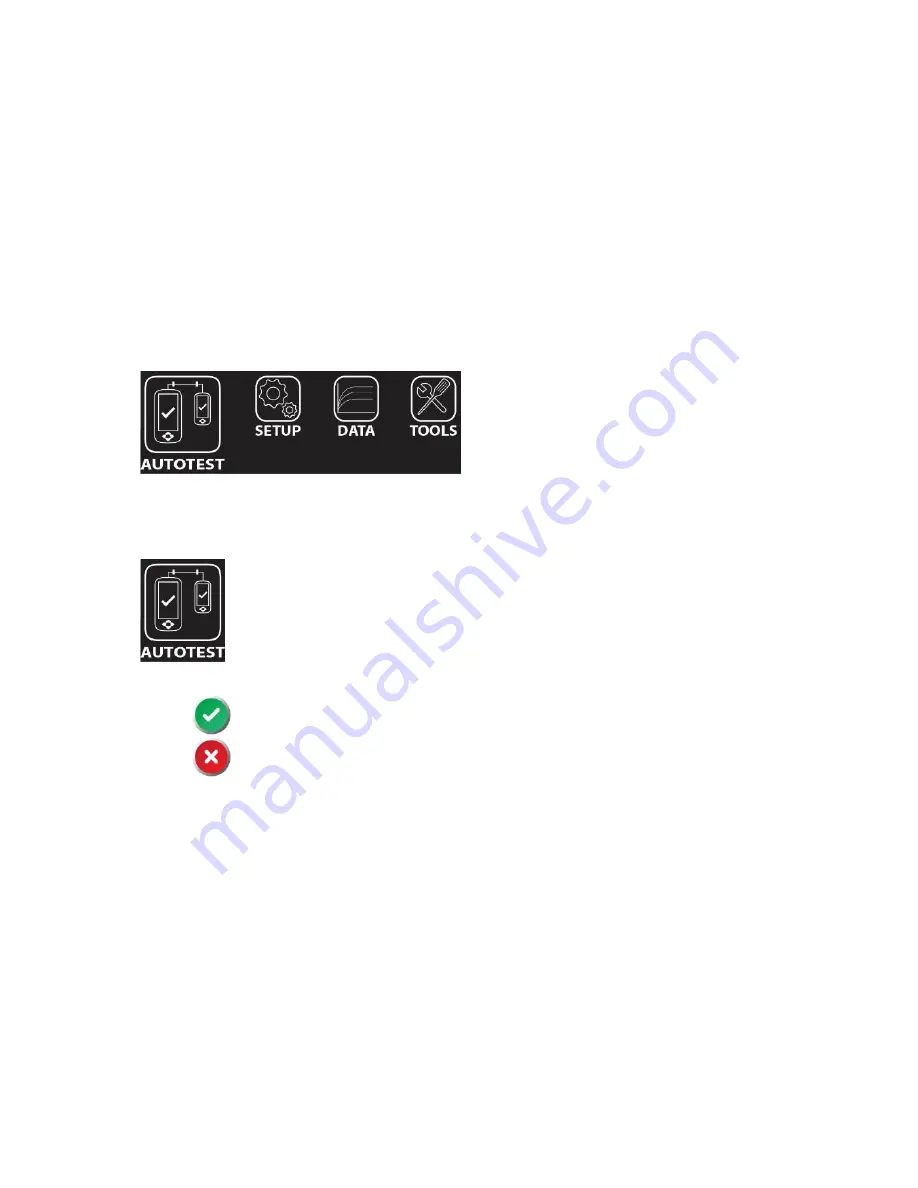
The One Touch Access Buttons
The fundamental philosophy behind the Certifier User Interface is simplicity in its ease of
use. The main functions of the One-Touch access buttons as follows:
AUTOTEST
The “
AUTOTEST”
button will perform an immediate certification test on the last
configured settings. If no settings were configured, default settings will be used.
Test results will be generated automatically after the test is completed.
You will receive any of the following 4 results after the “AUTOTEST”:
Green “PASS” – Good test result in accordance to pre-defined settings.
Red “FAIL” – Unacceptable results with severe disturbance on one or
more test parameters.
You will be given the following option after performing an AUTOTEST:
“Save” test results to device
An “AUTOTEST” will fail in the event of missing connection between the Local and Remote
units, wrong settings configured, “dirty” end connectors or broken cables.
Summary of Contents for Certifier40G
Page 1: ...CERTIFIER40G Fiber Certification Testing User Manual ...
Page 2: ...Certifier Series C40G ...
Page 11: ......


