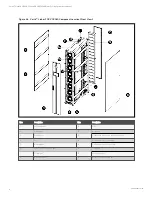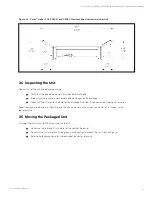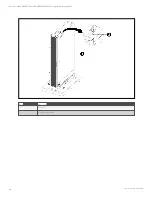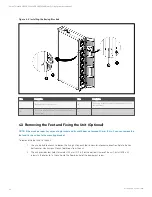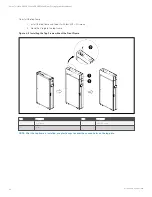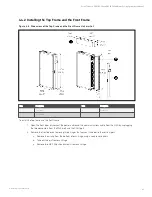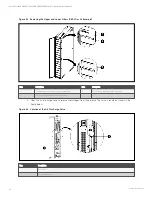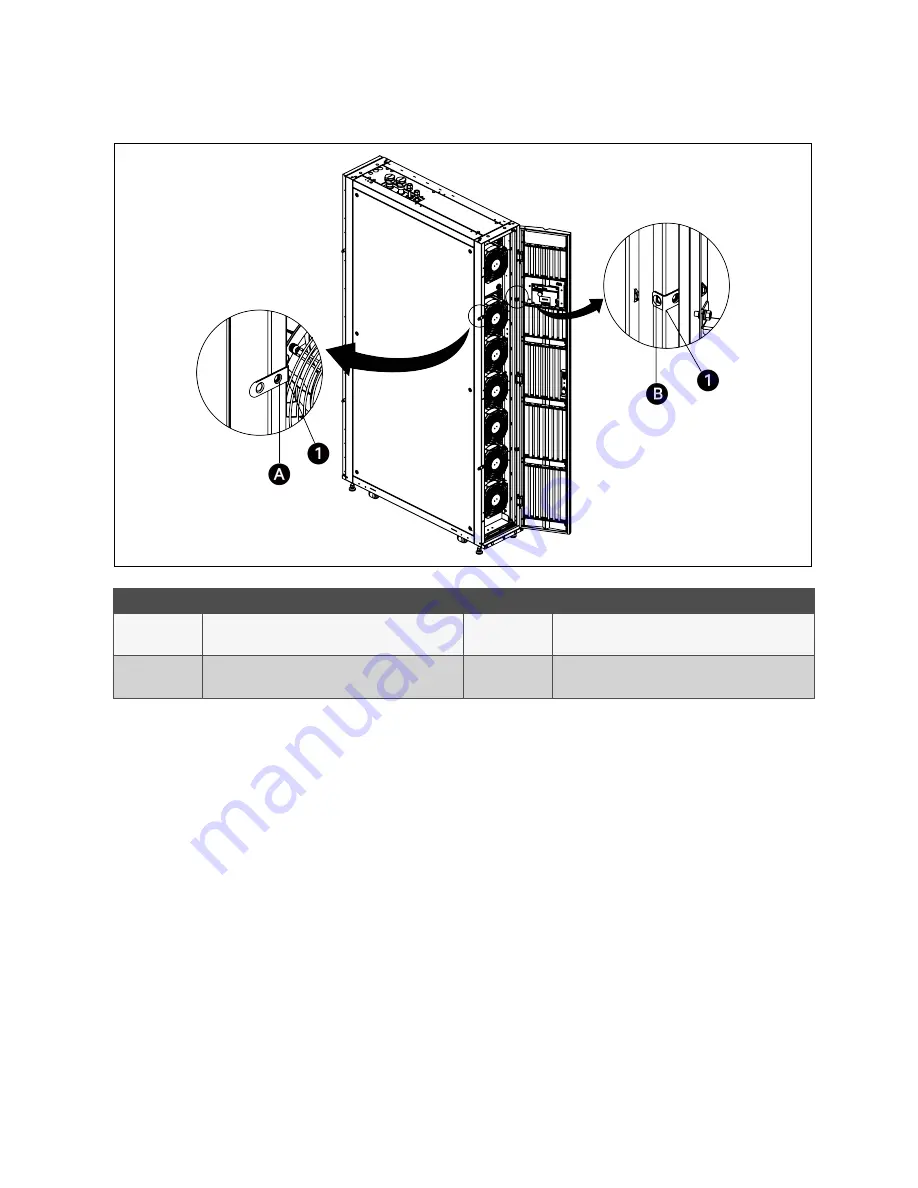
Figure 4.2 Installing the Baying Brackets
Item
Description
Item
Description
1
Baying bracket (eight pieces)
B
Position to install the screw on the baying bracket for
the right frame
A
Position to install the screw on the baying bracket for
the left frame
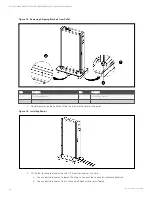
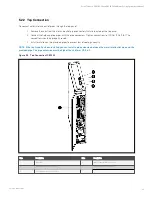
4.3 Removing the Feet and Fixing the Unit (Optional)
NOTE: If the machine room has a mounting bracket and its width does not exceed 30 mm (1.2 in.), you can remove the
feet and fix the unit onto the mounting bracket.
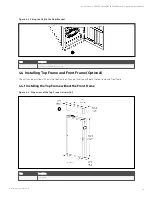
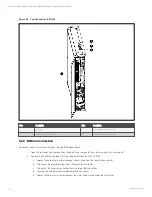
To remove the feet and fix the unit:
1.
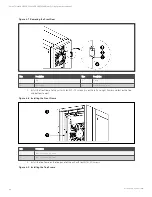
Use an adjustable wrench to loosen the fixing nut on each foot in counter-clockwise direction. Rotate the hex
bolt counter-clockwise until each foot drops from the unit.
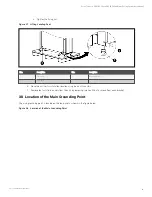
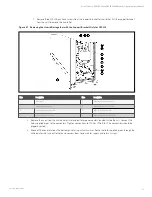
2.
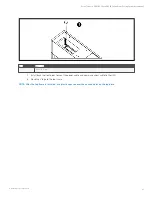
The unit provides four holes (diameter: 13.5 mm (0.5 in.)) on the bottom frames of the unit. Install M12 x 25
screws in the holes to fix the unit onto the floor bracket of the equipment room.
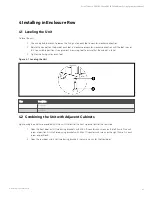
4 Installing in Enclosure Row
22
Vertiv™ Liebert® CRV CRC30 and CRC60 Chilled Water Cooling System User Manual

