1
using LabQuest, choose Wireless
Device Setup > Go Direct from the
Sensors menu.
6. Select your Go Direct sensor from
the list of Discovered Wireless
Devices. Your sensor's ID is located
near the barcode on the sensor. The
LED will blink green when it is
successfully connected.
7. Click or tap Done to enter data-
collection mode.
Charging the Sensor
Connect Go Direct pH to the included Micro USB Cable and any USB device
for two hours. Connecting the Go Direct pH BNC Electrode to the electrode
amplifier during charging is optional.
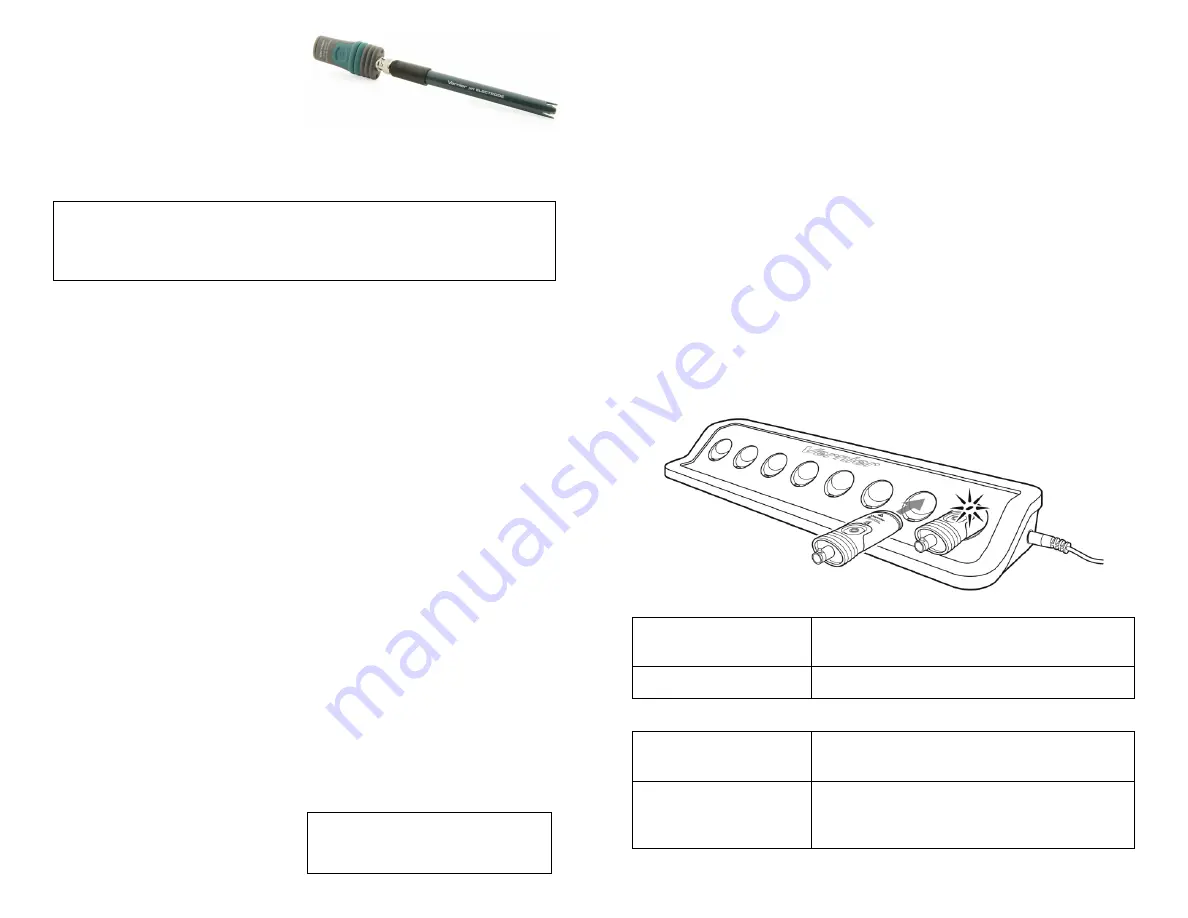
You can also charge up to eight Go Direct pH Sensors using our Go Direct
Charge Station, sold separately (order code: GDX-CRG). An LED on each Go
Direct pH Sensor indicates charging status.
Charging
Blue LED on steady while sensor is connected to
the Micro USB Cable or Charging Station.
Fully charged
Blue LED is off when charging is complete.
Powering the Sensor
Turning on the sensor
Press button once. Red LED indicator flashes
when unit is on.
Putting the sensor in sleep
mode
Press and hold button for more than three
seconds to put into sleep mode. Red LED
indicator stops flashing when sleeping.
Go Direct
®
pH
(Order Code GDX-PH)
Go Direct pH can be used for any lab or
demonstration that can be done with a
traditional pH meter, including acid-base
titrations, monitoring pH in an aquarium, and investigating the water quality of
streams and lakes.
Note:
Vernier products are designed for educational use. Our products are not
designed nor are they recommended for any industrial, medical, or commercial
process such as life support, patient diagnosis, control of a manufacturing
process, or industrial testing of any kind.
What's Included
l
Go Direct pH (Go Direct Electrode Amplifier connected to a Go Direct pH
BNC Electrode)
l
Electrode storage bottle, containing pH 4/KCl solution
l
Micro USB Cable
Compatible Software
See
www.vernier.com/manuals/gdx-ph
for a list of software compatible with the
Go Direct pH Sensor.
Getting Started
Please see the following link for platform-specific connection information:
Bluetooth Connection
USB Connection
1. Install Vernier Graphical
Analysis™ on your computer,
Chromebook™, or mobile device. If
using LabQuest
®
, make sure
LabQuest App is up to date. See
www.vernier.com/ga4 for Graphical
Analysis availability or
www.vernier.com/downloads to
update LabQuest App.
2. Charge your sensor for at least
2 hours before first use.
3. Turn on your sensor by pressing the
power button once. The LED will
blink red.
4. Launch Graphical Analysis or turn
on LabQuest.
5. If using Graphical Analysis, click
or tap Sensor Data Collection. If
1. Install Graphical Analysis on your
computer or Chromebook. If using
LabQuest, make sure LabQuest
App is up to date. See
www.vernier.com/ga4 for software
availability or
www.vernier.com/downloads to
update LabQuest App.
2. Connect the sensor to the USB
port.
3. Launch Graphical Analysis or turn
on LabQuest. You are now ready to
collect data.
Note:
This sensor does not work with
the original LabQuest. It works with
LabQuest 2 or LabQuest 3.


