Moneris Core® V400m Wireless Terminal: Setting up Your Hardware
5
Using the charge cable
1.
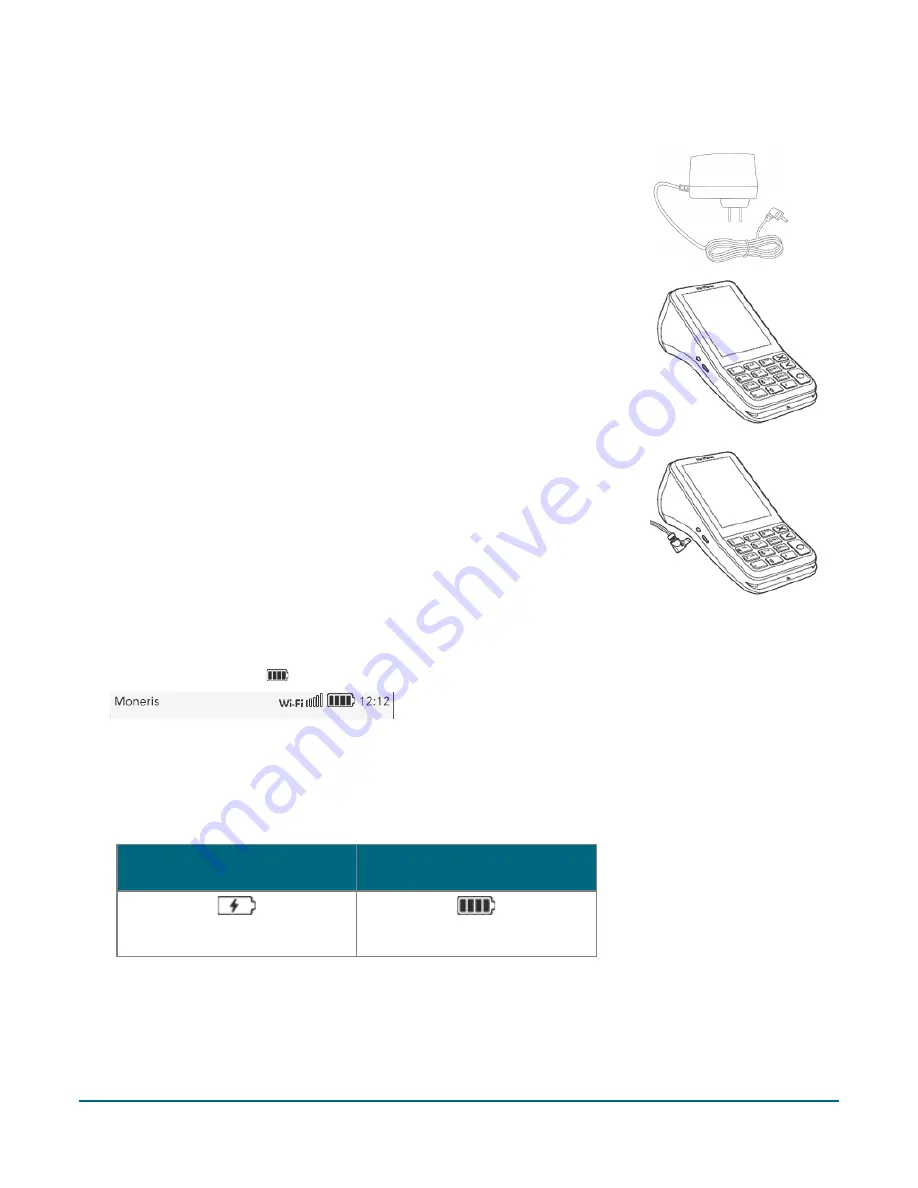
Locate the charge cable.
2.
Locate the small circular power port on the left side of the terminal.
3.
Insert the charge cable connector into the power port.
4.
Plug the other end of the cable into a working power outlet.
5.
When the terminal powers on, proceed to step 6 below.
6.
Wait for the “Welcome! Let’s get you payment ready” prompt to appear. (This should take about 60
seconds.)
7.
Locate the Battery icon
at the top of the terminal screen in the status bar:
8.
Wait for the Battery icon to display the “lightning bolt” icon. This indicates that the battery is charging and
may take several minutes to appear.
Note:
The "lightning bolt" portion of the icon displays only if the terminal is connected to an external power
source.
Terminal IS CONNECTED to
external power source
Terminal IS NOT CONNECTED to
external power source
CHARGE LEVEL: 100%
CHARGE LEVEL: 100%
9.
Continue charging the terminal during the rest of the setup procedures.
10.
Your hardware setup is complete. To set up your software and communications, refer to the
Moneris Core®
V400m Setting up Your Software
guide available at


