Development Environment Setup on Windows
Setting Up RISC-V Development Environment for RV32M1-VEGA, User’s Guide, Rev. 0
4
www.open-isa.org
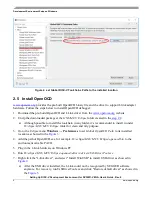
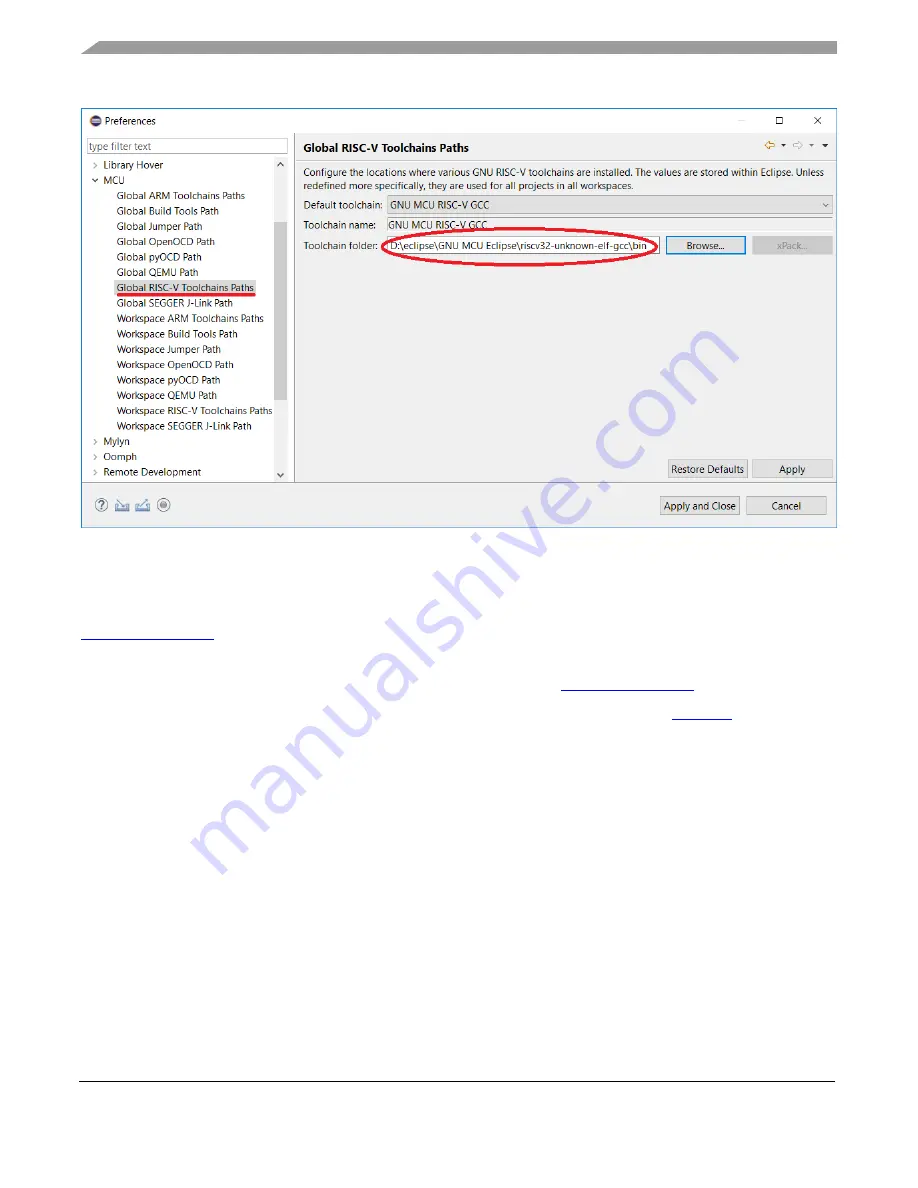
Figure 2. set Global RISC-V Toolchains Paths to the installed location
2.5 Install OpenOCD
provides the pre-built OpenOCD binary file and the driver to support J-link adapter
hardware. Follow the steps below to install OpenOCD debugger:
1.
Download the pre-build OpenOCD and J-Link driver from the
2.
Unzip the downloaded package at the
GNU MCU Eclipse
folder created in the
a)
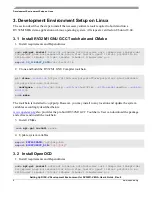
Although possible to install the toolchain in any folder, it’s recommended to install it under
D:\clipse\GNU MCU Eclipse
folder for clean and tidy purpose.
3.
Go to the
Eclipse
menu
Windows
→
Preferences
to set
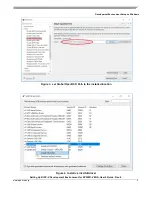
Global OpenOCD Path
to its installed
location as showed in the
Figure 3
.
4.
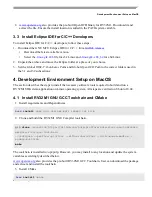
Add the path of OpenOCD.exe, for example,
D:\eclipse\GNU MCU Eclipse\openocd\bin
to the
environment variable PATH.
5.
Plug in the J-Link hardware on Windows PC
6.
Run
D:\eclipse\GNU MCU Eclipse\openocd\drivers\drivers\UsbDriverTool.exe
7.
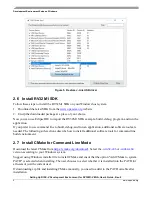
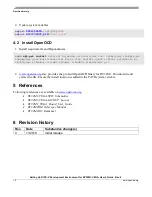
Right click the "J-link driver", and select "Install WinUSB" to install USB driver as showed in
Figure 4
a)
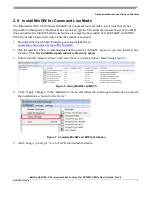
After the USB driver installed, the J-Link could not be recognized by SEGGER software
anymore. For recovery, run UsbDriverTool.exe and click "Restore default driver" as showed in
the
Figure 5
.


