5
System Setup
Current Time
5-4
Current Time
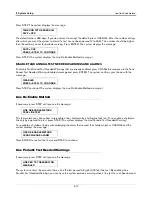
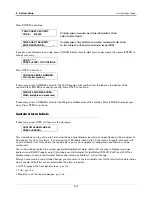
If necessary, press STEP until you see the message:
To accept the time shown, press STEP. (The system displays the ENTER STATION HEADER message.)
To set a different time, press CHANGE and enter the correct time from 12:00 to 11:59 then am or pm. (Press the
Left or Right Arrow to select AM or PM). Press ENTER. The system confirms your entry with the message:
Press STEP to continue.
Report Headers
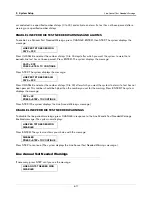
If necessary, press STEP until you see the message:
NOTE: The header can be up to four lines with 20 characters per line. Use the header to identify site location,
telephone number, etc. (See “Using the Alphanumeric Keys” on page 2-3 for instructions on how to enter
alphanumeric data.)
If you do not want a header for reports, press STEP. The system displays the SHIFT START TIME message.)
To create a header, press CHANGE in response to the ENTER STATION HEADER message. Enter up to 20
characters for the first line. Press ENTER. The system confirms your entry with the message:
To enter additional header lines, press STEP and repeat the above procedure up to three more times for lines 2, 3,
and 4. When you finish entering the header, press STEP to continue.
Shift Start Times
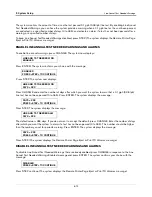
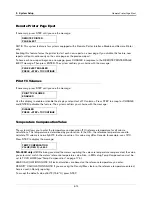
If necessary, press STEP until you see the message:
Setting shift start times can ease shift changes and improve fuel inventory management. At each programmed
time, the system automatically prints a complete inventory report and stores it in memory.
NOTE: At least one Shift Start Time must be entered to activate the “Last Shift Inventory” feature. If you have fewer
than three shifts and wish to receive a day-end inventory report at the end of the final shift, use the next shift start
time as the day-end time. The system automatically prints a final inventory.
SET TIME
TIME: XX:XX AM PM
TIME: XX:XX XM
PRESS <STEP> TO CONTINUE
ENTER STATION HEADER
#1:
#1: [1st Line Of Header]
PRESS <STEP> TO CONTINUE
SHIFT #1 START TIME
TIME: DISABLED


