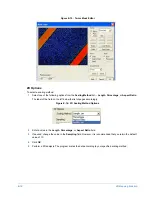
3D Mapping Function
E-3
4
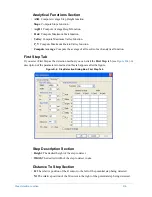
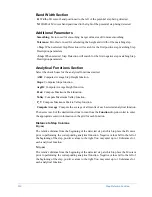
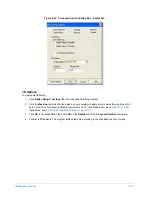
Make or modify any additional settings in the
Scan Parameters
dialog box. For example, if you know the
desired scan length and map width, enter your scan length on the
Nominal Parameters
tab and enter your
map width on the
Map Parameters
tab.
5
Click
OK
to close the dialog box.
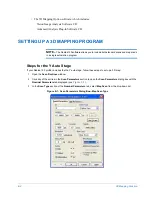
Steps for the X-Y Auto Stage
If your Dektak 150 profiler includes the X-Y auto stage, follow these steps to set up a 3D map:
1
Open the
Scan Routines
window.
2
Click any of the entries in the
Scan Parameters
section to open the
Scan Parameters
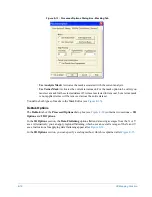
dialog box with the
Nominal Parameters
).
3
In the
Scan Type
section of the
Nominal Parameters
tab, select
Map Scan
from the list. .
4
Select
Window > Sample Positioning
. The
Sample Positioning
window appears.
5
Select
Edit
>
Define Map Area
(or press
C
TRL
+D
on the keyboard). In the
Sample Positioning
window,
locate the feature to be mapped, using either the high or low magnification camera to view the area.
6
Null the stylus at any corner of the intended mapping area. To do this:
a.
Position the stylus horizontally over the sample.
b.
Select
Tower Down
to bring the sample into focus before setting the map area.
7
Follow the directions displayed:
a.
Roll the mouse to define the X extent.
b.
Click the left mouse button.
c.
Roll the mouse to define the Y extent.
d.
Click the left mouse button.
The software always calculates the coordinates at the lower left corner of the map area. It also enters those
coordinates into both the
Automation Program
window (
Scan Routines
section) and the
Location
for the
scan routine in the
Scan Routines
window (
Scan Parameters
section). The map proceeds from bottom to
top, moving in the positive Y direction with each new scan line.
8
Open the
Scan Routines
window.
9
Click any of the entries in the
Scan Parameters
section at the left side of the window, to open the
Scan
Parameters
dialog box.
10
Click the
Map Parameters
tab.
11
Enter or change any of the parameters on the
Map Parameters
tab of the
Scan Parameters
dialog box.
For example, enter the number of
Profiles
(scan lines) up to 10,000 (100 scan lines is recommended), or
the vertical scan
Resolution
(down to 1.0
μ
m/scan).
NOTE –
Entering a new value for
Resolution
automatically resets the number of
Profiles
required for the specified
Y Extent
. Conversely, entering a new value for the number of
Profiles
automatically resets the value for
Resolution
as required for the specified
Y Extent
.
(The product of
Profiles
times
Resolution
equals
Y Extent
.)
Summary of Contents for Dektak 150
Page 1: ......
Page 7: ......
Page 17: ......
Page 81: ......
Page 105: ......
Page 149: ......
Page 191: ......
Page 251: ......
Page 257: ...A 6 Facilities Specifications Figure A 6 Dektak 150 without Enclosure Side View ...
Page 258: ...Facilities Specifications A 7 Figure A 7 Dektak 150 Dimensions without Enclosure Top View ...
Page 259: ...A 8 Facilities Specifications Figure A 8 Dektak 150 without Enclosure Center of Mass ...
Page 273: ......
Page 283: ......
Page 321: ......
Page 331: ......
Page 333: ......
Page 336: ......
Page 337: ......
Page 349: ......


