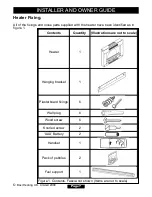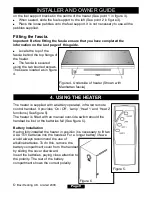
on the fuel support bracket in the centre of the heater (See point 1 in figure 3).
When seated, slide the fuel support to the left (See point 2 in figure 3).
Place the loose pebbles onto the fuel support. It is not necessary to use all the
pebbles supplied.
Fitting the fascia.
Important: Before fitting the fascia ensure that you have completed the
information on the last page of this guide.
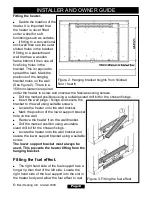
Locate the top of the
fascia behind the top flange of
the heater.
The fascia is secured
using the two knurled screws.
These are located as in figure
4.
4. USING THE HEATER
The heater is supplied with a battery operated, infra red remote
control handset. It provides ‘On / Off’, ‘Lamp’, ‘Heat 1’ and ‘Heat 2’
functions (See figure 5).
The heater is fitted with an manual over-ride switch should the
handset be lost or the batteries fail (See figure 6).
Battery Installation
Having fully installed the heater in position it is necessary to fit two
AAA 1.5V batteries into the handset. For a longer battery life we
would always recommend the use of
alkaline batteries. To do this, remove the
battery compartment cover from the handset
by sliding the cover downward.
Insert the batteries, paying close attention to
the polarity. The rear of the battery
compartment shows the correct polarity.
Page 9
INSTALLER AND OWNER GUIDE
©
Baxi Heating U.K. Limited 2008.
Figure 4. Underside of heater (Shown with
Manhattan fascia)
Figure 6.
Figure 5.


