Installation and maintenance instructions
recoVAIR
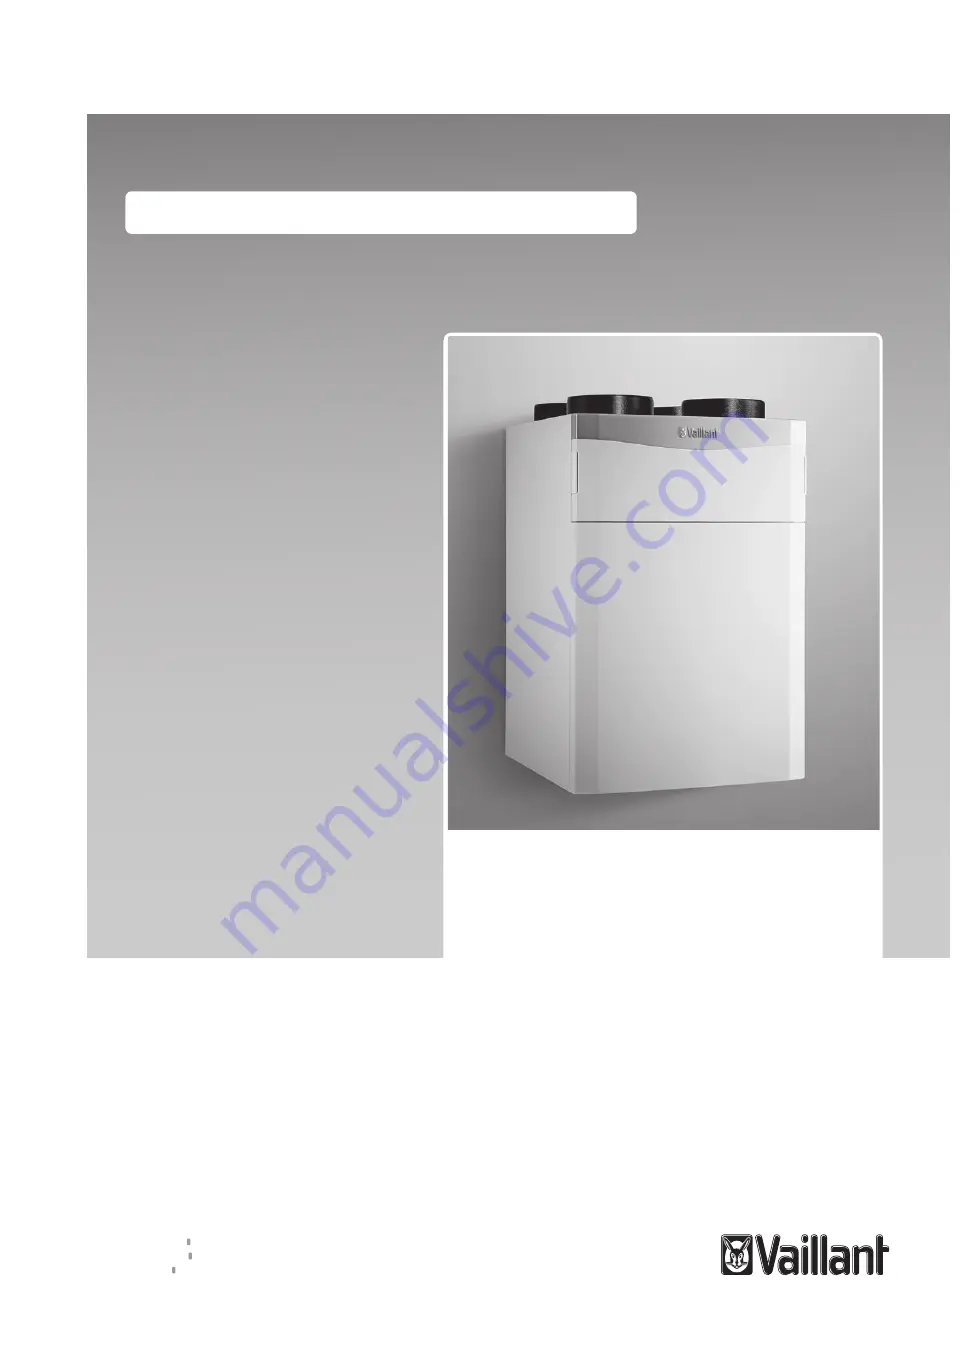
VAR 260/4 (E), VAR 360/4 (E)
AT, CH (de), DE
Publisher/manufacturerVaillant GmbH
Berghauser Str. 40
D-42859 Remscheid
Tel. +49
21
91
18
‑
0
Fax +49
2810
[email protected]
www.vaillant.de
Page 1: ...maintenance instructions recoVAIR VAR 260 4 E VAR 360 4 E AT CH de DE Publisher manufacturer Vaillant GmbH Berghauser Str 40 D 42859 Remscheid Tel 49 21 91 18 0 Fax 49 21 91 18 2810 info vaillant de...
Page 2: ...ing external components in the product s connection area 10 5 2 Connecting the VR 32 bus coupler 11 5 3 Connecting the product to the power supply in a fixed installation 12 6 Operation 12 6 1 Operati...
Page 3: ...nd main tenance conditions listed in the instruc tions Any other use that is not specified in these instructions or use beyond that specified in this document shall be considered improper use Any dire...
Page 4: ...4 Access to the mains plug circuit breaker must be guaranteed Ensure that the mains plug circuit breaker depending on the country is always ac cessible after the installation 1 4 Regulations directive...
Page 5: ...48 VAR 360 4 0010015166 VAR 360 4 E 0010016349 Product article number Applicability Austria Austria VAR 260 4 0010016040 VAR 260 4 E 0010016348 VAR 360 4 0010015166 VAR 360 4 E 0010016349 3 Product de...
Page 6: ...olume flow TMAX Max operating temperature Bar code with serial number The 7th to 16th digits of the serial number form the article number 3 4 CE label The CE label shows that the products comply with...
Page 7: ...sses ensure that the dis tances between the header line of the ventilation system and the product are as short as possible After installation ensure that the pipelines and the ventil ation system are...
Page 8: ...fixing bracket Using the slotted holes in the fixing bracket Spirit level Danger Risk of injury caused by a heavy weight when mounting the product The product weighs 41 kg If you are mount ing the pro...
Page 9: ...ions for the product Diameter of pipelines 150 mm Exit air lines Continuous downward gradient to the unit Using the condensate drain pipework if neces sary 3 Install the silencer in the supply exit an...
Page 10: ...t 5 Close all of the twist locks 4 on the control panel fas cia Quarter turn 6 Push in both filter plugs 3 7 Secure the front flap 1 5 Electrical installation Only qualified electricians may carry out...
Page 11: ...onnect the control to the eBUS connection in the con nection area for external components of the product System control installation instructions Connection type eBUS line Controller Compatibility as...
Page 12: ...230 V or use the circuit breaker depending on the country to switch on the product The product s electronics start up The basic display appears on the display 7 2 Installation assistant As a prerequi...
Page 13: ...isbalance You can use this function to set the dis balance between the exhaust air volume flow and supply air volume flow The ex haust air volume flow must always be greater than the supply air volume...
Page 14: ...ge 12 8 1 1 2 Measuring initialising the system 1 Call up the installer level Page 12 2 Navigate to the Test menu Check programmes Initialisation measure menu item 3 Start the check programme The syst...
Page 15: ...ensate tray 1 Open the product Page 10 2 Undo and remove the heat exchanger cover Caution Risk of material damage to the heat ex changer caused by incorrect handling If your hands or any objects come...
Page 16: ...e impeding the air flows 4 If required re adjust the supply air and exhaust air valves 5 Clean the outside air s intake tract and the exit air s outlet openings 6 Carry out maintenance on the product...
Page 17: ...e frost protection function is no longer active This increases the risk of moisture or mould build ing up Only decommission the product in the case of an emergency for maintenance or repair work or fo...
Page 18: ...Check programmes P 01 Bypass test Yes No No P 02 Test Frost prot element Yes No No P 03 Initialisation measure Yes No No P 04 System efficiency test Yes No No Installer level Test menu Sensor actuato...
Page 19: ...tandard Frost prot element Not available Electrical Hydraulic Not avail able Air earth collector Not available Available Not avail able Diff temp bypass 0 25 0 5 10 Pressure monitor Not available Avai...
Page 20: ...efective Check that the exhaust air fan works correctly F 803 Fault Supply air ventil ator Supply air fan does not work is defective Check that the supply air fan works correctly F 804 Supply air temp...
Page 21: ...emperature increases again The product then starts normal operation Supply air temp 10 Lhm 807 Failure fault Air quality sensor Air quality sensor does not work is defective Check the air quality sens...
Page 22: ...sition Check the flap position The temperature sensor is posi tioned incorrectly Check the positioning of the temperature sensor Noises in the condensate drain pipework Condensate siphon connected inc...
Page 23: ...ten ance The maintenance interval for the product was exceeded Maintaining the product At least annually 3 M 802 System ef ficiency impaired The system efficiency is ad versely affected Increase estab...
Page 24: ...9 m 0 9 m Thermal efficiency in accordance with EN 13141 7 85 78 85 75 Thermal efficiency in accordance with the Passivhaus Institut Passive House Institute 87 85 83 81 Thermal efficiency in accordan...
Page 25: ......
Page 26: ......
Page 27: ......
Page 28: ...n aus dem Mobilfunknetz ggf abweichende Tarife n here Information erhalten Sie bei Ihrem Mobilnetzbetreiber info vaillant at termin vaillant at www vaillant at www vaillant at werkskundendienst Vailla...