Working with Custom Scenes
You can store up to three customized sets of lighting and color adjustments (CCU scenes) so you can use
them whenever you need them.
To store a scene:
1. Adjust color, lighting, and detail as needed.
2. Decide which scene to assign as the current set of adjustments - A, B, or C.
3. Press and hold the appropriate scene button until it blinks.
To select a stored scene:
Press the appropriate SCENES button – A, B, or C. The button illuminates to show that the scene is in use.
To delete a stored scene:
Press and hold the appropriate scene button (A, B, or C) while pressing the Cancel button.
Adjusting for Cable Length
Long runs of cable from the Universal CCU to the camera can result in poor signal quality. If the video
quality is higher when you connect the camera to the Universal CCU with short cables, the skew
adjustment may help.
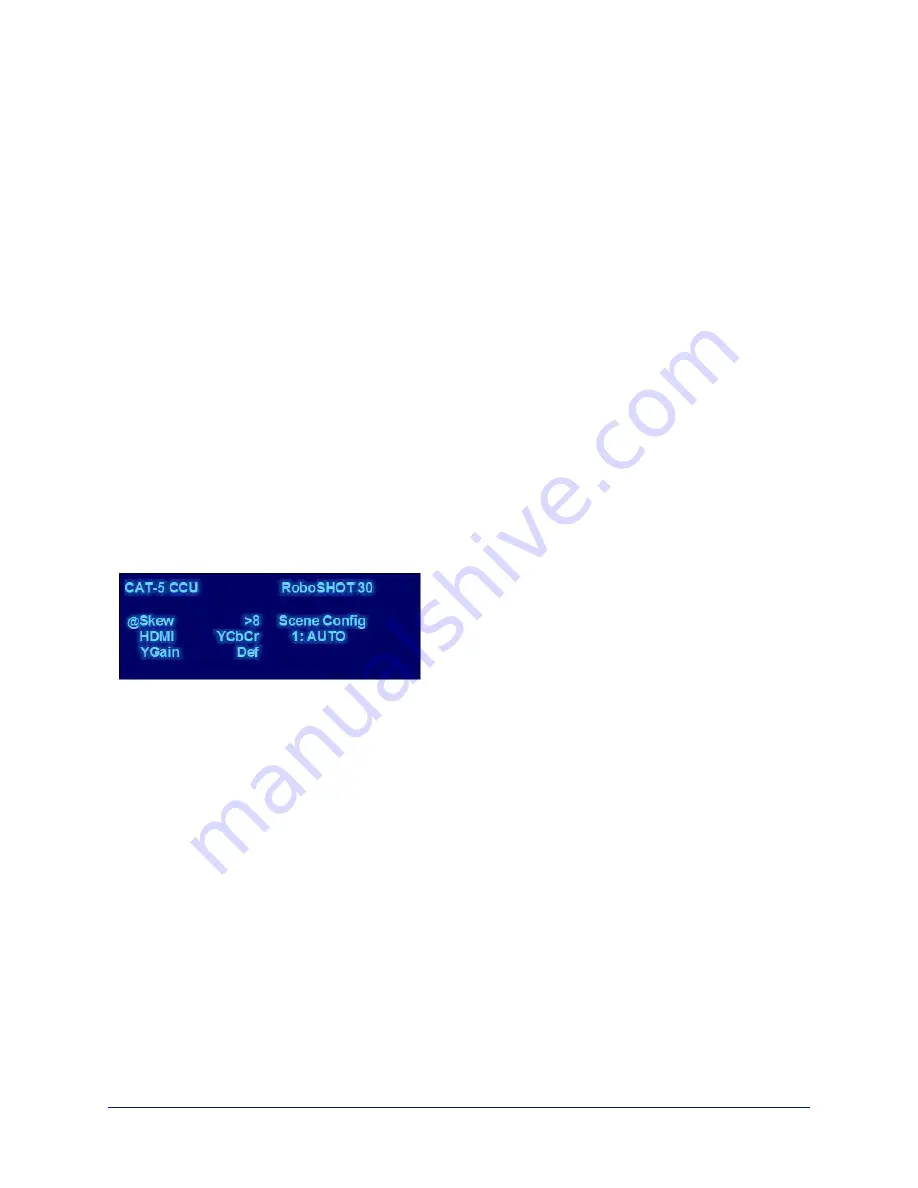
1. Open the Cat-5 Adjustments menu.
2. Select Skew.
3. Change the value as needed to produce the best video output from the Universal CCU. Available
values range from 1 to 16; higher values correct for longer cable lengths.
4. Press the SELECT button to save the change.
Pro Tip
For the best adjustment, start at the lowest skew value and increase to the first value that produces a
visible improvement. Note the value, and increase the skew until the video begins to look worse. Choose a
value about halfway between those two values.
If the skew value is too high, the video may drop.
72
Complete Manual for RoboSHOT 12 and RoboSHOT 30 Robotic PTZ Cameras


