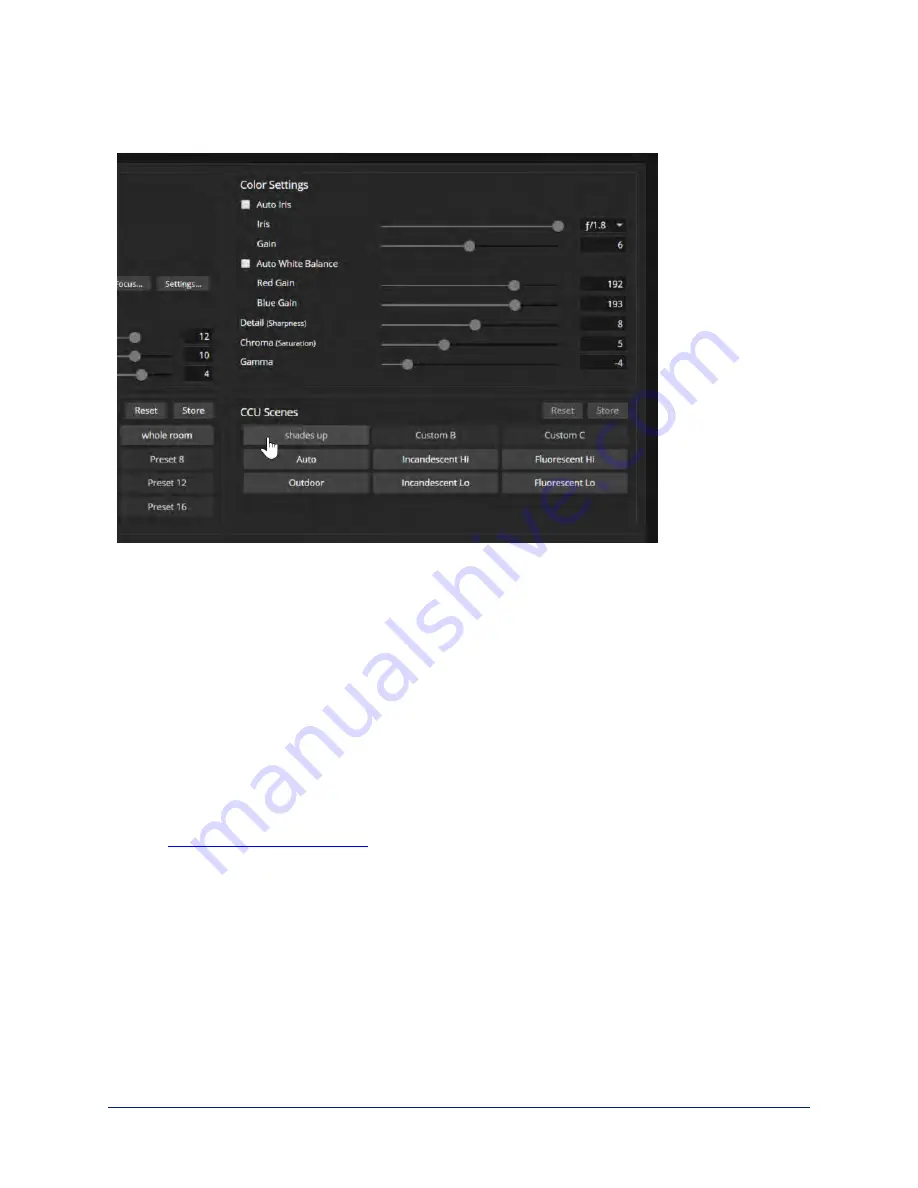
To make the initial adjustments:
Click one of the active CCU scene buttons to load a CCU scene into the camera.
To set up custom color and lighting settings:
1. Fine-tune the color and lighting as needed using the Color Settings controls.
o
Auto Iris
allows the camera to compensate automatically for the light level.
o
Backlight Compensation
(available with Auto Iris) reduces contrast to adjust for bright light behind
the main subject of the shot. This setting can't be used with Wide Dynamic Range.
o
Wide Dynamic Range
(available with Auto Iris) increases the contrast between the brightest and
darkest areas. This setting can't be used with Backlight Compensation
o
Auto White Balance
adjusts color automatically. Red gain and blue gain controls are not available
when Auto White Balance is selected.
o
Red Gain
and
Blue Gain
provide manual color adjustment.
o
Detail
adjusts the image sharpness.
o
Chroma
adjusts the color intensity.
o
Gamma
adjusts the range (grey density) between bright areas and shadows.
The
Color and Lighting Cheat Sheet
may be helpful.
2. When the scene looks the way you want it to, click Store CCU Scene.
3. In the Store CCU Scene dialog box, select which custom scene to store (Custom A, B, or C) and select
Save.
4. Optional: Name the new scene by right-clicking its button. A dialog box opens. Enter the name and
save it.
If you make a change that you don't like, start over by selecting and then deselecting Auto White Balance.
Note
If the video looks grainy or “noisy,” try a lower Detail setting. As in conversation, too much detail is bad.
62
Complete Manual for RoboSHOT 12 and RoboSHOT 30 Robotic PTZ Cameras


