Chapter 3. Configuration
7
3. CONFIGURATION
The first time you setup the Router it is recommended that you configure the WAN (ADSL) connection using a
single computer making sure that both the computer and the Router are not connected to the LAN. Once the WAN
connection is functioning properly, you may continue to make changes to Router configuration including IP settings and
DHCP setup. This chapter is concerned mainly with using your computer to configure the WAN connection. The following
chapter describes how to set up the advanced features of the Router.
3.1 ACCESS THE CONFIGURATION MANAGER
Now that your computer’s IP settings allow it to communicate with the Router, you can access the configuration
software.
Note
The wrong proxy server settings on your browser can prevent connection to the web
manager. If you are having trouble connecting to the web interface of the Router,
configure the proxy settings to bypass the proxy server or disable use of proxy servers
and try to connect again.
3.1.1 LOGIN TO HOME PAGE
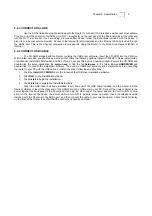
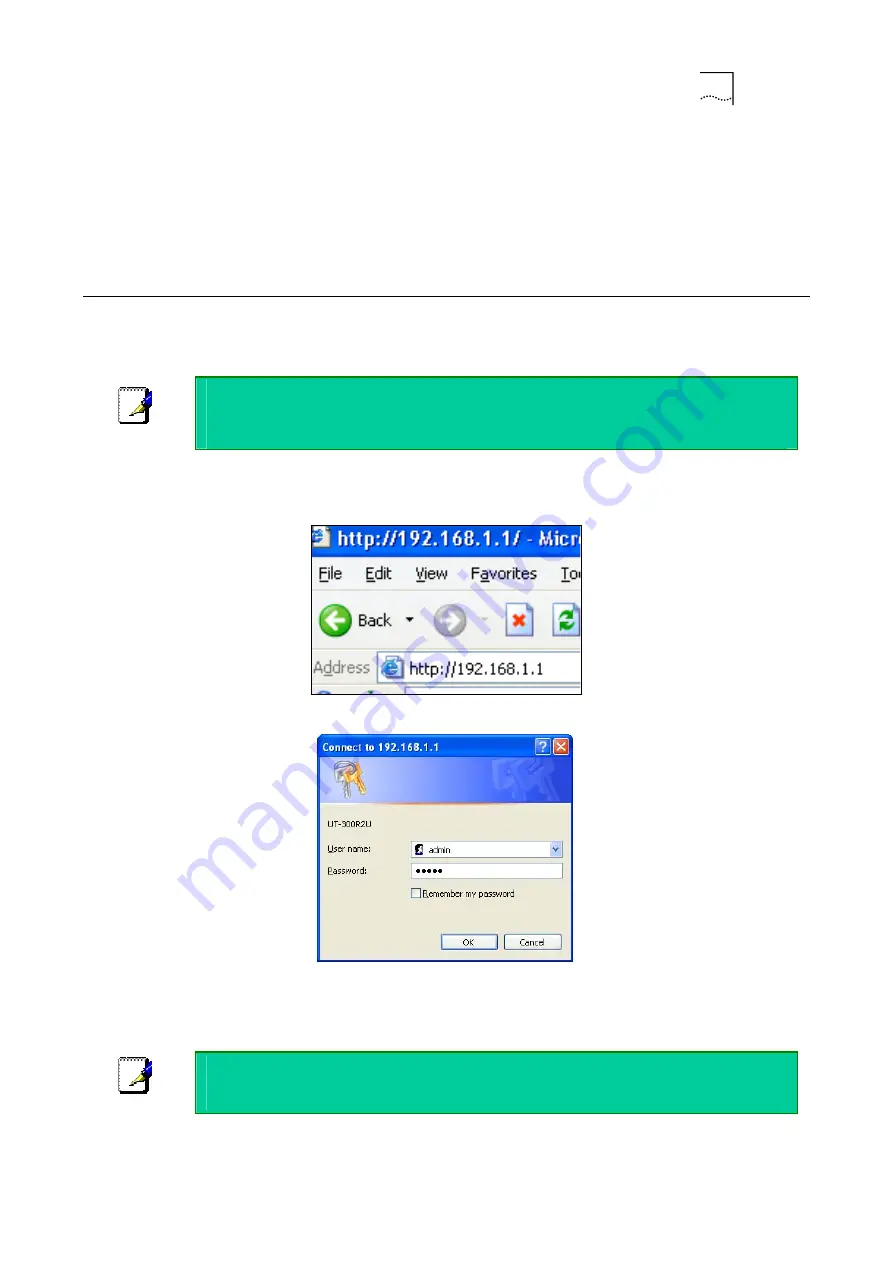
To use the web-based management software, launch a suitable web browser and direct it to the IP address of
the Router. Type in
http://
followed by the default IP address,
192.168.1.1
in the address
bar of the browser.
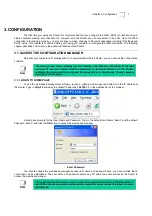
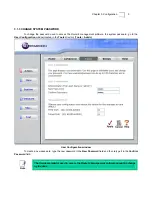
A dialog box prompts for the User Name and Password. Type in the default User Name “admin” and the default
Password “admin” and click the
OK
button to access the web-based manager.
Enter Password
You should change the web-based manager access user name and password once you have verified that a
connection can be established. The user name and password allows any PC within the same subnet as the Router to
access the web-based manger.
Note
The user name and password used to access the web-based manager is NOT the same as
the ADSL account user name and password needed for some connection types to access
the Internet.


