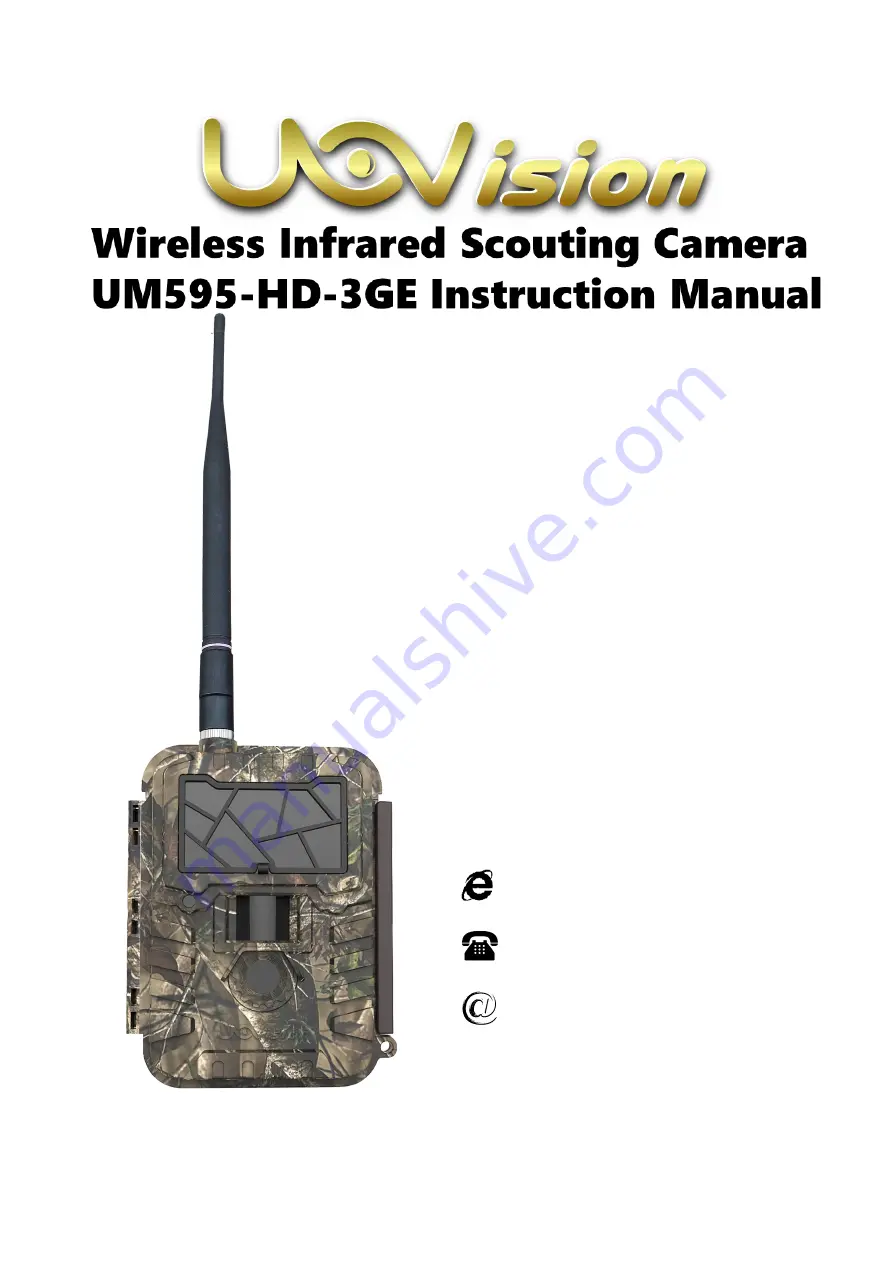
background image


(For UM595-HD-3GE

Web Portal

  Model)

Thanks for your purchase of 

UOV Cloud Platform

 camera. 

This manual will 

guide you through all the features of this 

device 

So that you could get optimal use of your 

Uovision product.   

We strive on offering all customers a 

positive, user friendly experience and 

leaving customers a lasting impression 


ww.uovision.com 


086-755-8652-8612


[email protected] 


Summary of Contents for UM595-HD-3GE

Page 1: ...is manual will guide you through all the features of this device So that you could get optimal use of your Uovision product We strive on offering all customers a positive user friendly experience and...

Page 2: ...and SD card 3 2 2 Set power 4 2 3 Camera settings 5 2 4 Setting map 6 3 Test shot 8 4 Connecting CAM to cloud server 9 4 1 Send a photo to cloud server 11 5 Setting CAM with cloud server or APP or SMS...

Page 3: ...Page 1 1 Camera Overview Fig 1 Front View...

Page 4: ...Page 2 Fig 2 Operation Interface Fig 3 Bottom View...

Page 5: ...Page 3 2 Quick start guide 2 1 Installing your SIM card and SD card Fig 4 Notice This product use 3G GSM cellular network The maximum support SD memory is 32G...

Page 6: ...offer power 12 size AA batteries with 1 5v or plug power port Fig 5 Notice Confirm that the power switch is at OFF position Insert battery with right polar as fig6 show Recommend high density and hig...

Page 7: ...button OFF power off SETUP setting the CAM ON working mode the screen will power off Press the MENU button You will see the screen shown in Fig 6 Fig 4 use buttons for navigation OK button to confirm...

Page 8: ...Page 6 2 4 Setting map Fig 7 Fig 8...

Page 9: ...Page 7 Fig 9 Fig 10...

Page 10: ...n of CAM will present as below Fig 11 With enough battery power good signal strength and enough SD card memory then you can start a test shot 1 Press to take a photo manually assume it s camera mode o...

Page 11: ...result 4 Connecting CAM to cloud server In order to send your photo to your cloud account or mobile phone you need adding CAM towards them first Open website https www linckeazi com index html Fig 13...

Page 12: ...orm will pop out requesting basic information for your CAM Fig 15 Name your CAM and add location description if necessary the SN and IMEI can be found labelled inside CAM SN labelled at the side of SI...

Page 13: ...ccount will receive your photo Fig 16 If the above test has accomplished then you can slide power switch to on and start using it take photo or video automatically 5 Setting CAM with cloud server or A...

Page 14: ...12 As to APP Please search Linckeazi in Google play or scan the QR code in the package and install the APK file to your smart phone The adding and setting process is quite similar to cloud server Fig...

Page 15: ...up at trees or anywhere you want to mount Fig 20 Don t not facing directly Use the forest for reflection towards light source add more light to your target Fig 21 Fig 22 mount the camera approximatel...

Page 16: ...sitivity Adjustable High Normal Low Trigger Time 0 9s Weight 0 35 kg without battery Operation Storage Tem 20 60 C 30 70 C Trigger Interval 5s 60 min Time lapse 3 59 minutes in 1 minute increments 1 8...

Page 17: ...n of Conformity to Directive 2014 53 EU CE Caution Hereby the manufacturer declares that this camera is in compliance with the essential requirements and other relevant provisions of Directive 2014 53...

Page 18: ...acturer will repair or replace the camera at no charge The purchase receipt must be included from an authorized retailer to validate the warranty Improper use of the camera resulting in damage is not...

Reviews: