33
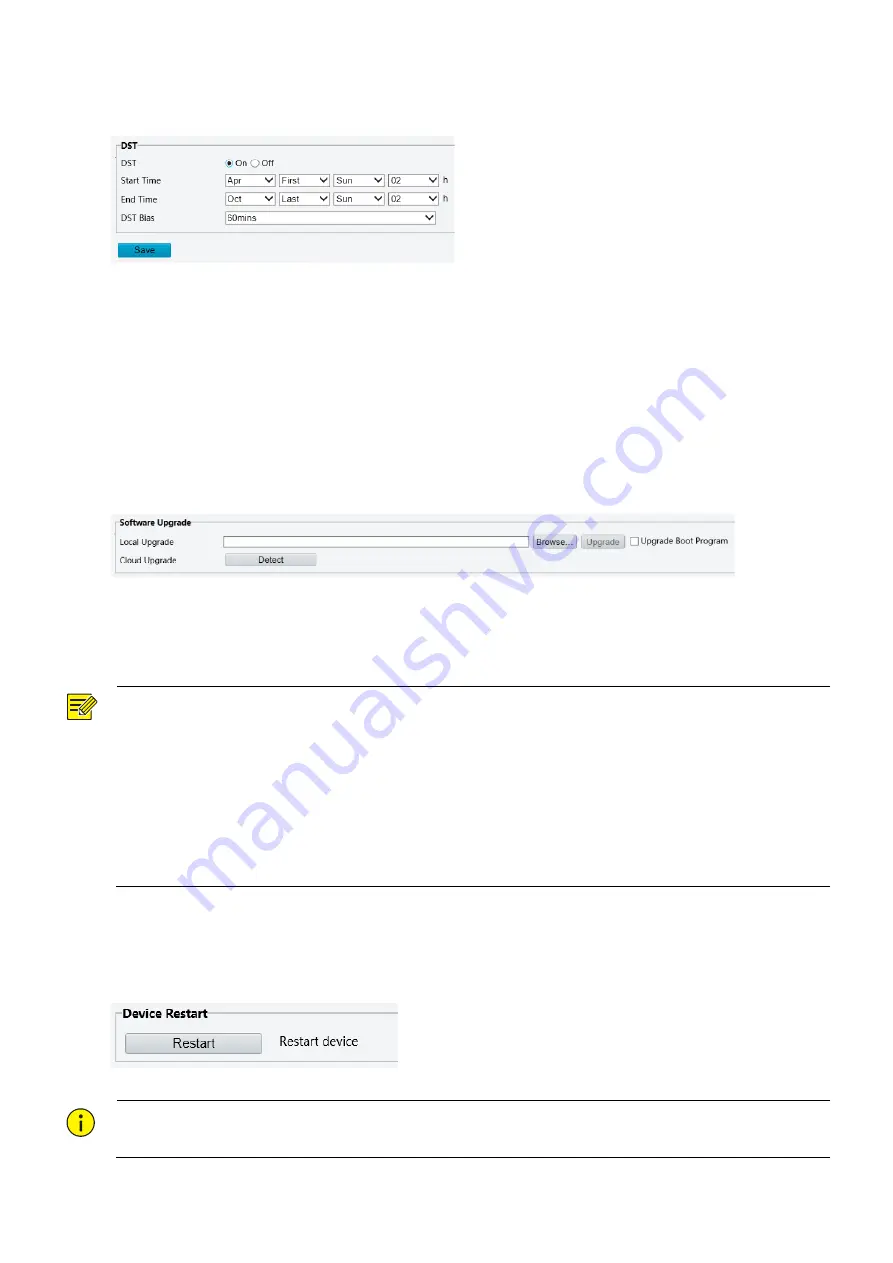
Setting the DST
1.
Click
Setup
>
Common
>
Time
, and then click the
DST
tab.
2.
Select
On
for
DST
, set the start time, end time, and DST bias.
3.
Click
Save
.
Upgrading the Device
If the device is managed by the central management server and you want to upgrade the devices in batch
mode, it is recommended to perform the upgrade operation on the central server. For detailed steps, see the
user manual for the central management server.
1.
Click
Setup
>
System
>
Maintenance
.
2.
Under
Software
Upgrade
, click
Browse
and select the correct upgrade file.
3.
Click
Upgrade
and then confirm to start. The camera will restart automatically after the upgrade is
completed. Some devices support boot program upgrade. To upgrade, select
Upgrade Boot Program
.
4.
You may click
Detect
to check for new versions available to cloud upgrade.
NOTE!
You must use the correct upgrade file for you camera. Otherwise, unexpected results may occur.
The upgrade file is a ZIP file and must include all the necessary files.
The boot program loads the operating system and then the system starts running. The upgrade boot
program function is disabled by default, and only the camera will be upgraded to the latest version.
If enabled, both the camera and the boot program are upgraded, and the operating system of the
following new versions can be booted properly and the camera can be upgraded conveniently.
Ensure that the power supply is normal during upgrade. The device will restart after the upgrade is
completed.
Restarting the System
1.
Click
Setup
>
System
>
Maintenance
.
2.
Under
Device Restart
, click
Restart
. The device will restart after you confirm the operation.
CAUTION!
Perform this operation with caution because restarting the system interrupts the ongoing service.


