Page | 109
NOTE:
In order to delete a Device or Scene entirely from the node list, it must be located in
the parent “My Lighting” folder. So, to delete a node, be sure to move it out to “My Lighting”
first.
My Lighting.
Clicking the My Lighting node on the left-hand pane displays a summary of
all your devices, their current states, their INSTEON addresses, their device types and their
firmware versions. You can sort by any field simply by clicking the appropriate column
header (Name, Current State, Address, or Type).
7.4
Controlling INSTEON Devices and Scenes
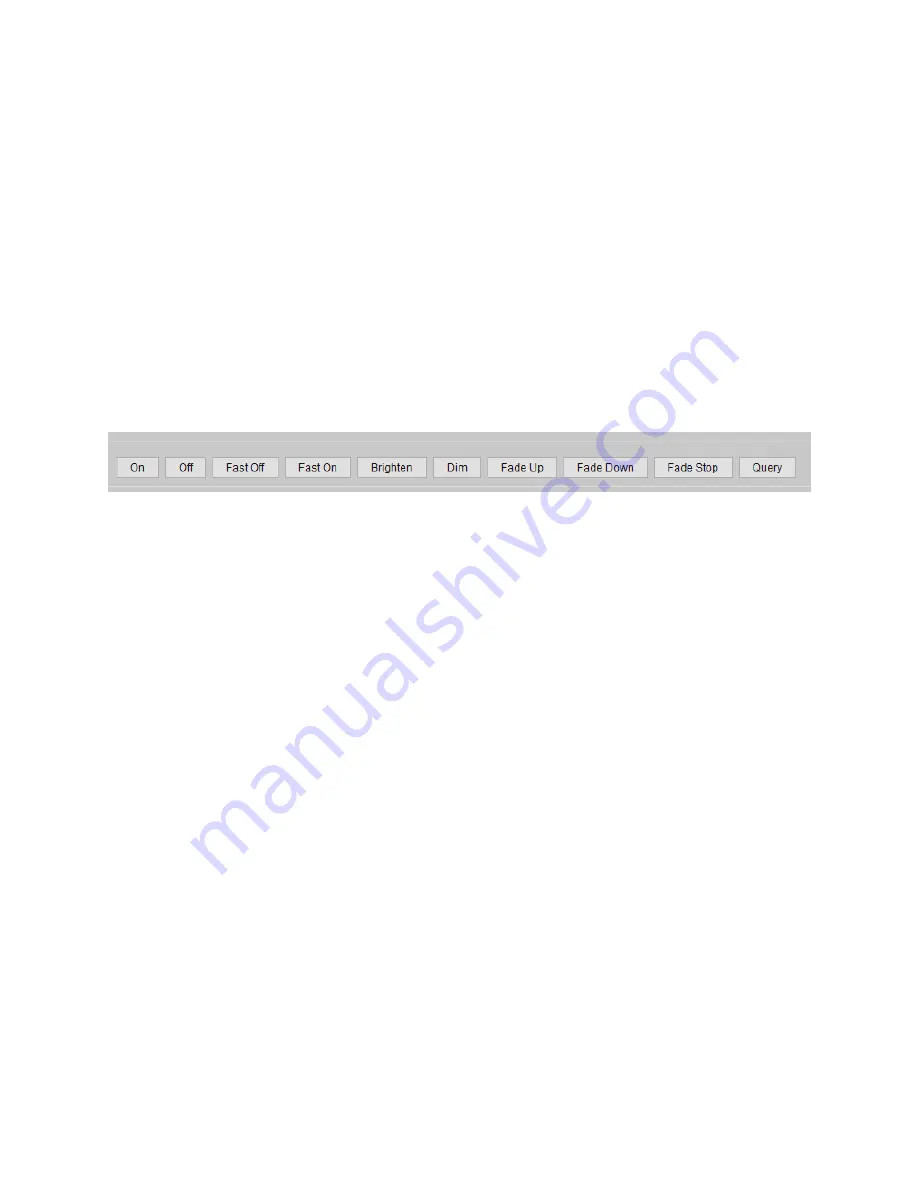
The Admin Console also allows you to control your INSTEON devices and scenes. Simply
click on a device or scene, and appropriate controls display on the bottom of the Console as
follows:
Figure 108: Scene Controls
On.
Clicking this button turns the INSTEON device or scene on to its programmed On Level
using its programmed Ramp Rate.
Off.
Clicking this
button turns the INSTEON device or scene off using it’s programmed
Ramp Rate.
Fast On.
Clicking this button turns the INSTEON device or scene on to its maximum
(100%) level instantly (ignoring its programmed On Level and Ramp Rate).
Fast Off.
Clicking this button turns the INSTEON device or scene off instantly (ignoring its
programmed Ramp Rate).
Brighten.
Pressing and holding this button starts ramping up the brightness level of a
dimmable INSTEON device. Release the button to stop the ramp up.
Dim.
Pressing and holding this button starts ramping down the brightness level of a
dimmable INSTEON device. Release the button to stop the ramp down.
LED Brightness.
Some INSTEON devices allow you to adjust the brightness of their LEDs
by changing this value.
Some devices may have other controls or options available. To find out more information
Summary of Contents for ISY-994i Series
Page 1: ...The ISY 994i Home Automation Cookbook ...
Page 35: ...Page 12 Figure 6 UDAjax Main Screen ...
Page 36: ...Page 13 Figure 7 UDAjax Devices Scenes Screen ...
Page 68: ...Page 45 Figure 44 NodeServer Configuration popup 5 2 5 Tools Menu Figure 45 Tools Menu ...
Page 102: ...Page 79 6 6 3 2Activate My OpenADR Portlet Figure 77 OpenADR My OpenADR Menu Option ...
Page 103: ...Page 80 6 6 3 3Configure OpenADR Settings Figure 78 OpenADR Settings Menu Option ...
Page 104: ...Page 81 Figure 79 OpenADR Settings Display ...
Page 108: ...Page 85 6 6 3 7Issue an Event Figure 84 OpenADR Issue and Event ...
Page 110: ...Page 87 Figure 86 OpenADR Event Viewer ...
Page 116: ...Page 93 Figure 92 ElkRP2 Account Details M1XEP Setup Button In the M1XEP Setup Window ...
Page 267: ...Page 244 Figure 189 State Variables ...
Page 268: ...Page 245 Figure 190 Programs and Folders ...
Page 292: ...Page 269 Figure 192 Irrigation Folders Figure 193 Irrigation Devices ...
Page 376: ...Page 353 Figure 209 Save Topology File ...
Page 433: ...Page 410 Figure 242 X 10 recognized as Living Room East Device ...
Page 540: ...Page 517 Figure 357 In Car Detection 12 Figure 358 In Car Detection 13 ...
Page 602: ...Page 579 Figure 382 SecureCRT SSH Raspberry PI Session ...
Page 685: ......


