226
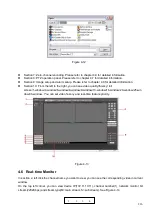
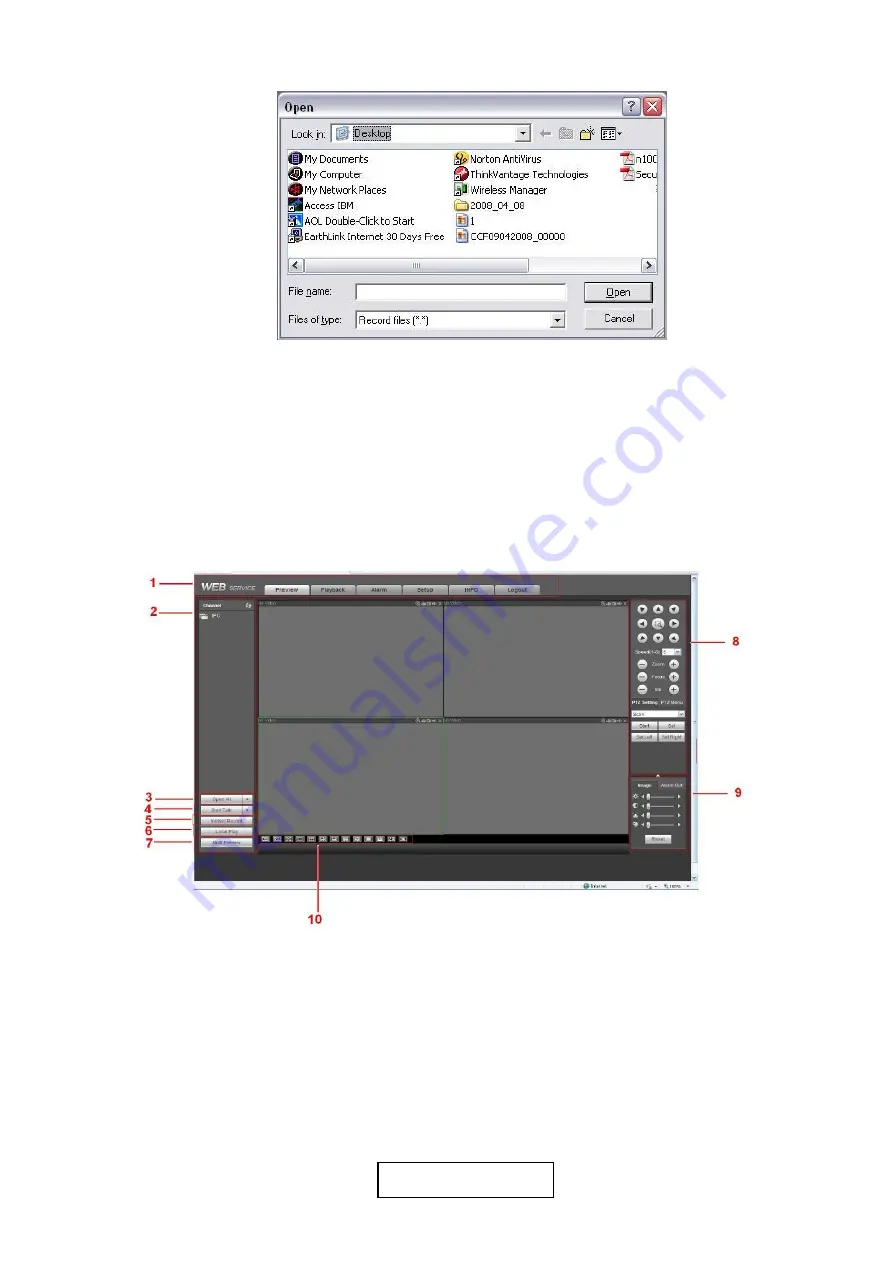
Figure 4-12
⚫
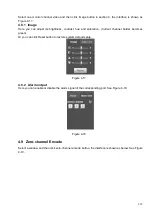
Section 7: Zero-channel encoding. Please refer to chapter 4.9 for detailed information.
⚫
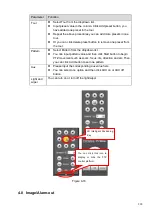
Section 8: PTZ operation panel. Please refer to chapter 4.7 for detailed information.
⚫
Section 9: Image setup and alarm setup. Please refer to chapter 4.8 for detailed information.
⚫
Section 10: From the left to the right ,you can see video quality/fluency/ full
screen/1-window/4-window/6-window/8-window/9-window/13-window/16-window/20-window/25-win
dow/36-window.. You can set video fluency and real-time feature priority.
Figure 4-13
4.6 Real-time Monitor
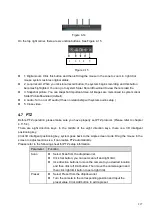
In section 2, left click the channel name you want to view, you can see the corresponding video in current
window.
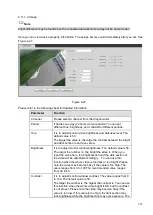
On the top left corner, you can view device IP(172.11.10.11), channel number(1), network monitor bit
stream(2202Kbps) and stream type(M=main stream, S=sub stream). See Figure 4-14.
1 2 3 4
Summary of Contents for EmPower NVR
Page 1: ...EmPower NVR User s Manual V4 4 3...
Page 36: ...23 Figure 3 16 Step 2 Click device display edit interface See Figure 3 17...
Page 97: ...84 Figure 3 91 Figure 3 92...
Page 120: ...107 Figure 3 110 Figure 3 111 Figure 3 112...
Page 131: ...118 Figure 3 123 Figure 3 124...
Page 133: ...120 Figure 3 126 Click draw button to draw the zone See Figure 3 127...
Page 137: ...124 Figure 3 130 Click Draw button to draw a zone See Figure 3 131 Figure 3 131...
Page 142: ...129 Figure 3 136 Click draw button to draw the zone See Figure 3 137...
Page 155: ...142 Figure 3 149 Figure 3 150...
Page 156: ...143 Figure 3 151 Figure 3 152...
Page 174: ...161 Figure 3 172 Figure 3 173...
Page 277: ...264 Figure 4 61 Figure 4 62 Figure 4 63...
Page 303: ...290 Figure 4 101 Figure 4 102...
Page 327: ...314 Figure 4 136 Note For admin you can change the email information See Figure 4 137...

