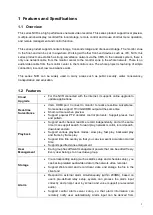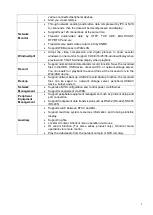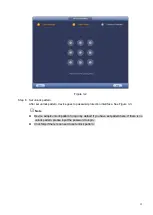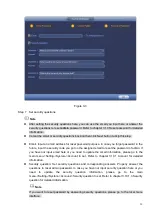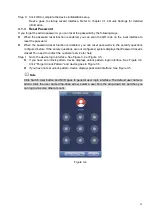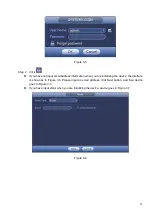
5
2.4.2 1U Series
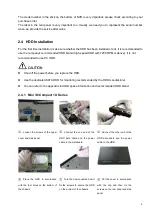
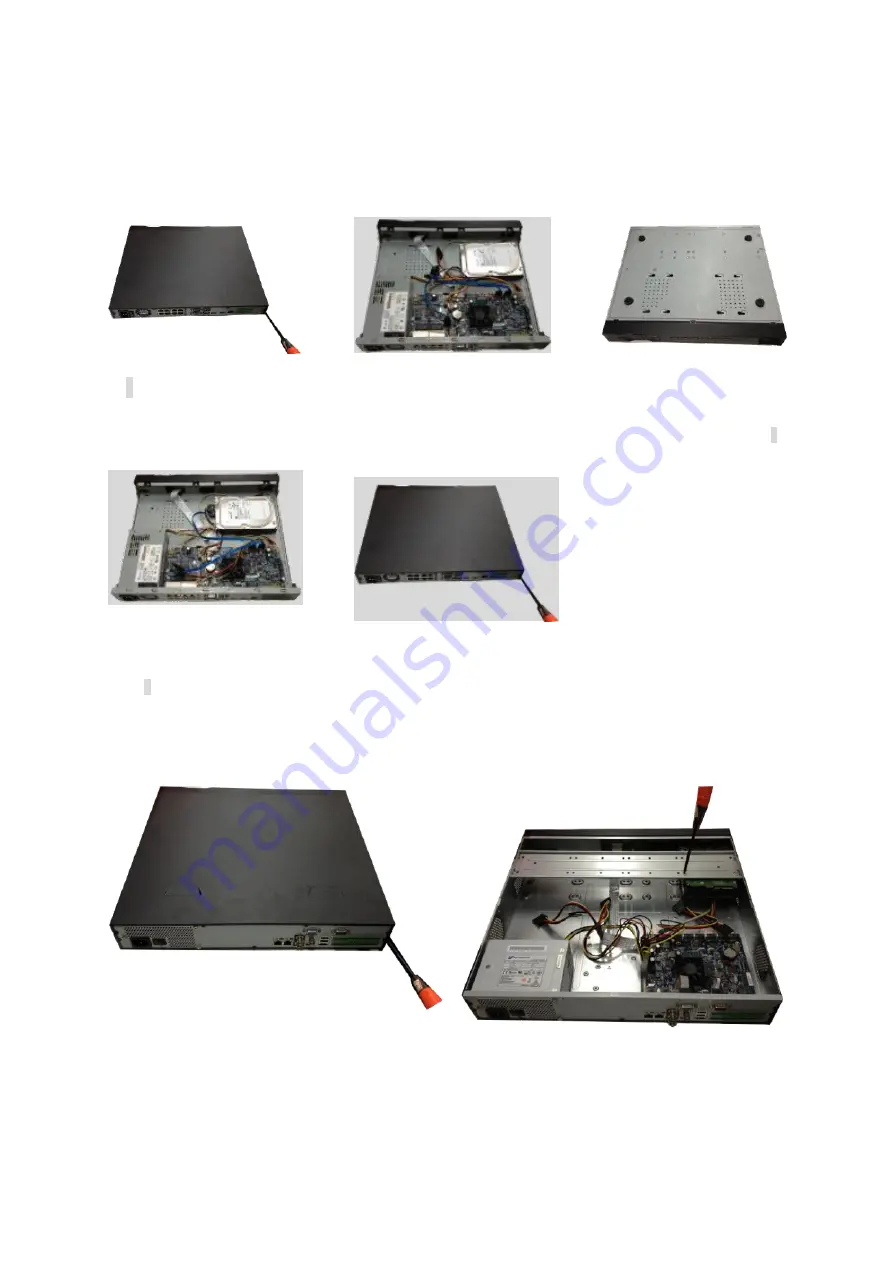
The following figures are based on the professional 1U with 8 PoE ports series.
Note
Connect cable and then secure the HDD on the NVR if it is not convenient to connect the HDD data cable
and power cable at first.
○
1
Loosen the screws of the rear
panel and side panel.
②
Place the HDD in accordance with
the four holes in the bottom.
③
Turn the device upside down and
then secure the screws firmly. It is to
fix the HDD on the chassis.
④
Connect the HDD cable and power
cable.
⑤
Put the cover in accordance with
the clip and then fix the screws on the
rear panel and side panel.
2.4.3 1.5U Series
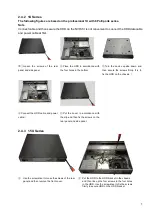
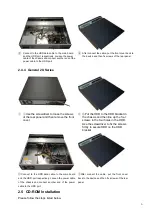
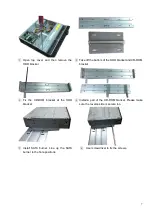
①
Use the screwdriver to loose the screws of the rear
panel and then remove the front cover.
②
Put the HDD to the HDD bracket in the chassis
and then line up the four screws to the four holes
in the HDD. Use the screwdriver to fix the screws
firmly to secure HDD on the HDD bracket
Summary of Contents for EmPower NVR
Page 1: ...EmPower NVR User s Manual V4 4 3...
Page 36: ...23 Figure 3 16 Step 2 Click device display edit interface See Figure 3 17...
Page 97: ...84 Figure 3 91 Figure 3 92...
Page 120: ...107 Figure 3 110 Figure 3 111 Figure 3 112...
Page 131: ...118 Figure 3 123 Figure 3 124...
Page 133: ...120 Figure 3 126 Click draw button to draw the zone See Figure 3 127...
Page 137: ...124 Figure 3 130 Click Draw button to draw a zone See Figure 3 131 Figure 3 131...
Page 142: ...129 Figure 3 136 Click draw button to draw the zone See Figure 3 137...
Page 155: ...142 Figure 3 149 Figure 3 150...
Page 156: ...143 Figure 3 151 Figure 3 152...
Page 174: ...161 Figure 3 172 Figure 3 173...
Page 277: ...264 Figure 4 61 Figure 4 62 Figure 4 63...
Page 303: ...290 Figure 4 101 Figure 4 102...
Page 327: ...314 Figure 4 136 Note For admin you can change the email information See Figure 4 137...

