Professional Thermal Imager User Manual
12
information. For UTi730E, you can view the photo shooting time, modify time, emissivity, infrared
resolution, QR code, remarks and other information), modify remarks (after adding remarks, you can
view them in the photo message), state editing (it can be used for second editing of the marking tool,
image mode, swatches switch, temperature measurement tool, vitta tool and other functions on the
original picture, and the function is basically the same as the main page function), QR code (it can be
added to the existing QR code for picture classification. After classification, you can view the
corresponding QR code classification pictures in different folders, and can also delete the QR code of
the current picture or add a new QR code.The new QR code is not added here for folder classification),
and delete photos.
Note: After editing on the status editing page, press "SET key" to open the status editing sub-
menu, select Recovery by using"Up key", and press "SET key" to restore the picture to the initial state.
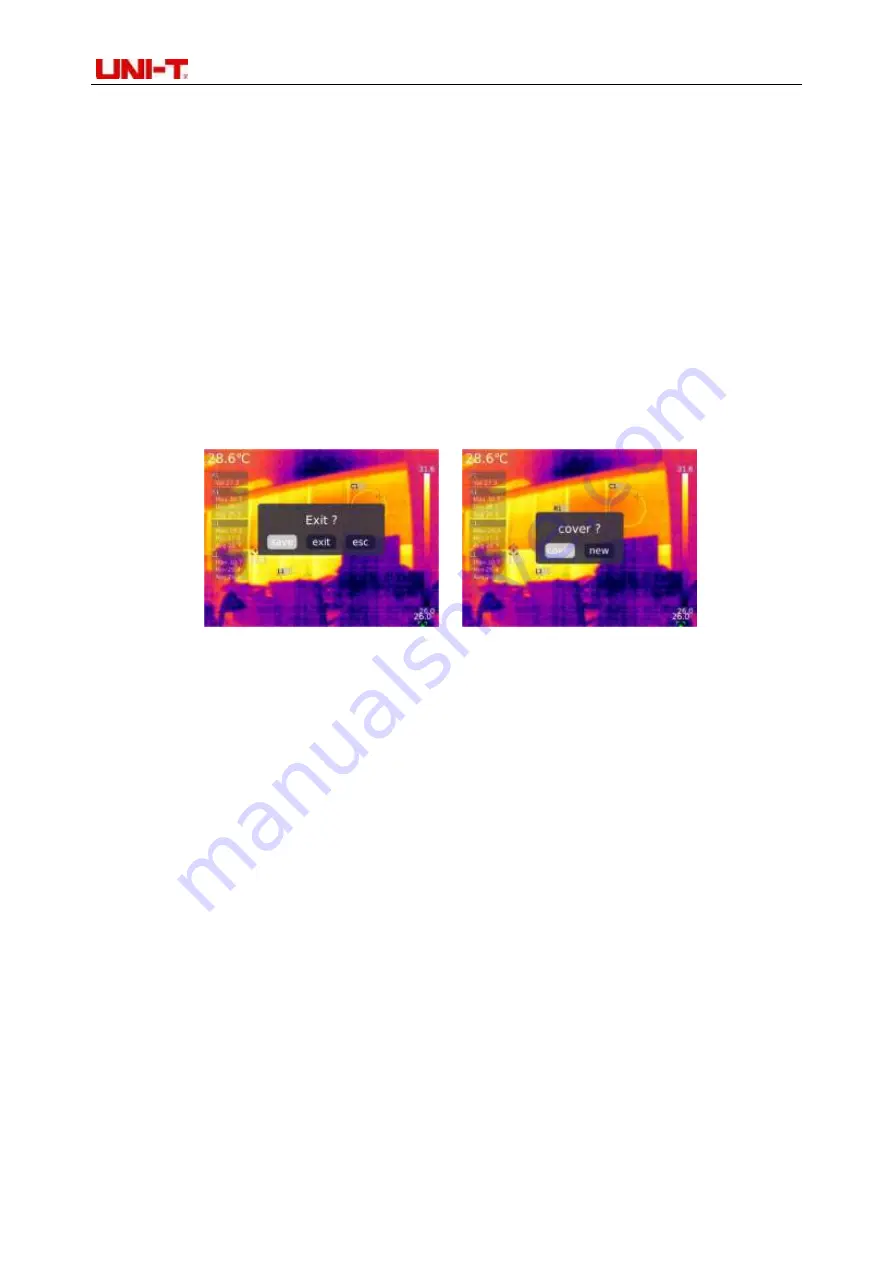
After editing, press "Back key". The message Exit or Not will be displayed. If you select Exit, the editing
page is directly exited. If you select Save, the message"Cover or not?" will be displayed. If you select
Cover, change the original image and save it, then back to the view page. If you select New, the original
image will not be changed, one new image will be added and back to view page. .
After adding QR code, press "Back key" and the message"Save and exit" will pop up to confirm,
then the added QR code will be saved. If you select Cancel, the QR code will not be saved and exit
the QR code editing page. For QR code added here, it will not be saved to the existing QR code
category. If you need to modify the existing QR code, just modify it in the Settings.
12. Digital amplification & fusion ratio adjustment
On the home page, press "Up key" to enlarge the screen, and the corresponding magnification
factor will be displayed in the upper right corner of the screen. For the switch of magnification factor, it
isswitched with the cycle of 1X, 2X, 4X and 1X.
On the home page, press"Left and right key”to adjust the degree of fusion. The degree of fu
sion
adjustment is 0%, 25%, 50%, 75% and 100% respectively.
13. System setup
Press "SET key" to enter the sub-menu, select different Settings by using"Up/Down key".Press
"SET key" to enter the secondary page for setting, including: camera mode, units, parameters, alarm,
QR CODE, language, date, time, Wi-Fi, USB mode, brightness, automatic shutdown, factory reset, and
about Settings. Click "Back key" to return to the first-level menu on the setting page, and click the "Back
key" again to return to the main menu.
13.1 Camera mode
After entering the first level menu on the Setting page, select "Camera mode"option, press "SET
key" to enter the sub-menu of "Camera Mode", and use "Up/Down key" to select Photo/Auto photo. If
select automatic photo taking, press"Up/Down key" to set the automatic photo taking interval (10s-


