ITEM NO.: B-14A AND B-14B ISSUED JUN 17, 2019
Printed in Vietnam
THIS ITEM IS PACKED IN TWO CARTONS
- 1 -
ASSEMBLY INSTRUCTIONS
Description Item No.
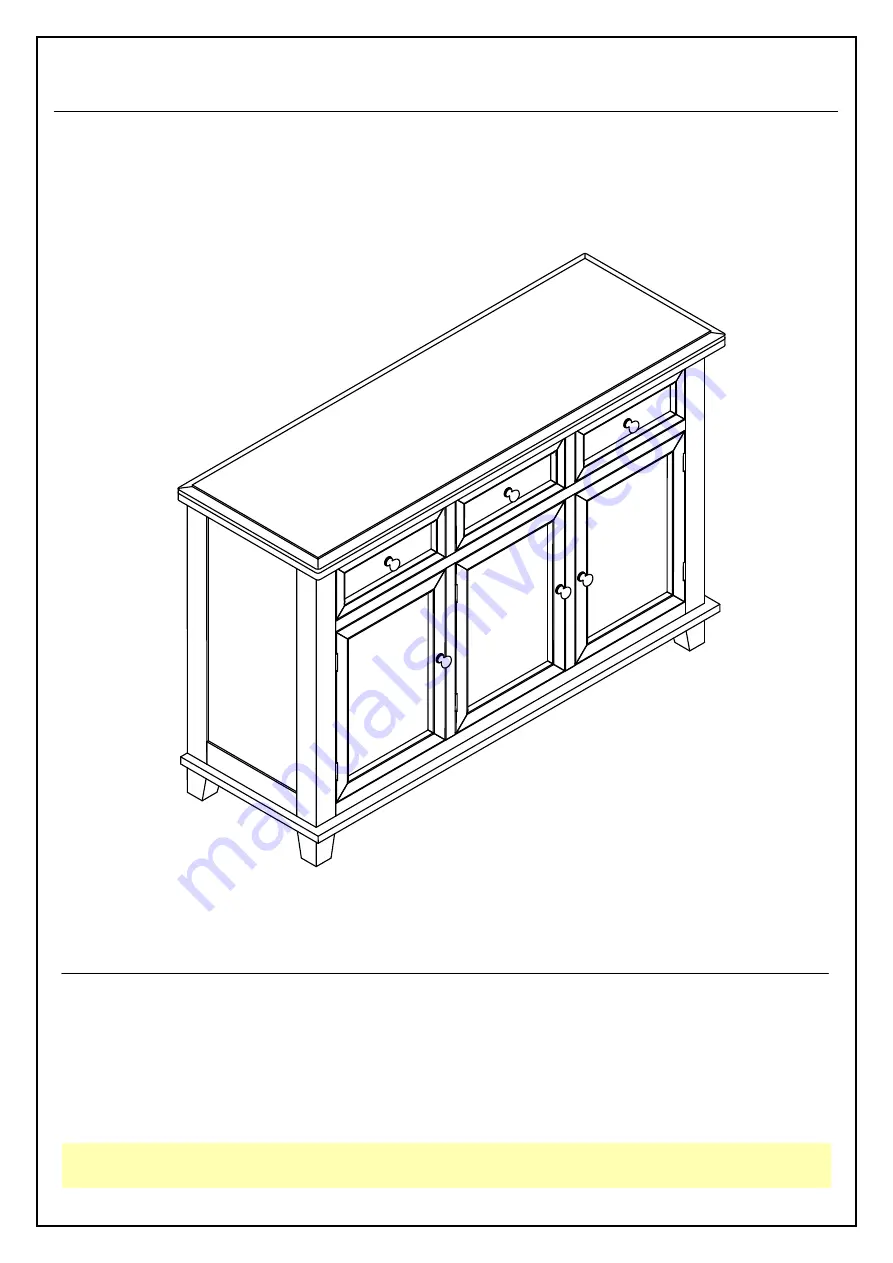
: VISTA 3-DOOR BUFFET
: B-14A AND B-14B
Page 1: ...ITEM NO B 14A AND B 14B ISSUED JUN 17 2019 Printed in Vietnam THIS ITEM IS PACKED IN TWO CARTONS 1 ASSEMBLY INSTRUCTIONS Description Item No VISTA 3 DOOR BUFFET B 14A AND B 14B...
Page 2: ...is missing or you need help with assembly please call toll free 888 944 8396 IMPORTANT NOTE Place all wooden parts on a clean and smooth surface such as a rug or carpet to avoid the parts from being s...
Page 3: ...acking please be careful not to discard any parts with the packaging Before continuing please make sure you have the following parts NO Description Qty Sketch NO Description Qty Sketch A Top 1 B Botto...
Page 4: ...packing please be careful not to discard any parts with the packaging Before continuing please make sure you have the following parts NO Description Qty Sketch NO Description Qty Sketch G Side panel L...
Page 5: ...Sketch 1 Short Bolt M6 x 35mm 20 2 Small Lock Washer 6 5 x 11mm 20 3 Small Flat Washer 6 5 x 19mm 20 4 Long bolt M8 x 40mm 4 5 Large Lock Washer 8 5 x 13mm 4 6 Large Flat Washer 8 5 x 19mm 4 7 Short P...
Page 6: ...TWO CARTONS 6 STEP 1 Attach front legs I and back legs J to bottom panel B with bolts 4 and washers 5 and 6 as shown below Tighten with Allen key 15 STEP 2 Pull out the drawers Then attach side panels...
Page 7: ...KED IN TWO CARTONS 7 STEP 3 Attach vertical panels H to top A with bolts 1 and washers 2 and 3 as shown below Tighten with Allen key 15 STEP 4 Attach bottom panel B to side panels G and vertical panel...
Page 8: ...the grooves as shown below and then attach back panels K and L to bottom panel B and top A with screws 7 Tighten with a screwdriver STEP 6 Attach doors M to side panels G and vertical panel H with sc...
Page 9: ...Vietnam THIS ITEM IS PACKED IN TWO CARTONS 9 STEP 7 Put bottom shelves C and D into the unit as shown below STEP 8 Insert brackets 10 into the unit as shown below Place shelves E and F on the bracket...
Page 10: ...o secure the product to the wall and reduce the risk of tipping over Important Properly attach steel bands 13 to the wall in an area of drywall or plaster with a wood stud Mark the attachment point s...