background image

Eos

assembly guide

Summary of Contents for EOS

Page 1: ...Eos assembly guide...

Page 2: ...Please give the feathers time to readjust to their original shape It may take up to two weeks but you can help them along by running your fingers carefully through the feathers...

Page 3: ...IN THE BOX or Find assembly videos by using the QR code or by going online at our website umage com instructions...

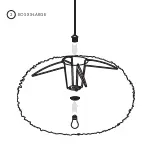
Page 4: ...MAX 15W LED bulb 1 ATTACH THE CORD SET AND BULB TO THE FRAME...

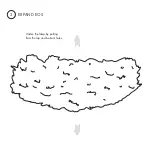
Page 5: ...Widen the lamp by pulling from the top and bottom holes 2 EXPAND EOS...

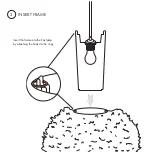
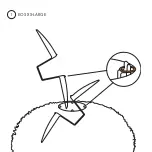
Page 6: ...Insert the frame into the Eos lamp by attaching the hooks to the rings 3 INSERT FRAME...

Page 7: ...1 EOS XX LARGE...

Page 8: ...2 EOS XX LARGE...

Page 9: ...eep the lamp clean using a hair dryer on the coolest setting 25 cm 10 from the lamp and blow the loose dust from the feathers Use a damp cloth for dust that is difficult to remove Always keep the lamp...

Page 10: ...assembly guide Tripod floor...

Page 11: ...er 120V 60HZ AC ONLY Lamp type E26 Type A 60W MAX NOTE THIS INSTRUCTION SHEET COVERS A VARIETY OF STANDS DIFFERENT COLORS BUT WITH THE SAME APPLICATIONS DO NOT PLUG IN YOUR STAND TO A POWER SOURCE UNT...

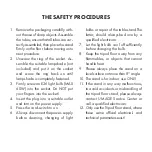
Page 12: ...s the cord switch to on 6 Always disconnect the power supply before cleaning changing of light bulbs or repair of the table stand The latter should alwaysbe done by a qualified electrician 7 Let the l...

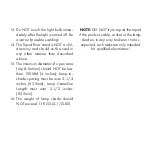
Page 13: ...nimum diameter of open area top bottom should NOT be less than 100MM 4 inches Lamp to shade spacing must be over 3 1 4 inches 63 5mm Lamp Centerline Length must over 2 1 2 inches 82 5mm 16 The weight...

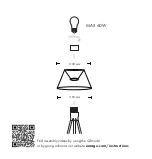
Page 14: ...100 mm 100 mm MAX 60W Find assembly videos by using the QR code or by going online at our website umage com instructions...

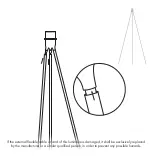
Page 15: ...If the external flexible cable or cord of this luminaire is damaged it shall be exclusively replaced by the manufacturer or a similar qualified person in order to prevent any possible hazards...

Reviews: