Exo x6a Operations Manual
revision 1
1st September 2013
time setup and also useful when updating APM‟s existing firmware. These instructions will show
you how to download the latest firmware onto APM.
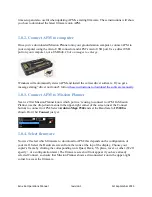
1.0.2. Connect APM to computer
Once you‟ve downloaded Mission Planner onto your ground station computer, connect APM to
your computer using the micro USB connector and APM‟s micro USB port. Use a direct USB
port on your computer, not a USB hub.
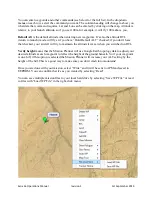
Click on images to enlarge.
Windows will automatically detect APM and install the correct driver software. If you get a
message stating “driver not found”, follow
these instructions to download the software manually
1.0.3. Connect APM to Mission Planner
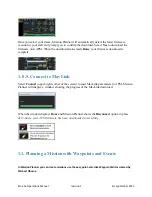
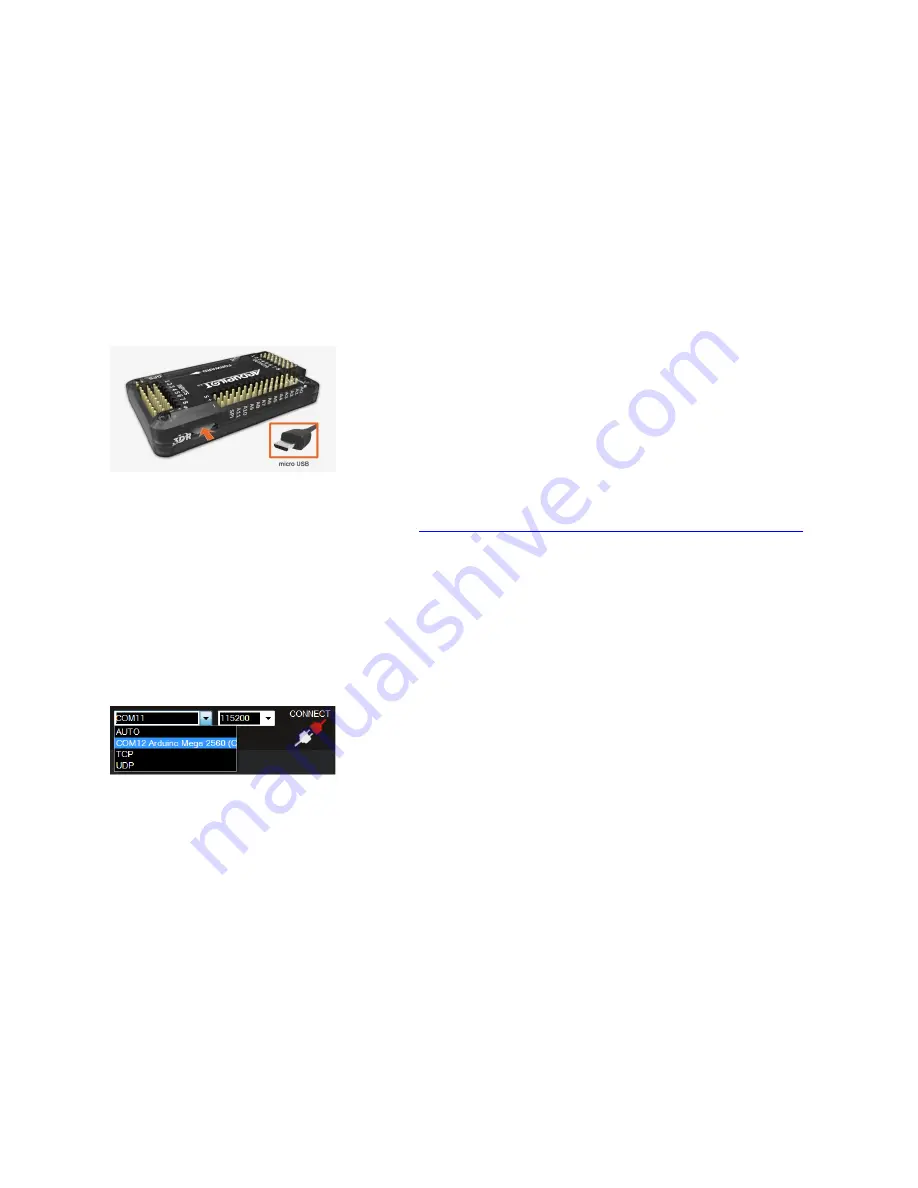
Next we‟ll let Mission Planner know which port we‟re using to connect to APM. In Mission
Planner, use the drop-down menus in the upper-right corner of the screen (near the Connect
button) to connect to APM. Select
Arduino Mega 2560
and set the Baud rate to
115200
as
shown. Don‟t hit
Connect
just yet.
1.0.4. Select firmware
Now we‟ll select which firmware to download to APM; this depends on the configuration of
your craft. Select the Hardware screen from the icons at the top of the display. Choose your
copter‟s frame by clicking the corresponding icon: Quad, Hexa, Y6, plane, rover, or other. (We‟ll
s or x configuration later.) The firmware screen will not appear if you have already
selected Connect, so ensure that Mission Planner shows a disconnected icon in the upper-right
corner to access the firmware.


