S9180-32X Hardware Installation Guide | 17
4.
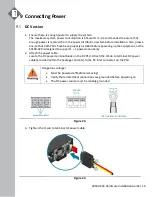
Feed DC power into the system.
The PSU will immediately output 12V and 12VSB to the system when a -40V to -72V DC power
source is applied. The PSU has a built in 25 amperes, fast acting fuse based on the PSU
maximum capacity, which will act as a second tier system protection in case the power
distribution unit’s fuse is not functioning.
5.
Verify that the power supply is operating.
If connected correctly, when turned on, the
system’s
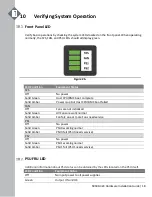
LED will display green for SYS, FAN, PS1
and PS2, which signals that the switch is operating normally.
AC Version
1.
Ensure there is enough power to supply the system.
The maximum system power consumption is 451 watts with an input voltage of 100-240V AC. It
is recommended to ensure that enough power is reserved from the power distribution system
before installation. Also, please ensure that both PSUs have been properly installed before
powering up the equipment, as the S9180-32X is designed to support 1 + 1 power redundancy.
2.
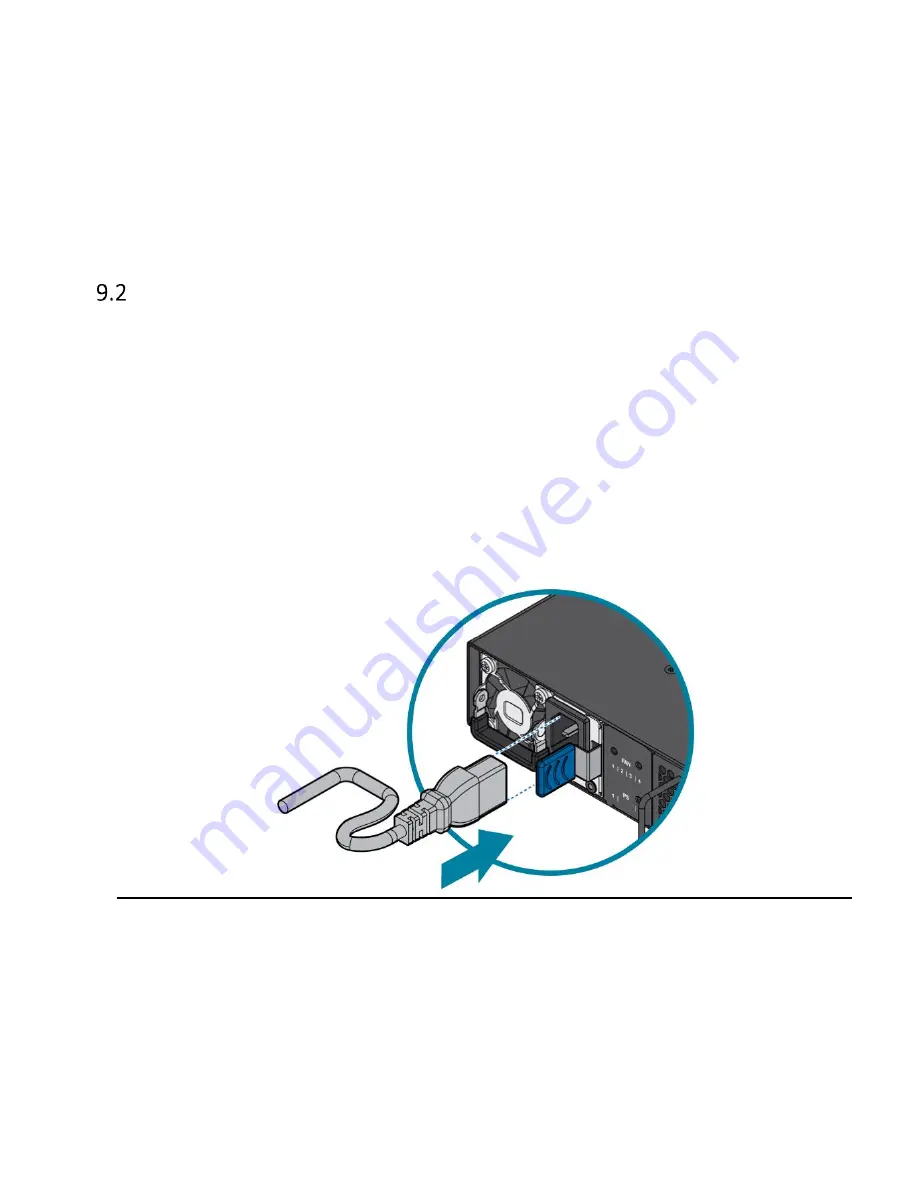
Attach the power cable.
Plug the power cord into the AC PSU and secure it tightly.
3.
Verify that the power supply is operating.
If connected correctly,
when turned on, the system’s LED will display green for SYS, FAN, PS1
and PS2, which signals that the switch is operating normally.
Figure 25.


