QUICK START GUIDE
30658_
D
REFRIGERATORS • CRE & CWC Models
Page 1: ...QUICK START GUIDE 30658_D REFRIGERATORS CRE CWC Models...
Page 2: ...re available worldwide U Line RIGHT PRODUCT RIGHT PLACE RIGHT TEMPERATURE PRODUCT INFORMATION Looking for additional information on your product User Guides Spec Sheets CAD Drawings Compliance Documen...
Page 3: ...or more details see the complete User Guide Service Manual on u line com CONTENTS Safety and Warning 4 Environmental Requirements 5 Electrical 5 Door Swing 5 Door Adjustments 6 General Installation 7...
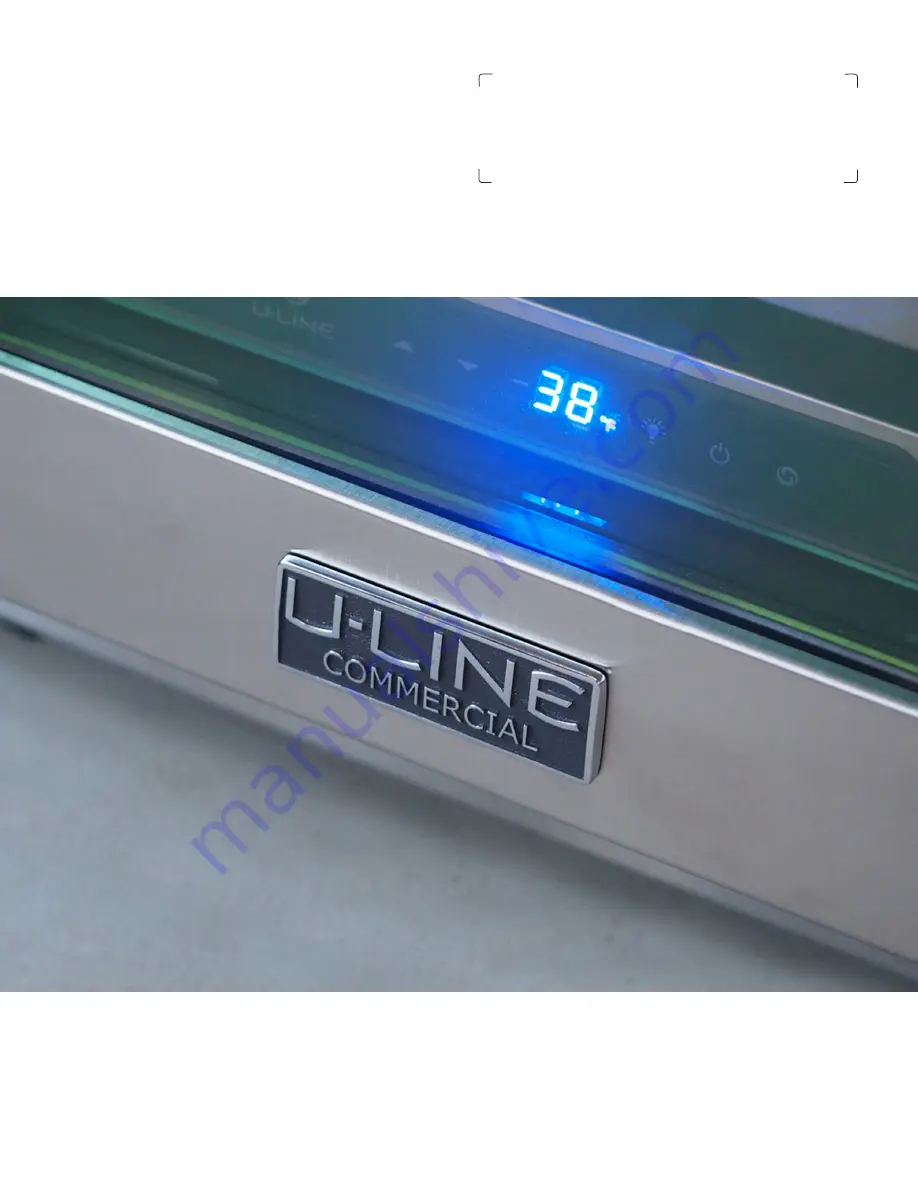
Page 4: ...Do not use sharp objects to expedite defrosting Do not service without consulting the R600a specifications section included in the User Guide Do not damage the refrigerant circuit Service must be don...
Page 5: ...id the warranty Never use an extension cord to connect power to the unit Always keep your working area dry NOTICE Electrical installation must observe all state and local codes This unit requires conn...
Page 6: ...he hinge system Alignment and Adjustment Procedure 1 On top and bottom sufaces of door slightly loosen hinge bracket screws 2 Square and align door as necessary 3 Tighten Torx head screws on hinge TO...
Page 7: ...king material and wipe out the inside of the unit with a clean water dampened cloth 1 Turn to Adjust 7 Anti Tip Bracket FLOOR MOUNTED ANTI TIP INSTALLATION 1 Locate two anti tip brackets included with...
Page 8: ...h briefly after 5 seconds Interior light and display will go dark and remain so until user resets mode unit continues to operate Disable Sabbath Mode Press and release Display and interior light retur...
Page 9: ...agne and Magnum bottles only fit on wine racks when noted on the product specifications When determining capacities U Line uses typical 12 oz cans 12 oz bottles 750 mL white wine and red wine bottles...
Page 10: ...lightly tilt one side Gently pull shelf towards you to remove from unit Note Take care when removing shelf to avoid scratching interior of unit 5 Once removed retract the slides Note The slides on the...
Page 11: ...pull rack towards you to remove rack from unit Note Take care when removing rack to avoid scratching interior of unit 5 Once removed retract the slides Note The slides on the rack have a thin coating...
Page 12: ...the bottles so the wine remains in contact with the cork which ensures the cork does not become dry Racks are designed to accommodate typical 750ml wine bottles as follows UCWC515 15 Wine Captain Mod...
Page 13: ...promptly can penetrate the surface of the stainless steel and complete removal of the rust may not be possible CLEAN INTERIOR COMPONENTS Use warm or hot water with dish soap to clean all removed comp...
Page 14: ...versing above steps 1 4 Remove Wine Rack 1 Fully extend empty rack 2 Firmly grasp both sides of rack and lift front end of rack slightly about 1 4 to center the pin in the slot 3 Pull rack towards you...
Page 15: ...tor cover 4 Remove evaporator fan assembly from evaporator cover 5 Remove 4 rack supports by removing 4 screws on each one 6 Remove screws and spacers from evaporator and carefully pull evaporator for...
Page 16: ...rm pressure evenly acrossed the length of the cover until it snaps into place Hinge Pin Bracket Remove Door Brackets and Hinge 1 Hold door to keep it from falling 2 Remove top hinge pin 3 Remove door...
Page 17: ...lining or damage the cooling unit DO NOT use any type of heater to defrost Using a heater to speed up defrosting can cause personal injury and damage to the inner lining NOTICE The drain pan was not...
Page 18: ...improper use maintenance installation service repair acts of God fire flood or other natural disasters The product must be installed operated and maintained in accordance with your product s User Guid...