Page 7
Tyto Camera User Guide
«GUIDED Exams»
Doc. Num.: 760-00045 Rev 04
3.4. Skin Exam
3.4.1. Review Skin Exam Procedure
Please take a few moments to review the basic procedure for performing the skin exam.
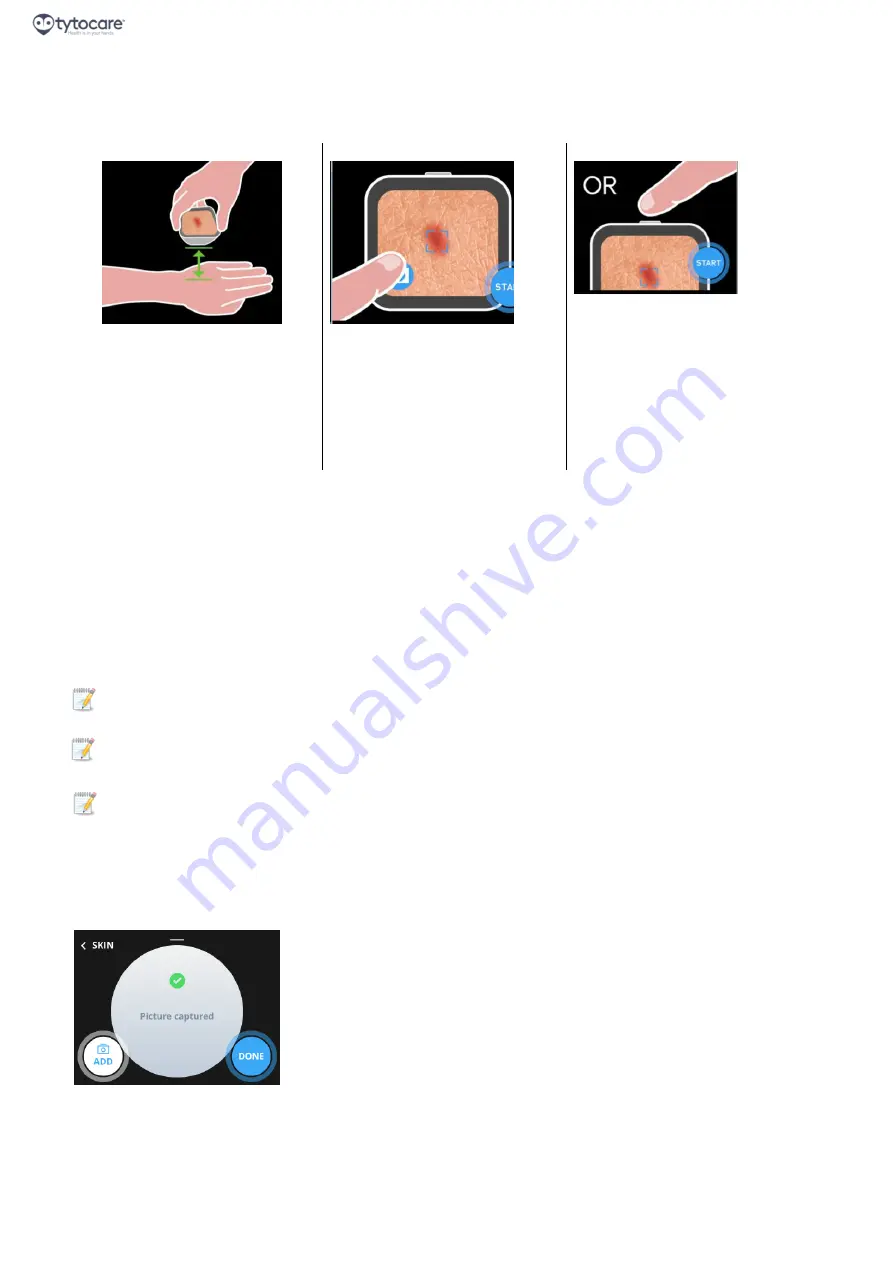
1. Place the device about
1.5-2 inches from skin to
allow the camera to focus
2. To focus the camera, press
on the screen where the skin
lesion, rash or other area you
wish to share with the clinician
is visible.
3. Press the Camera button to
take a picture. Please hold the
camera steady while taking
pictures. You can also press the
physical button on top of the
device to take a picture.
3.4.2. Take a Picture
Position the device as shown in the animation and focus the camera. Press on the Camera icon or the
physical button on top of the device to take a picture.
The camera has an auto-focus mechanism, activated when you take the picture. In addition, you may press
on the part of the image that contains the skin area of interest, to focus the camera specifically on that
area.
To allow the camera to focus, do not place the camera too close to the skin. Allow a distance of about 1.5-2
inches (3.5-5 cm) away from the skin to achieve focus.
Note:
After a picture is captured, it will be displayed in high quality in the App. Please review the
picture in the App, and verify that the image is clear and sharp.
Note:
In case the skin area you wish to capture is not easily accessible, ask another person to assist
you in imaging this area.
Note:
If you cannot obtain a sharp image, try moving the camera a small distance away from the
skin. If you still cannot get a sharp image, contact TytoCare Support.
3.4.3. Take More Pictures or End the Exam
After taking a picture, the Device indicates that the picture was captured, and allows you to take another
picture, or end the skin exam:
Press
Repeat (in picture here Add)
to return to the Camera screen, where you can take another picture.
Press
DONE
to end the exam and return to the Exam selection screen.


