1
Date of purchase: _____/ _____/ _____
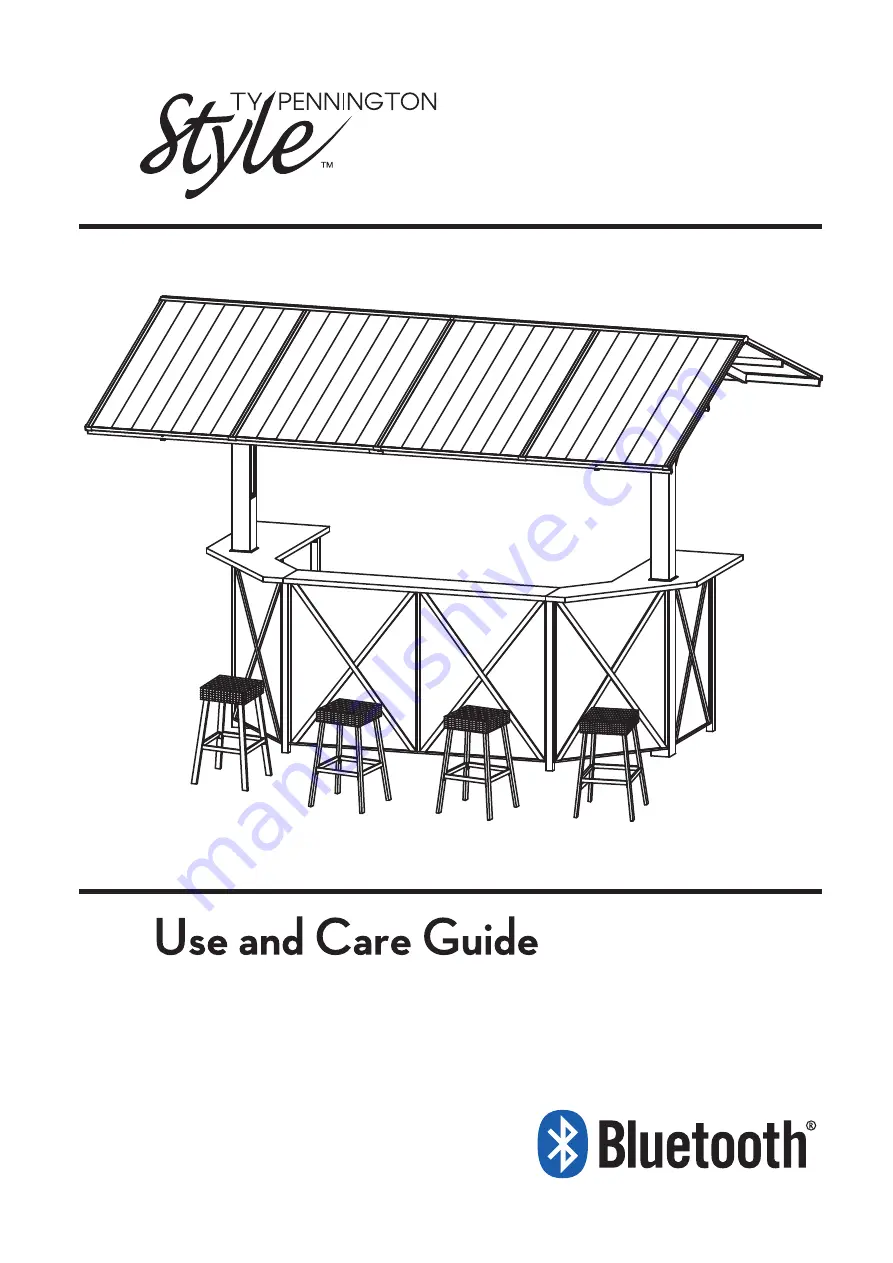
Product Code: D71 M20530KSN: 0-08770597-6UPC Code: 749241315213
Sunset Beach Deluxe Lighted & Music Hardtop Barw/ 4 stools
Page 1: ...1 Date of purchase _____ _____ _____ Product Code D71 M20530 KSN 0 08770597 6 UPC Code 749241315213 Sunset Beach Deluxe Lighted Music Hardtop Bar w 4 stools...
Page 2: ...lest details exclusively for you by our world class design team We know you have a choice when it comes to your patio furniture needs so from our team to yours thank you for letting us be a part of yo...
Page 3: ...eipt for record WHAT IS COVERED Limited warranty is applicable on parts only We warranty to the original purchase for one year limited from the date of purchase that the frame fabric speaker audio con...
Page 4: ...store in dry place Keep the AC adapter away from babies and children In order to protect the LED lights do NOT break the Acryl panel of the post All lighting equipment is designed to prevent humidity...
Page 5: ...harp edges it may be necessary to use the above safety equipment Do not leave it unattended if not fully assembled even if bolted to the ground HARDWARE INCLUDED NOTED Hardware not shown to actual siz...
Page 6: ...6 Pre Assembly continued Package Contents...
Page 7: ...7 Pre Assembly continued Package Contents...
Page 8: ...n Item Description Qty Post with power switch lights speaker preassembled Post with lights speaker preassembled Back Panel Back Panel Side Panel Side Panel Side Panel Front Panel Front Panel Fixed Tub...
Page 9: ...on Item Description Qty Support Piece Support Piece Support Piece Table Top Table Top Table Top Roof Post Roof Post Crossbar Crossbar Crossbar Connector Roof Side Panel Roof Side Panel Roof Support Ba...
Page 10: ...ription Qty Item Upper Crossbeam Tube Upper Crossbeam Tube Upper Crossbeam Cover Upper Crossbeam Cover Roof Tube Roof Tube Roof Tube Roof Panel Corner Connector Corner Connector Center Connector Rubbe...
Page 11: ...Assembly Instructions 11 1 Secure Side Panel E in between Post A and Back Panel C by M6 x 25 BB Fully tighten once all bolts in position A x 1 C x 1 E x 1 BB x 4...
Page 12: ...Assembly Instructions 12 2 Secure Side Panel E in between Post B and Back Panel D by M6 x 25 BB Fully tighten once all bolts in position B x 1 BB x 4 D x 1 E x 1...
Page 13: ...C into Crossbeam Z connect wires and insert wires into Crossbeam Z Please connect wires softly and slowly 3 2 Insert Crossbeam Z AB into Crossbeam Connector AC and secure by M6 x 15 AA Fully tighten o...
Page 14: ...Assembly Instructions 14 4 Secure Roof Support Bar AH AI by M6 X 48 EE with Nut II then cover with Cap JJ AF x 2 AG x 2 EE x 2 JJ x 2 II x 2 II JJ II JJ...
Page 15: ...Assembly Instructions 15 5 Secure Roof Support Bar AH AI by M6 X 48 EE with Nut II then cover with Cap JJ AH x 2 AI x 2 EE x 2 JJ x 2 II x 2 II II JJ JJ...
Page 16: ...Assembly Instructions 16 6 Secure Upper Crossbeam Tube AJ AK by M6 x 15 AA Fully tighten once all bolts in positon AJ x 1 AA x 2 AK x 1...
Page 17: ...Assembly Instructions 17 7 Secure Side Panel F and Post A by M6 x 25 BB Secure Side Panel G and Post B by M6 x 25 BB Fully tighten once all bolts in position F x 1 G x 1 BB x 4...
Page 18: ...Nut II then cover by Cap JJ Fully tighten once all bolts in position 8 2 Secure Front Panel I and Side Panel G by M6 x 25 BB then secure Front Panel H and Side Panel F by M6 x 25 BB Fully tighten onc...
Page 19: ...xed Tube J K with Back Panel C D by M6 x 15 AA Secure Fixed Tube J K with Side Panel F G by M6 x 15 AA Fully tighten once all bolts in position 9 2 Secure Fixed Tube L in between Side Panel F G by M6...
Page 20: ...cure Shelf N on Back Panel D and Side Panel E by M6 x 15 AA Fully tighten once all bolts in position 10 2 Secure Shelf M on the Back Panel C and Side Panel E by M6 x 15 AA Fully tighten once all bolts...
Page 21: ...Assembly Instructions 21 11 Secure Shelf O on Side Panel F and Post A by M6 x 15 AA Secure Shelf P on Side Panel G and Post B by M6 x15 AA Fully tighten once all bolts in position AA x 6 O x 1 P x 1...
Page 22: ...Assembly Instructions 22 12 Secure Shelf Q on Front Panel H I by M6 x 15 AA Fully tighten once all bolts in position AA x 4 Q x 1...
Page 23: ...15 AA 13 2 Secure Support Piece T on Shelf Q by M6 X 15 AA then secure Support Piece T Front Panel H I by M6 X 35 CC with Nut II then cover by Cap JJ 13 3 Secure Support Piece T on Post A B by M6 X 1...
Page 24: ...the top of assembled frame then secure Side Panel E F G and Front Panel H I with Table Top U V W by M6 x 25 BB Then secure Fixed Tube J K L with Table Top U V W by M6 x 45 DD Please at least two peopl...
Page 25: ...t Rubber Washer AU into Roof Post X then connect wires Insert Roof Post X into Post A secure by M6 x 15 AA 15 2 Insert Rubber Washer AU into Roof Post Y then insert Roof Post Y into Post B secure by M...
Page 26: ...4 JJ x 4 Assembly Instructions 26 16 1 Secure Roof Side Panel AD AE by M6 X 58 GG with Nut II then cover by Cap JJ 16 2 Secure Roof Side Panel AD AE with Roof Post X Y by M6 X 65 HH GG x 4 AD x 2 HH x...
Page 27: ...uctions 27 17 1 Connect two sides of Crossbeam Z AB wires with Roof Post X Y wires Please connect wires softly and slowly 17 2 Secure Crossbeam Z AB and Roof Side Panel AD AE with Roof Post X Y by M6...
Page 28: ...8 Connect AC Adapter on the bottom of Post A and plug into outlet Then turn on the switch for testing If it does not work please check all the wires again Then disconnect AC Adapter AV for next step A...
Page 29: ...of Roof Support Bar AF AG with Roof Side Panel AD AE by M6 x 35 CC Fully tighten once all bolts in position 19 2 Secure two sides of Roof Support bar AH AI with Roof Side Panel AD AE by M6 x 35 CC Fu...
Page 30: ...Assembly Instructions 30 20 Secure Upper Crossbeam Tube AJ AK with Roof Side Panel AD AE by M6 X 15 AA Fully tighten once all bolts in position AA x 4...
Page 31: ...Assembly Instructions 31 21 Place Upper Crossbeam Cover AL AM on the top of Upper Crossbeam Tube AJ AK then secure by M6 X 15 AA AL x 1 AM x 1 AA x 4...
Page 32: ...Instructions 32 22 Secure Upper Crossbeam Tube AJ AK with Roof Tube AN AO AP by M6 X 15 AA Then secure Roof Support Bar AF AG AH AI with Roof Tube AN AO AP by M6 X 55 FF AN x 2 AO x 2 AA x 10 AP x 6...
Page 33: ...n Roof Tube AN AP then secure Centre Connector AT with Roof Tube AP by M6 x 15 AA 23 2 Insert Roof Panel AQ in between Roof Tube AP then secure Corner Connector AS with Roof Tube AN by M6 x 15 AA 23 3...
Page 34: ...Assembly Instructions 34 AV x 1 24 Connect AC Adapter on the bottom of Post A and plug into outlet Then turn on the switch ON OFF switch OUTLET...
Page 35: ...LED light will turn solid once you are connected 3 When you play music the Red LED light will continue to blink AUX 1 Turn on unit by pushing the black ON OFF Button The Red LED light will blink until...
Page 36: ...Assembly Instructions 36 26 Secure Chair Leg AX with Seat AW underneath by M6 X 35 CC then secure Support Bar AY with Chair Leg AX by M6 X 15 AA AW x 4 AY x 8 AX x 8 AA x 32 CC x 16...
Page 37: ...bolts Take out speaker slowly then disconnect wires Warning Please make sure the power is disconnect 2 Connect all wires with new speaker secure speaker on the post Place back speaker cover Warning Th...
Page 38: ...io controller box slowly then disconnect wires Warning Please make sure the power is disconnect 2 Connect all wires with new audio controller secure audio controller box on the post Place back audio c...
Page 39: ...Assembly Instructions 39 Instruction of LED 1 Disconnect crossbeam wires and roof post wires 2 Release LED lights in counterclockwise...
Page 40: ...Assembly Instructions 40 Instruction of LED 3 Replace New LED lights and tighten in clockwise Connect all the wires...
Page 41: ...41 Instruction of Adujust Marble Disconnect Bolt BB Insert Bolt B into Side Panel F and washer MM with Table Top U MM x 10 Assembly Instructions...
Page 42: ...at high volumes Use as low a volume as possible The volume level may very based on conditions such as the device you are using its reception and volume settings and the environment Please read below...
Page 43: ...Previous Next Play Pause Volume Button 0 9 Number Select the number of song from your music list MicroSD Remote Control Instruction 43 Volume Button This Remote Control only use for MicroSD...
Page 44: ...against harmful interference in a residential installation This equipment generates uses and can radiate radio frequency energy and if not installed and used in accordance with the instructions may ca...
Page 45: ...No 174 Ding Tan Pi Tan Vill Lutsao Hsiang Chla Yi Hsien Tai Wan ROC FAX 886 5 3651 522 CUSTOMER SERVICE HOT LINE 1 800 961 9838 SERVICE HOURS MONDAY FRIDAY 9 00AM 5 00PM PACIFIC TIME E MAIL CUSTOMERS...
Page 46: ...sears com and www kmart com Made in Hecho en CHINA Distributed by Sears Roebuck and Co Hoffman Estates IL 60179 sears com For questions or comments about product Email customerservice bondvast com or...