Twinny Load
®
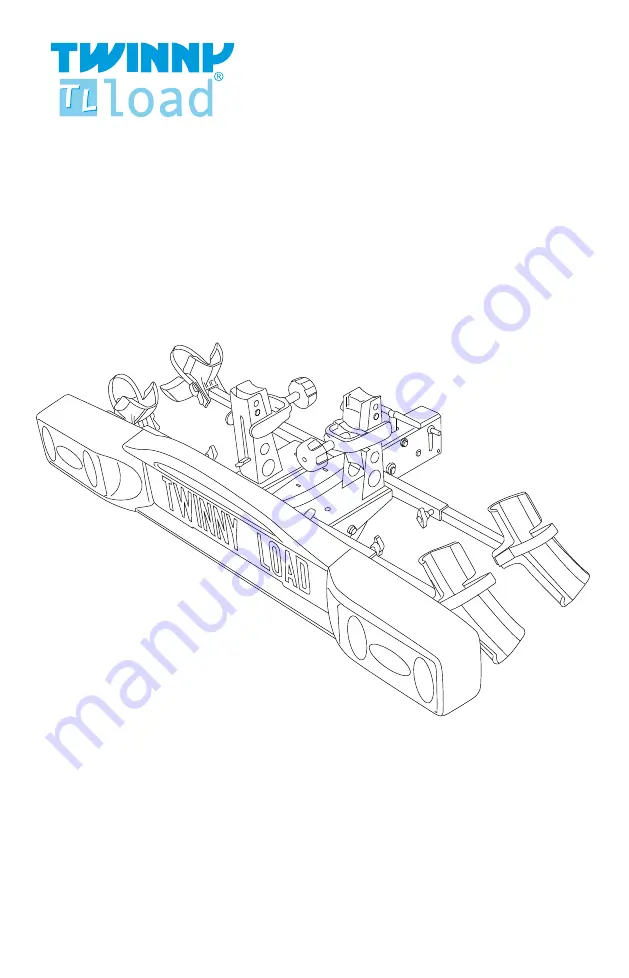
Swing CK
Compact PA
Montagevoorschrift en gebruiksaanwijzing Montage- und GebrauchsanleitungInstallation and use instructionsInstructions de montage et mode d’emploi
EEC e4*79/488*87/354*0029***
Page 1: ...Load Swing CK Twinny Load Compact PA Montagevoorschrift en gebruiksaanwijzing Montage und Gebrauchsanleitung Installation and use instructions Instructions de montage et mode d emploi EEC e4 79 488 87 354 0029 ...
Page 2: ...tige PA Compact PA Compact RP Prestige ECO Perfect ECO Quattro Off Road Serienummer Kaufdatum For your own administration write down the following Carrier type Traditional C Traditional CK Swing CK Swing FK Ergo CK Ergo FE Quattro Off Road Serial number Purchase date Notez pour votre dossier Type du porte vélos Traditional C Traditional CK Swing CK Swing FK Ergo CK Ergo FE Quattro Off Road Numéro ...
Page 3: ...eue Wege erkunden Wir wünschen Ihnen viel Spaß mit Ihrem neuen Fahrradträger Congratulations with the purchase of your new Twinny Load bicycle carrier You can now go touring carefree by car and bicycles Simply staying active and discovering new routes Good luck with your new bicycle carrier Toutes nos félicitations pour l achat de votre nouveau porte vélos Twinny Load Vous pouvez ainsi partir en t...
Page 4: ...equirements You will find the legal requirements that apply in Europe for the transport of bicycles on a bicycle carrier at www twinnyload com Quality All carriers are designed and produced in accordance with the highest quality standard Stability flexibility ease of use good driving behaviour and solidity are of paramount importance for us Cleaning Clean the carrier after use and ensure that it i...
Page 5: ...ad bicycle carrier This depends on the brand and type of electrical bicycle You will find a fitting table on the homepage of our website Attention When the fog rear light remains on constantly after connecting your bicycle carrier the socket of the car is not connected in accordance with the DIN Have this repaired by your garage Before driving check that the bicycle carrier is well attached to the...
Page 6: ...bar up to the second stop Install the four wheel rails with the clips inwards Installation of wheel rails Pull on the wing bolt and loosen it until the rail fits into the tube Slide in the wheel rail halfway and tighten the wing bolt Beware Slide short Belgian number plate up to the first stop Austrian number plate can be installed without lugs ...
Page 7: ...pushed downwards with the catch on the side 8 Place the bicycle carrier on the towing hook and push the carrier downwards Lock the bicycle carrier Fix it by tightening the spindle well In doing so hold the bicycle carrier horizontally Installation of bicycle carrier GB ...
Page 8: ...press the red unlocking device and slide the light units out in steps of 1 cm Put away superfluous wiring Connect the plug and check the lighting Car width Slide out per side Up to 1 80 m do not slide out Up to 1 84 m 2nd click Up to 1 88 m 4th click Up to 1 92 m 6th click Up to 1 96 m 8th click Up to 2 02 m 11th click max Place the light units in the light bar press the red unlocking device and s...
Page 9: ...s in such a way that the bicycle floats approximately 1 cm above the holder Slide out bicycle up slide in bicycle down Remove the clamp from the holder Position the pedal arm in front of the holder Hook the clamp over the projecting steel lugs Do not yet tighten it Fasten the straps Adjust the holder in such a way that it rests against the pedal arm and the bicycle is upright Loosen the straps and...
Page 10: ... both bicycles stand obliquely outwards Place the second bicycle with the handlebars to the right and the left pedal downwards By adjusting the wheel rails in front and back a few cm the bicycles will tilt slightly and no longer touch each other Extra setting Tighten the clamp Lock the clamp The bicycles touch each other The bicycle touches the lid of the boot The handlebars touch the saddle of th...
Page 11: ...t back into the securing device Check that the bolt is in the hole and secured Move the bolt towards you and tilt the bicycle carrier calmly backwards to the rest position The pedal arm is too high the clamp does not fit the bicycle stand is in the way Install the holder one position higher by pulling the securing clip out of the axle and then installing the axle and support in the higher position...
Page 12: ...in the back of the light bar Push the light unit down into the clamp In case of an improperly installed backwards tilting towing hook the bicycle carrier can be adjusted upwards for maximally 5 When adjusting take hold of a steel part of the carrier and never the plastic handle Tools allen key 6 mm and spanner 13 Horizontal adjustment of bicycle carrier ...
Page 13: ...he specified term of guarantee shall only be possible for the original buyer in accordance with the purchase certificate Claims should be submitted at the purchasing address listed on the purchase ticket The bicycle carrier including all supplied components must be left behind at this address The buyer is responsible for the costs of returning and collecting the product and or parts at the purchas...
Page 14: ...www twinnyload com ...