background image

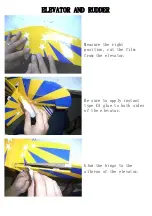
Be sure to apply instant 
type CA glue to both sides 
of the elevator. 


Glow the hings to the
aileron of the elevator.

ELEVATOR AND RUDDER

Measure the right
position, cut the film
from the elevator.

Summary of Contents for Decathlon-46

Page 1: ...people having building experience in order to assemble the model correctly and to produce its Assemble this kit only in places out of children s reach Take enough safety percautions prior to operating this model You are responsible for this model s assembly and safe operation Always keep this instruction manual ready at hand for quick reference even after completing the assembly Engine 2cycle40 46...

Page 2: ...Be sure to apply instant type CA glue to both sides of the elevator Glow the hings to the aileron of the elevator ELEVATOR AND RUDDER Measure the right position cut the film from the elevator ...

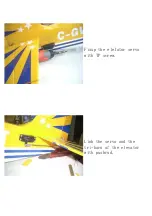
Page 3: ...Fixup the elelator servo with TP screw Link the servo and the tri horn of the elevator with pushrod ...

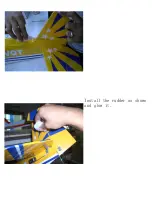
Page 4: ...Install the rudder as shown and glow it ...

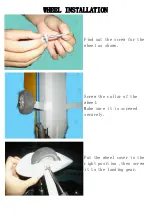
Page 5: ...Find out the screw for the wheel as shown Screw the collar of the wheel Make sure it is screwed securely Put the wheel cover in the right position then screw it to the landing gear WHEEL INSTALLATION ...

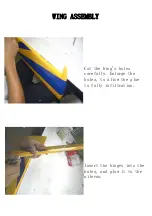
Page 6: ...Insert the hinges into the holes and glow it to the aileron WING ASSEMBLY Cut the hing s holes carefully Enlarge the holes to allow the glue to fully infiltration ...

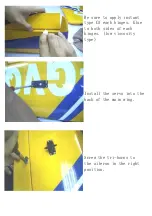
Page 7: ...nstall the servo into the back of the main wing Screw the tri horns to the aileron in the right position Be sure to apply instant type CA each hinges Glue to both sides of each hinges low viscosity type ...

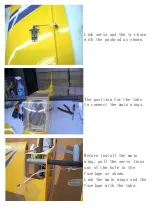
Page 8: ...horn with the pushrod as shown The position for the tube to connect the main wings Before install the main wing pull the servo lines out of the hole in the fuselage as shown Link the main wings and the fuselage with the tube ...

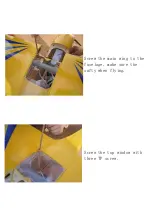
Page 9: ...Screw the main wing to the fuselage make sure the safty when flying Screw the top window with three TP screw ...

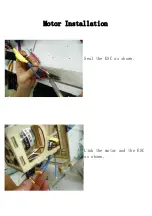
Page 10: ...Seal the ESC as shown Link the motor and the ESC as shown Motor Installation ...

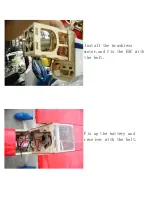
Page 11: ...Install the brushless motor and fix the ESC with the belt Fix up the battery and receiver with the belt ...

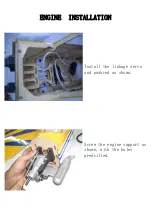
Page 12: ...Install the linkage servo and pushrod as shown Screw the engine support as shown with the holes predrilled ENGINE INSTALLATION ...

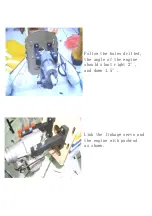
Page 13: ...Follow the holes drilled the angle of the engine should slant right 2 and down 1 5 Link the linkage servo and the engine with pushrod as shown ...

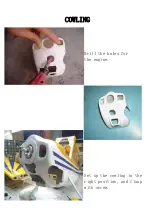
Page 14: ...Drill the holes for the engine Set up the cowling in the right position and fixup with screw COWLING ...

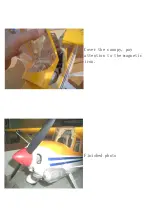
Page 15: ...Cover the canopy pay attention to the magnetic iron Finished photo ...

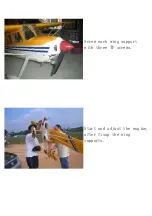
Page 16: ...Screw each wing support with three TP screws Start and adjust the engine after fixup the wing supports ...

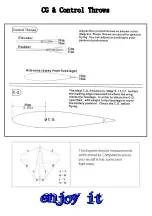
Page 17: ...CG Control Throws ...

Reviews: