INSTRUCTIONS FOR USE AND INSTALLATION
MULTIFUNCTION OVEN
Turbo CooKING® TQ 380 I
Made in France
June 2016
Page 1: ...INSTRUCTIONS FOR USE AND INSTALLATION MULTIFUNCTION OVEN Turbo CooKING TQ 380 I Made in France Made in France Made in France Made in France June 2016...
Page 2: ...f the oven 5 8 Way of functioning 8 9 Functioning and manipulation 9 Cleaning and maintenance 12 Technical characteristics 14 Norms and legal disposals 14 Elimination of the electric and electronic Wa...
Page 3: ...appliance Install the appliance always in instructions respect A 10 cm distance minimum with the partition or the wall is nec essary This machine is for indoor use Do not use it outdoor Protect the ap...
Page 4: ...cer his after sale service or persons of similar skills to avoid any risk Entrust repairs only to a skilled person Use only spare parts of origin At the end of cooking before cleaning the appliance do...
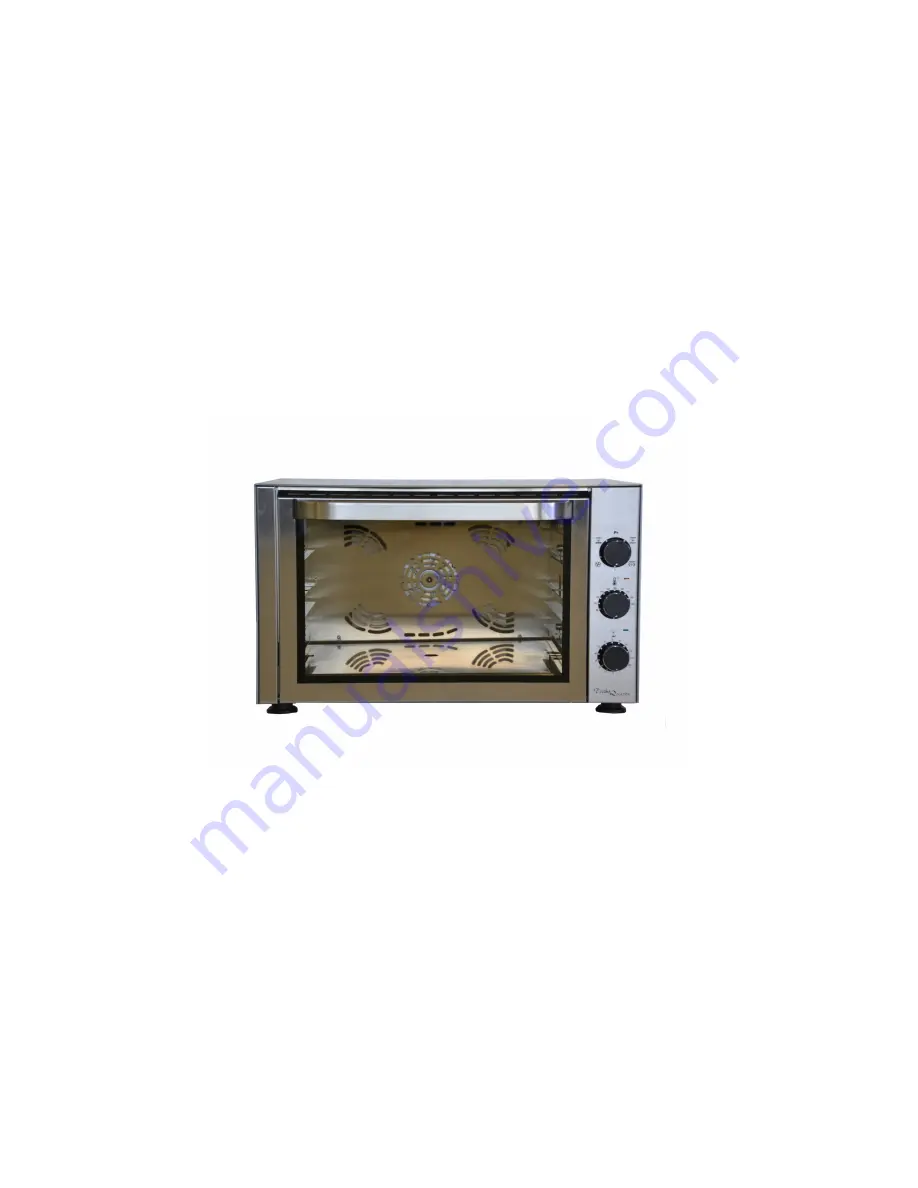
Page 5: ...frost roast grill every king of meat plates chickens fishes vegetable pies cakes 4 DESCRIPTION OF THE OVEN a Global view See exploded view of TQ 380 I at the end of the document Roasting jack Enamelle...
Page 6: ...n 3 Turbo Quartz The bottom heating element and the quartz tubes work together regulated by the thermostat The fan uniformly distributes the heat Position 4 Quartz grill Spit roaster The quartz tubes...
Page 7: ...r crystallize or crisp Position 3 Turbo Quartz The bottom and the quartz tubes on the top part function simultaneously and are thermostat regulated Ventilation provides better distribution of temperat...
Page 8: ...ement cover The stainless steel plate with hearings placed on the mower position enables to cover the bottom heating element Interior lighting An halogen lamp on the interior of the oven lights up as...
Page 9: ...the labels and protective film around the device If needed you can use a solvent b First starting First cleaning During the first use clean the grids the enamelled drip tray and the spit in warm soap...
Page 10: ...tion 2 on the top knob For the cooking of pie dough leave the thermostat on 0 To cook grill brown or crisp the top of the food set the thermostat on the re quired temperature Refer to the cooking tabl...
Page 11: ...e you checked the circuit breaker for your installation Is the timer on Is the cooking selector switch set to setting 0 Is the green pilot light on Your oven gives off a lot of smoke Your cooking temp...
Page 12: ...om heating element cover Thanks to the central hole lift the bottom heating element cover up Then pull while keeping the part up To replace the bottom heating element cover proceed in the reverse orde...
Page 13: ...on the 2 pins press slightly and let slide down c Assembly and removal of the bottom heating element Pull on the bottom heating element to remove it from its connection box This has to be done when t...
Page 14: ...eaning of your oven Never clean the device under a water jet the infiltrations would risk to damage it in a irreparable way Never immerse the device the cord or the plug in the water or quite other li...
Page 15: ...ons The guarantee grants no right for damages The dispositions which follow are not exclusive of the profit of the legal guarantee planned by articles 1641 and following ones of the Civil code relativ...
Page 16: ...hen 1 0 puis 210 C 0 puis 230 C 230 C 0 puis 210 C 60 90 C 180 210 C 210 230 C 230 C 230 C 210 C 25mn 25mn 30mn 25mn 25mn 20mn 30mn 12mn 25mn 35mn Dish Setting Thermostat Cooking time Bread 500gr Preh...
Page 17: ...5 mn 60 90 mn Dish Setting Thermostat Cooking time Beef Mutton Pork Veal Chicken guinea fowl duck turkey 4 4 4 4 230 C 230 C 230 C 230 C 35 mn 45 mn 45 mn 60 110 mn Dish Setting Thermostat Cooking tim...
Page 18: ...18...
Page 19: ...19...
Page 20: ...20...
Page 21: ...G03326...