background image

2

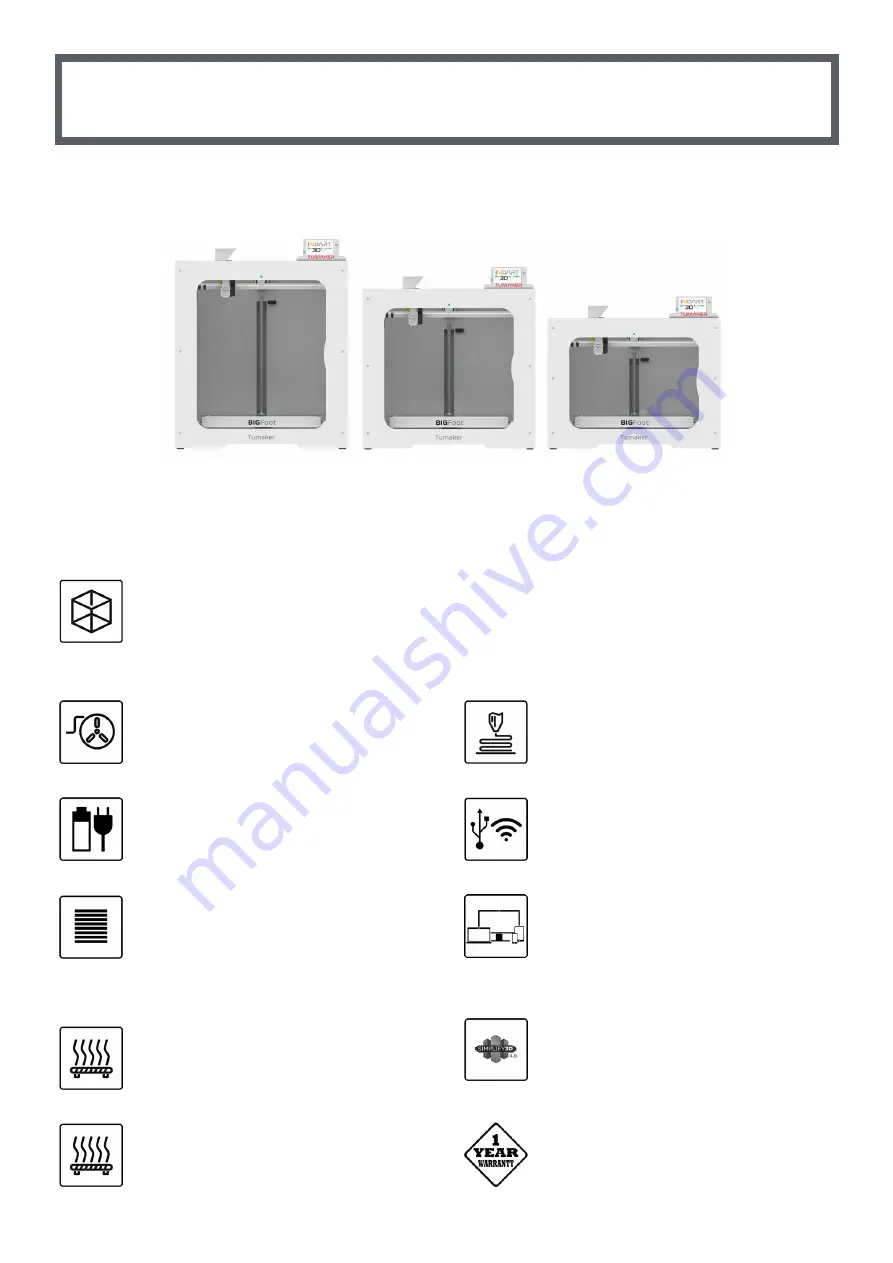
printer specifications

Printing Volume: 480x440x500 mm
Printer Size: 750x760x810 mm
Package Size: 870x890x1140 mm
Printer Weight: 82 kg
Package Weight: 140 kg

Materials: Materials in pellet format.
Recomended size:Circular with 3-5mm diameter
Printing Speed: Depends on parameters

Energy Smart Management
Power Rating: 950W
Noise Level: 44 dB (closed door, 40dB)

Layer Resolution: 10μm
Maximum Layer Height:
1,2 nozzle: 0,9mm
0,8 nozzle: 0.6mm
0,6 nozzle: 0,48mm
0,4 nozzle: 0,3mm

Heated Bed: 45º - 150º
Build Plate Leveling: 
 

· Semi-Automatic


· Manual

Non Operating Temperature: 5º-45ºC
Heatbed heat up time at 20º: 40ºC - 0’30” / 60ºC - 
1’00” / 80ºC - 1’45” / 100ºC - 3’00”

Nozzle Diameter: 0.4 - 0.6 - 0.8 - 1.2 mm
Nozzle Temperature: 45ºC - 350ºC
Two temperature control points

Display: 5” color touch screen
Control devices: PC, tablet, Smartphone. 
Control mode: Web

Connected to the Internet
Conetivity: USB,  Wifi

Simplify3D Professional Software

1 Year Limited Warranty

480x440x350 mm
750x760x660 mm
870x890x990 mm
                        75 kg
                      120 kg

480x440x200 mm
750x760x510 mm
870x890x840 mm
                        68 kg
                      100 kg

Summary of Contents for Bigfoot pellet

Page 1: ...printer 3 Elements included in the printer 3 Installation and set up 4 Quick guide 6 Adjust the Pellet extrusion 7 Semi Automatic Calibration 8 Head cleaning 9 Simplify 3D Printing Software 10 Simpli...

Page 2: ...mm 0 8 nozzle 0 6mm 0 6 nozzle 0 48mm 0 4 nozzle 0 3mm Heated Bed 45 150 Build Plate Leveling Semi Automatic Manual Non Operating Temperature 5 45 C Heatbedheatuptimeat20 40 C 0 30 60 C 1 00 80 C 1 45...

Page 3: ...on the platform or heated bed It has a nozzle that heats up to the required temperature according to the corresponding printing material EXTRUDER Supplies impression material to the head by extruding...

Page 4: ...access it from any device on the same network follow the next step Go to Console type and send M587 S Name of your wifi P password of your wifi If you know a free IP on your network you can add the fo...

Page 5: ...of the machine In the Network section replace M552 S2 for M552 S1 Click Save Press YES to restart the board I have the IP You can now access the printer from any device connected to this network If yo...

Page 6: ...base to the temperature you want to print at Make sure you have a clean tip Execute the calibration process found in the Macros Calibration section and follow the steps Use the knurled nuts on the bas...

Page 7: ...the bed Adjus the Pellet extrusion Open the material config g New Material Once created copy the config g from a previous material and edit the necessary parameters In file manager Macros Extrusion ca...

Page 8: ...wn on the screen You can use a gauge or a sheet if you want Level the Build Plate Make sure you have a clean tip Execute the calibration process found in the Macros Calibration section and follow the...

Page 9: ...the temperature to 210 Print Bed Setting During printing fine tune using Z Babysteping until proper adhesion is achieved Advanced If you want to modify the number of points to be polled you can make...

Page 10: ...izing the result of the printing strategy you re working on before you start manufacturing You will be able to repair the imported designs in Simplify3D itself and you will love the intelligent suppor...

Page 11: ...ion Place the printer in a draft free environment with an ambient temperature between 15 C 25 C Follow the printer installation and power up instructions Use materials recommended by Indart3D to ensur...

Page 12: ...ompany authorized by Indart3D For more information on how to make a claim see https indart3d com contacto Information on Indart3D authorized customer service centers and service companies can be found...

Page 13: ...e met the amount of the returned item will be reimbursed or always through the same form of payment in which you paid the order and excluding the shipping costs of the return and what was paid for tra...

Reviews: