09/26/2022
TRUE 42 /4 8 INSTALL MANUAL
TEC_TM_170 REV. A
P R E S E R V E T H E M O M E N T
®
T R U E R E S I D E N T I A L
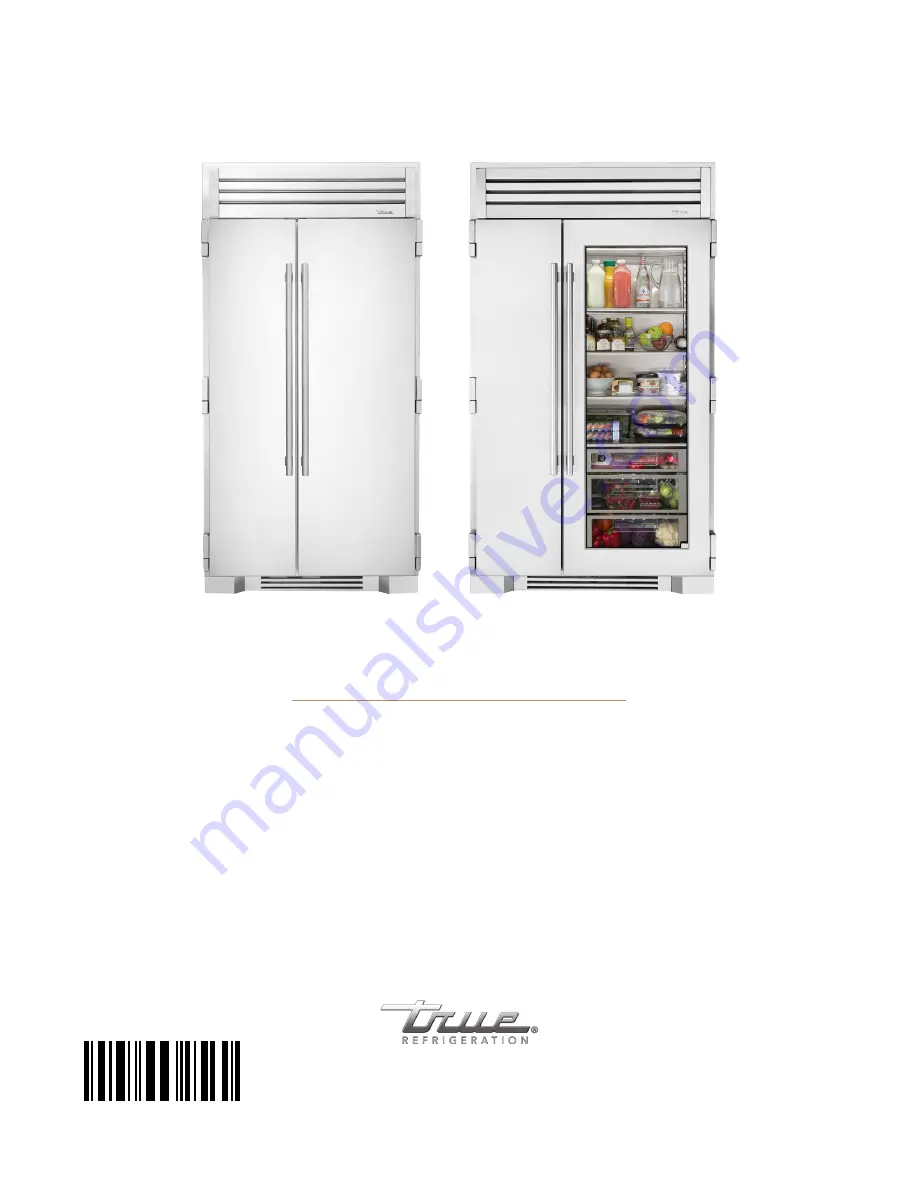
T H E T R U E 4 2 / 4 8
I N S T A L L G U I D E A N D U S E R ' S M A N U A L
" C " R E V I S I O N
848062
Page 1: ...TRUE 42 48 INSTALL MANUAL TEC_TM_170 REV A P R E S E R V E T H E M O M E N T T R U E R E S I D E N T I A L T H E T R U E 4 2 4 8 I N S TA L L G U I D E A N D U S E R S M A N U A L C R E V I S I O N 84...
Page 2: ...kickplate installed Is the doorstop being installed if needed Does the customer understand the unit s operation Has the customer been given the key and literature package Have all stainless steel sur...
Page 3: ...NSTALLATION 33 CABINET SETUP SHELVING DOOR BINS DRAWERS 38 REFIRGERATOR STORAGE 38 FREEZER STORAGE 41 ICEMAKER 42 REFRIGERATOR FREEZER OPERATION BASIC ELECTRONIC CONTROL OPERATIONS 44 TEMPERATURE ADJU...
Page 4: ...EC_TM_170 REV A 09 26 2022 Page 4 of 60 TRUE RESIDENTIAL P 848062 T H E T R U E 4 2 4 8 TR 42SBS SS C STAINLESS SOLID DOOR TR 48SBS SG SS C STAINLESS SOLID DOOR LUXURY REFRIGERATION WITH COMMERCIAL DN...
Page 5: ...R S H I P R E F R I G E R A N T S A F E T Y W A R N I N G I N F O R M AT I O N B A S I C S A F E T Y W A R N I N G P R E C A U T I O N S C A B I N E T D I S P O S A L W A R N I N G O W N E R S H I P...
Page 6: ...ning and making repairs Setting temperature controls to the 0 position or powering off an electronic control may not remove power from all components e g light circuits perimeter heaters and evaporato...
Page 7: ...zer Take off the doors Leave the shelves in place so that children may not easily climb inside DANGER Risk of fire or explosion Flammable insulation and or refrigerant used Dispose of all in accordanc...
Page 8: ...ts in your refrigerator freezer is not covered by warranty In addition to following recommended installation procedures run the refrigerator freezer for 24 hours prior to usage to verify its proper op...
Page 9: ...A 09 26 2022 Page 9 of 60 TRUE 42 48 INSTALL MANUAL P R I O R T O I N S TA L L AT I O N S I T E P R E P A R AT I O N A N T I S W E AT F O A M E N D P A N E L S E L E C T R I C A L S A F E T Y P O W E...
Page 10: ...flush with the surrounding cabinets Proud standard Installation The front face of the unit extends beyond the surrounding cabinets TR 42 Rough Opening Dimensions Flush Install Proud Install Width 42 1...
Page 11: ...f 60 TRUE 42 48 INSTALL MANUAL P R I O R T O I N S TA L L AT I O N 2 3 16 55 56 mm 4 3 16 101 mm TR 42 48 TR 42 48 TOP VIEW FLUSH INSTALL TR 42 48 TOP VIEW PROUD INSTALL Dimensions may vary by 1 8 3 2...
Page 12: ...ave at least a 5 8 15 88 mm gap between the cabinets or install foam pads between the cabinets and on any side without this gap to prevent moisture from developing on applications If installing anti s...
Page 13: ...length or at either end If the supply power cord is damaged replace it with OEM components To avoid hazard this should be done by a licensed service provider or similarly qualified person ELECTRICAL S...
Page 14: ...h the red button to remove the plug TR 42 48 FRONT VIEW ROUGH OPENING ELECTRICAL AREA NOTE DIMENSIONS MAY VARY BY 1 8 3 175 mm 84 1 4 2140mm FLUSH INSTALL 42 1 4 1073mm FLUSH INSTALL 41 3 4 1060mm STA...
Page 15: ...ater line prior to final connection to the unit This removes any debris present in the line Only connect to a potable water supply Do not connect to a hot water supply Install the water filter before...
Page 16: ...tion of the indicated substances in water entering the system was reduced to a concentration less than or equal to the permissible limit for water leaving the system as specified in NSF ANSI Standards...
Page 17: ...05 TRICHLOROETHYLENE TCE 99 0 180 0 0010 TRIHALOMETHANES TTHM Chloroform Bromoform Bromodichloromethane Dibromochloromethane 99 8 0 300 0 015 Unsym Trichlorobenzene see 1 2 4 TRICHLOROBENZENE 99 0 160...
Page 18: ...TEC_TM_170 REV A 09 26 2022 P 848062 Page 18 of 60 TRUE RESIDENTIAL P A G E T I T L E N O T E S...
Page 19: ...TEC_TM_170 REV A 09 26 2022 Page 19 of 60 TRUE 42 48 INSTALL MANUAL I N S TA L L AT I O N P L A N V I E W S T R 4 2 S B S S S C T R 4 8 S B S S G S S C...
Page 20: ...NTIAL I N S TA L L AT I O N P L A N V I E W S OVERALL DIMENSIONS TR 42 26 5 8 676 mm 20 13 16 529 mm DOORS OPEN 90 23 25 32 604 mm 41 9 16 10556 mm CABINET WIDTH 2 1 2 546mm DOORS OPEN 135 13 1 32 331...
Page 21: ...S TA L L AT I O N P L A N V I E W S 72 21 32 1845 mm 67 29 32 1725 mm 83 3 4 2147 mm 83 31 32 2133 mm 25 25 32 655 mm 27 29 32 709 mmm 30 15 32 774 mm DOOR HEIGHT CABINET HEIGHT 3 15 16 84 mm OVERALL...
Page 22: ...ENTIAL I N S TA L L AT I O N P L A N V I E W S DOORS OPEN 90 23 25 32 647 mm 47 9 16 1208 mm CABINET WIDTH 2 1 2 64 mm DOORS OPEN 135 20 13 16 529 mm 32 5 8 829 mm 13 1 16 332 mm 21 7 16 555 mm OVERAL...
Page 23: ...N P L A N V I E W S 83 31 32 2133 mm 72 21 32 1845 mm 67 29 32 1725 mm 20 57 3 4 1466 mm DOOR HEIGHT GLASS OPENING 83 3 4 2127 mm 25 25 32 655 mm 27 29 32 709 mm 30 15 32 774 mm CABINET HEIGHT 3 15 16...
Page 24: ...TEC_TM_170 REV A 09 26 2022 P 848062 Page 24 of 60 TRUE RESIDENTIAL N O T E S...
Page 25: ...09 26 2022 Page 25 of 60 TRUE 42 48 INSTALL MANUAL U N C R AT I N G A N T I T I P B R A C K E T I N S TA L L AT I O N L E V E L I N G T H E U N I T K I C K P L AT E I N S TA L L AT I O N J O I N I N G...
Page 26: ...PPLIANCE MAY NOT EXACTLY MATCH FIGURES SHOWN PROCEDURE 1 Inspect the pallet exterior packaging for visible damage See fig 1 Follow TRUE s recommended procedure for accepting deliveries 2 Remove the ex...
Page 27: ...MOVING THE UNIT TO ITS FINAL LOCATION SEE FIG 6 REPACKAGE THE UNIT WITH THE EXTERIOR PACKAGING AS NEEDED BEFORE MOVING THE UNIT 5 Unbolt the shipping bracket from the castor housing Then remove the an...
Page 28: ...equipment from the SIDES NEVER the FRONT or REAR 6 Remove the condensate drain pan Set the drain pan aside See fig 9 7 Slightly raise the rear leveling leg rollers Turn the front adjustment screw 1 4...
Page 29: ...et as a guide drill pilot holes into the wall floor It is recommended to secure the bracket to as many floor joists and wall studs as possible 3 Using the provided screws and washers secure the bracke...
Page 30: ...UD INSTALL 24 31 32 634mm FLUSH INSTALL 9 9 32 236mm 23 25 32 604mm 9 9 32 236mm Anti Tip Kit Install TR 48SBS SS B R 24 31 32 634mm FLUSH INSTALL 22 31 32 583mm PROUD INSTALL 20 25 32 528mm 9 9 32 23...
Page 31: ...orrectly and drain pans do not spill over PROCEDURE 1 Place a level on the interior floor on the unit Check the level back to front and side to side See fig 1 for leveling adjustment locations 2 Adjus...
Page 32: ...llow easy access for leveling the unit The kickplate attaches to the unit with magnets see fig 2 located on either side at the bottom of the unit FIG 1 The kickplate FIG 2 The magnets One side shown F...
Page 33: ...the device is properly engaged before the normal usage of the appliance commences ANTI TIP BRACKET KIT One 1 anti tip bracket Figure 1 1 Four 4 masonry 3 16 screws Eight 8 wood 12 2 screws Twelve 12 1...
Page 34: ...THE WIRES ORIGINAL LOCATIONS BEFORE DISCONNECTING THE REED SWITCH WIRE LOCATION IS CRITICAL TO THE CABINET S OPERATION SEE FIG 5 3 Remove the reed switch wire from the rainshield See figs 6 and 7 4 R...
Page 35: ...to bottom See figs 15 and 16 10 With the provided hardware install the joining bracket across the interior legs See figs 17 and 18 11 With the existing hardware install the joining rainshield assembl...
Page 36: ...oined units into their final installation location 15 Verify the level of the cabinets Level the units as needed 16 Restore power to the units and turn the units on 17 After 3 minutes of runtime open...
Page 37: ...M E N T TEC_TM_170 REV A 09 26 2022 Page 37 of 60 TRUE 42 48 INSTALL MANUAL S H E LV I N G D O O R B I N S D R A W E R S R E F R I G E R AT O R S T O R A G E F R E E Z E R S T O R A G E I C E M A K E...
Page 38: ...ckaged inside the unit See fig 1 REFRIGERATOR STORAGE GLASS SHELVES Remove interior packaging before use See fig 2 ADJUSTMENT 1 Tilt the shelf front forward See fig 3 2 Lift the shelf up and out of th...
Page 39: ...p in the refrigerator s bottom drawer See fig 5 INSTALLATION 1 Hook a door bin into the door slots See fig 6 2 Push the bin down to ensure the tabs are fully engaged in the slots See fig 7 CAUTION INC...
Page 40: ...drawer from the unit INSTALLATION 1 Pull the drawer slides fully forward 2 Position the drawer on the drawer slides and carefully push the drawer towards the back of the unit Lift the drawer from the...
Page 41: ...ee fig 12 WIRE BASKETS REMOVAL 1 Pull the drawer fully forward 2 Remove the drawer slide screws See fig 13 3 Lift the drawer from the unit INSTALLATION 1 Pull the drawer slides fully forward 2 Positio...
Page 42: ...Filter Installation page 16 for installation instructions After the initial startup discard the first batch of produced ice This ice may contain impurities from new plumbing connections Do not remove...
Page 43: ...O P E R AT I O N T U R N O N O F F T E M P E R AT U R E A D J U S T M E N T Z O N E N A V I G AT I O N M O D E N A V I G AT I O N A C C E N T L I G H T I N G S Y S T E M A L A R M N A V I G AT I O N D...
Page 44: ...power up diagnostic followed by a single audible beep The lights turn on and temperature readings appear on the display WARNING Electrical shock or burn hazard Turning the unit off with the power but...
Page 45: ...ey until you reach the HOME screen where the current zone temperatures will be displayed NOTE THE TEMPERATURE RANGE IN A FREEZER ZONE IS 4 F 20 C TO 4 F 16 C ZONE ZONE NAVIGATION REFRIGERATOR FREEZER...
Page 46: ...REPORT 0 F 38 F 0 F 38 F 0 F 38 F MODE NAVIGATION The following pages illustrate unique customer input operations performed at the control panel The input operations described are HOLIDAY Mode TEMPERA...
Page 47: ...VIGATION All models are equipped with an accent lighting system in the refrigerator and or freezer compartment s To energize the accent lighting system press the LIGHT key and navigate to the correspo...
Page 48: ...LARM NAVIGATION All Residential Series units are equipped with a door ajar alarm feature To enable the door ajar alarm press the ALARM key on the control panel and DOOR ALARM IS ON will appear in the...
Page 49: ...quired freezer door ajar refrigerator door ajar refrigerator high temp freezer high temp showroom mode Communication Error call for service MAIN SCREEN COULD SHOW THE FOLLOWING COMMUNICATION ERROR 0 F...
Page 50: ...use only press power to exit or down to continue Freezer Exit Refrigerator Showroom Mode Off Freezer Freezer Freezer Exit Exit Showroom Mode On Showroom Mode When in Showroom Mode all cooling and def...
Page 51: ...and has been installed correctly Black flecks in the ice cubes Stop use and contact True Residential Technical Service Bad taste Defrost the freezer and clean with soap and water Place coffee grounds...
Page 52: ...M O V A L D O O R H A N D L E T I G H T E N I N G CONDENSER COIL CLEANING C O N D E N S AT I O N W AT E R F I LT E R R E P L A C E M E N T S TA I N L E S S S T E E L E Q U I P M E N T C A R E A N D C...
Page 53: ...r 90 See fig 1 2 Carefully lift the door from the hinges See fig 2 INSTALLATION 1 Hold the door 90 to the opening 2 Align the hinge posts with the hinges 3 Lower the door into place DOOR HANDLE TIGHTE...
Page 54: ...sk of eye injury from debris Eye protection is recommended CAUTION Coil fins are sharp Gloves are recommended REQUIRED TOOLS Stiff bristled brush Vacuum Cleaner Gloves recommended PROCEDURE 1 Open the...
Page 55: ...e 1 or contact our parts department at 844 849 6226 or TrueResidentialParts TrueMfg com Follow the instruction below to change the water filter For information on clearing the water filter notificatio...
Page 56: ...salt food and water Household and industrial cleaners are the worst type of chlorides to use STAINLESS STEEL EQUIPMENT CARE AND CLEANING STAINLESS STEEL CLEANING AND RESTORATION Do not use stainless...
Page 57: ...rs containing quaternary salts as they can attack stainless steel causing pitting and rusting Rinse When using chlorinated cleaners you must rinse and wipe dry immediately It is better to wipe standin...
Page 58: ...me and serial number Please have this information on hand when contacting True so we can better assist you with your service or parts related inquiries G E N E R A L M A I N T E N A N C E C A R E C L...
Page 59: ...e above warranties that is determined by TRUE to have been defective within the time frame is limited to the repair or replacement including labor charges of defective parts or assemblies The labor wa...
Page 60: ...TEC_TM_170 REV A 09 26 2022 TRUE RESIDENTIAL BC_194632_09 22 CONTACT US t r u e r e s i d e n t i a l c o m 6 3 6 2 4 0 2 4 0 0 t o l l f r e e 8 8 8 616 8 7 8 3 848062 848062...