769-11764 / 02
04/17
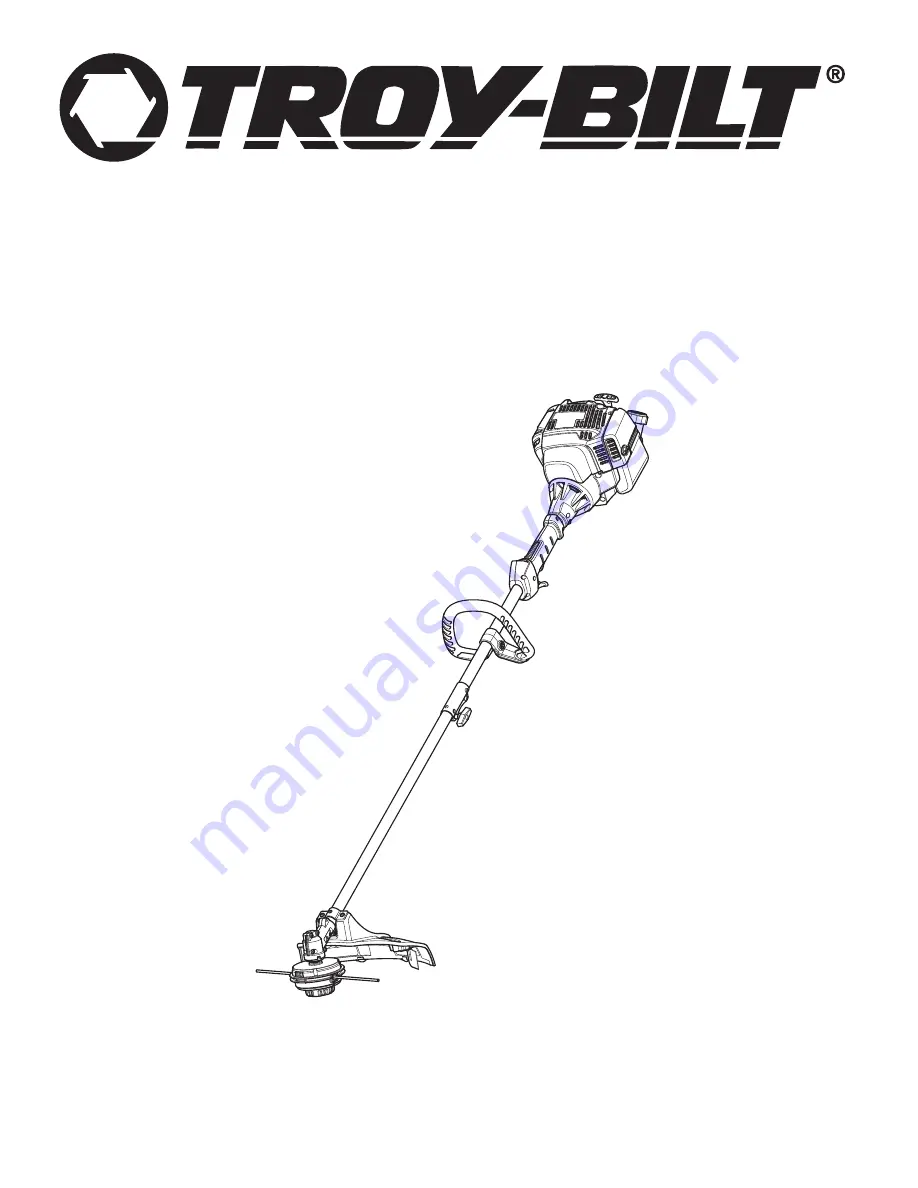
Operator’s Manual
TB685 EC
Electric Start Capable 4-Cycle Trimmer
IMPORTANT: Read this manual thoroughly before using this product. Follow all instructions.
SAVE THESE INSTRUCTIONS
Page 1: ...769 11764 02 04 17 Operator s Manual TB685 EC Electric Start Capable 4 Cycle Trimmer IMPORTANT Read this manual thoroughly before using this product Follow all instructions SAVE THESE INSTRUCTIONS...
Page 2: ...ey give are not substitutes for proper accident prevention measures NOTE Advises you of information or instructions vital to the operation or maintenance of the equipment DANGER Signals an EXTREME haz...
Page 3: ...o cool before filling the tank Never remove the fuel tank cap or add fuel when the engine is hot Always loosen the fuel tank cap slowly to relieve any pressure in the tank before fueling Always add fu...
Page 4: ...o not touch or try to stop moving parts Do not touch the engine gear housing or muffler These parts get extremely hot from operation even after the unit is turned off Do not operate the unit faster th...
Page 5: ...slip gloves when handling this unit HANDLE POSITION Make sure the handle is positioned beyond the end of the safety label UNLEADED FUEL Always use clean fresh unleaded fuel OIL Refer to operator s man...
Page 6: ...led 4 Cycle Displacement 30 cc 1 83 cu in Spark Plug Gap 0 025 in 0 635 mm Spark Plug Champion RDZ4H or equivalent plug Lubrication SAE 30 Oil Crankcase Oil Capacity 2 37 oz 70 ml Fuel Tank Capacity 1...
Page 7: ...onto the upper shaft housing Fig 2 Make sure the bolt hole faces to the right Fig 2 2 Insert the bolt into the bolt hole and push it through Fig 2 Tighten the bolt with a flat head screwdriver but do...
Page 8: ...Turn the knob clockwise to tighten the coupler Fig 3 Removing the Attachment 1 Set the unit on a flat level surface 2 Turn the knob counterclockwise to loosen the coupler Fig 3 3 Press and hold the re...
Page 9: ...ting head cap from the cutting head base Firmly press a tab on the cutting head cap Fig 8 Use your thumb If necessary use a flat head screwdriver a Insert a flat head screwdriver into the notch on the...
Page 10: ...lug Fig 10 3 Pour the entire container of oil into the oil fill hole Fig 10 DO NOT overfill Refer to Checking the Oil Level NOTE Never add oil to the fuel tank This unit has a four cycle engine DO NOT...
Page 11: ...uel additives directly to the unit s fuel tank CAUTION DO NOT USE E85 FUEL IN THIS UNIT It has been proven that fuel containing greater than 10 ethanol will likely damage this engine and void the warr...
Page 12: ...cannot be squeezed unless the throttle lockout is also engaged 5 Press and hold the throttle lockout Fig 11 Squeeze and hold the throttle control Fig 11 6 Continue to hold the throttle lockout and thr...
Page 13: ...tart accessory in intervals no longer than 2 seconds each until the unit starts 8 Remove the electric start accessory from the unit IF the engine does not start begin the starting procedure with step...
Page 14: ...g to release line in tall grass may stall the engine NOTE Do not rest the cutting head on the ground while the unit is running Each time the bump knob is tapped about 1 5 inches 38 mm of trimming line...
Page 15: ...line line blades to wear down quickly or break When Using the Bump Head Frequently check and adjust the trimming line length Refer to Adjusting the Trimming Line Length Always keep the trimming line f...
Page 16: ...instructions to prevent serious personal injury REPLACING THE TRIMMING LINE BUMP HEAD Only use the trimming line described in the Specifications section Other types of trimming line may cause the uni...
Page 17: ...ool cover Fig 24 DO NOT remove the spring from the cutting head base Fig 24 e Push the bump knob through the spool cover Fig 24 If the eyelets come off reinsert the eyelets on the spool cover Fig 21 N...
Page 18: ...ing head base DO NOT disassemble or remove any other parts on the cutting head base 3 Remove the old line blades from the cutting head cap 4 Use a clean cloth to clean the inside of the cutting head b...
Page 19: ...e oil level on the dipstick Oil should cover the hash marks Fig 31 If the oil level is too low add a small amount of oil to the oil fill hole Repeat steps 5 7 until the oil is at the correct level If...
Page 20: ...n cause permanent damage to the engine Engine failure due to improper air filter maintenance is not covered by the product warranty Cleaning the Air Filter 1 Unscrew the cover screw completely Swing t...
Page 21: ...r tighten 6 Reattach the spark plug boot WARNING Do not sand blast scrape or clean spark plug electrodes Grit in the engine could damage the cylinder ADJUSTING THE IDLE SPEED If the engine will not id...
Page 22: ...Store the unit in a horizontal position If this is not possible store the unit vertically with the engine at the top Long term Storage 1 Remove the fuel cap tip the unit and drain the fuel into an app...
Page 23: ...ain the fuel tank and add fresh fuel The spark plug is fouled Replace the spark plug TROUBLESHOOTING The fuel is old over 30 days Drain the fuel tank and add fresh fuel The cutting head is bound with...
Page 24: ...ossessions and territories except those sold through Troy Bilt s authorized channels of export distribution Troy Bilt reserves the right to change or improve the design of any Troy Bilt Product withou...
Page 25: ...TB685 EC Recortadora de 4 tiempos con capacidad para arranque el ctrico 769 11764 02 04 17 IMPORTANTE Lea este manual por completo antes de utilizar este producto Siga todas las instrucciones CONSERVE...
Page 26: ...a las medidas adecuadas de prevenci n de accidentes NOTA Proporciona informaci n o instrucciones de vital importancia para el funcionamiento o el mantenimiento del equipo PELIGRO Indica un peligro EXT...
Page 27: ...la seguridad del operador y los observadores Por favor guarde estas instrucciones para su uso posterior ADVERTENCIAS DE SEGURIDAD PARA LAS UNIDADES A GASOLINA Almacene el combustible nicamente en reci...
Page 28: ...i n Sostenga firmemente ambas manijas o empu aduras No se extienda demasiado Siempre debe estar bien afirmado y mantener el equilibrio adecuado Tenga cuidado al trabajar sobre escalinatas cuestas empi...
Page 29: ...la manija est ubicada m s all del extremo de la etiqueta de seguridad COMBUSTIBLE SIN PLOMO Utilice siempre combustible limpio nuevo y sin plomo ACEITE Consulte el manual del operador para conocer el...
Page 30: ...frigerado por aire de 4 ciclos Desplazamiento 30 cc 1 83 pulgadas c bicas Separaci n de las buj as 0 025 pulgadas 0 635 mm Buj a de encendido Champion RDZ4H o buj a equivalente Lubricaci n Aceite SAE...
Page 31: ...l eje superior Fig 2 Aseg rese de que el orificio del perno mire hacia la derecha Fig 2 2 Inserte el perno en el orificio del perno y opr malo para que pase a trav s de l Fig 2 Ajuste el perno con un...
Page 32: ...apretar el acoplador Fig 3 Extracci n del accesorio 1 Coloque la unidad en una superficie plana y nivelada 2 Gire la perilla en el sentido contrario a las agujas del reloj para aflojar el acoplador Fi...
Page 33: ...del cabezal de corte Presione con firmeza una leng eta del tap n del cabezal de corte Fig 8 Utilice el pulgar para presionar la leng eta Si es necesario utilice un destornillador de cabeza plana a In...
Page 34: ...ER SE PUEDEN PRODUCIR LESIONES PERSONALES GRAVES Controle el nivel de aceite antes de cada uso No est de m s insistir en la importancia de mantener el nivel de aceite adecuado Cambie el aceite de acue...
Page 35: ...tapa del combustible lentamente a fin de evitar lesiones ocasionadas por salpicaduras de combustible Nunca opere la unidad si la tapa del combustible no est bien sujeta en su lugar ADVERTENCIA Agregu...
Page 36: ...retar a menos que tambi n se active el bloqueo del acelerador 5 Oprima y mantenga apretado el bloqueo del acelerador Fig 11 Apriete y mantenga oprimido el control del acelerador Fig 11 6 Siga sostenie...
Page 37: ...rranque el ctrico en intervalos de no m s de 2 segundos cada vez hasta que arranque la unidad 8 Retire el accesorio de arranque el ctrico de la unidad SI el motor no arranca comience el procedimiento...
Page 38: ...en un lugar donde el c sped est alto se puede parar el motor NOTA No apoye el cabezal de corte en el suelo mientras la unidad est en marcha Cada vez que se golpea la perilla de impacto se suelta apro...
Page 39: ...que el hilo de recorte o las cuchillas rectas se desgasten o se rompan r pidamente Cuando utilice el cabezal de impacto Verifique con frecuencia y ajuste la longitud del hilo de recorte Consulte la s...
Page 40: ...le de la buj a para evitar que la unidad arranque accidentalmente ADVERTENCIA Utilice vestimenta de protecci n y respete todas las instrucciones de seguridad para evitar que se produzcan lesiones pers...
Page 41: ...de las ranuras Fig 24 d Retire la cubierta de la bobina Fig 24 NO extraiga el resorte de la base del cabezal de corte Fig 24 e Empuje la perilla de impacto a trav s de la cubierta de la bobina Fig 24...
Page 42: ...base del cabezal de corte NO desmonte ni extraiga ninguna otra pieza de la base del cabezal de corte 3 Retire las cuchillas rectas viejas de la tapa de cabezal de corte 4 Use una tela limpia para limp...
Page 43: ...illa El aceite debe cubrir las marcas de guiones Fig 31 Si el nivel de aceite es demasiado bajo agregue una peque a cantidad de aceite en el orificio de llenado de aceite Repita los pasos 5 7 hasta qu...
Page 44: ...motor de manera permanente Las aver as del motor ocasionadas por un mantenimiento inadecuado del filtro de aire no est n cubiertas por la garant a del producto Limpieza del filtro de aire 1 Desenrosqu...
Page 45: ...ni raspe o limpie los electrodos de las buj as La presencia de polvo abrasivo en el motor podr a da ar el cilindro AJUSTE DE LA VELOCIDAD DE RALENT Si el motor no funciona al ralent correctamente 1 A...
Page 46: ...to a corto plazo 1 2 semanas 1 Almacene la unidad en posici n horizontal Si esto no es posible almacene la unidad de manera vertical con el motor arriba Almacenamiento a largo plazo 1 Retire la tapa d...
Page 47: ...ible y agregue combustible nuevo La buj a est averiada Vuelva a colocar la buj a SOLUCI N DE PROBLEMAS El combustible est viejo m s de 30 d as Drene el dep sito de combustible y agregue combustible nu...
Page 48: ...rritorios excepto para aquellos vendidos a trav s de los canales autorizados de distribuci n de exportaciones de Troy Bilt Troy Bilt se reserva el derecho a cambiar o mejorar el dise o de cualquier Pr...