GARDEN WAY INCORPORATED
OWNER’S MANUAL
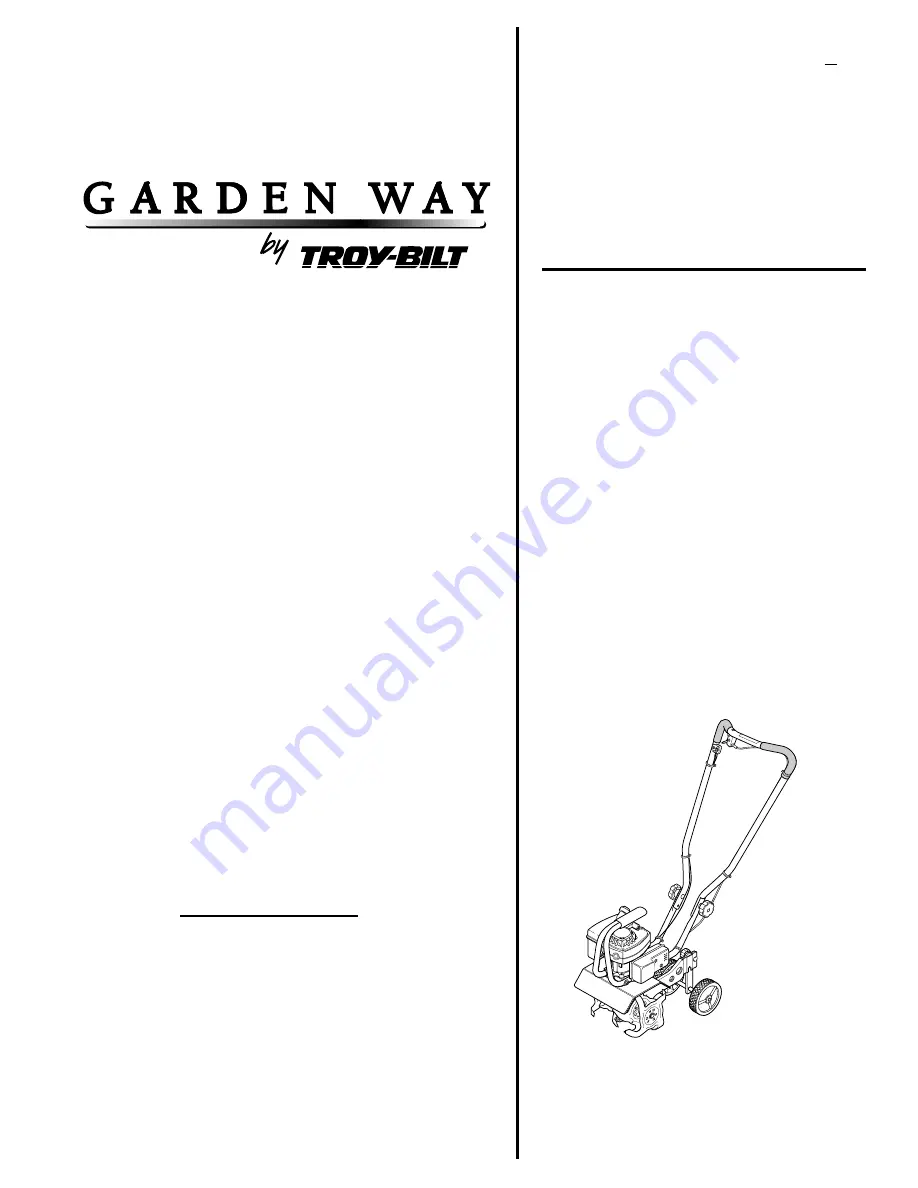
Tiller/Edger
•
Safety
Assembly
Features and Controls
Operation
Maintenance
Parts List
$
4
50
TM
Model
12215
Serial Numbers:122151200101 – 122151299999
Page 1: ...GARDEN WAY INCORPORATED OWNER S MANUAL Tiller Edger Safety Assembly Features and Controls Operation Maintenance Parts List 450 TM Model 12215 Serial Numbers 122151200101 122151299999 ...
Page 2: ...l read and obey the message that follows it Failure to obey safety mes sages could result in personal injury or property damage The engine exhaust from this product contains chemi cals known to the State of California to cause cancer birth defects or other reproductive harm WARNING Table of Contents SECTION 1 SAFETY 3 Training 3 Preparation 3 Operation 3 Maintenance Storage 4 SECTION 2 ASSEMBLY 5 ...
Page 3: ...jects being thrown by high speed rotating parts Do not till near underground electric cables telephone lines pipes or hoses If in doubt contact your utility or tele phone company to locate underground services Handle fuel with care It is highly flammable and has explosive vapors Take these precautions a Use an approved fuel container b Add fuel before starting the engine Never remove the cap of th...
Page 4: ...lebar To stop the engine move the engine On Off switch to OFF Do not overload the machine s capacity by attempting to till too deeply at too fast a rate Never operate the equipment on slip pery surfaces Look behind and use care when backing up Do not operate the equipment on a slope that is too steep for safety When on slopes slow down and make sure you have good footing Never allow bystanders nea...
Page 5: ...ardware Check all nuts bolts and screws on your unit and tighten as needed NOTE Use a 7 16 socket with an extension to check hardware at ends of handlebar Tools Needed to Check for Loose Hardware Adjustable wrench Slotted head screwdriver Phillips head screwdriver Use a 7 16 socket and extension to check hardware at ends of handlebar IMPORTANT Do not tighten engine gov ernor screw D Figure 2 It is...
Page 6: ... ring lock pin 4 It is important for proper tilling perfor mance that the tine sections be later rein stalled in their original positions Mark the position of each tine section Left Outer Left Inner etc before removing them Refer to Figures 3 and 9 for tine position information See also Tine Removal and Installation in Section 5 5 Install the short bushing D Figure 4 on the right hand or left hand...
Page 7: ...ent Engine Controls Engine On Off Switch A Figure 5 Use the ON OFF Switch to start or stop the engine See Starting and Stopping the Engine in Section 4 and the Engine Owner s Manual for details Throttle Tines Lever G Figure 5 Squeeze this lever to start tine rotation and to vary the tine speed Release the lever to stop all tine motion See Starting and Stopping the Engine in Section 4 for details I...
Page 8: ... in Figure 7 High Volume Priming Position Squeeze the primer bulb six 6 times This process removes air from the priming system As fuel enters the priming system the priming action will feel more firm Cold Starting Use this starting method after the unit has been sitting or has been in brief storage and has fuel in the tank Use the Standard Volume Priming Position Figure 7 and push in top of primer...
Page 9: ...g on hard rough or uneven ground 5 Do not try to till too deeply in the first pass through sod or very hard ground If the machine jumps or bucks use a shal lower depth setting and reduce the engine speed With each successive pass till more deeply 6 Apply downward pressure on the han dlebars for shallower tilling Lift the han dlebars to dig more deeply If the machine stays and tills in one spot try...
Page 10: ...d then crosswise then first overlap by one half the machine width followed by successive passes at one quarter machine width This overlapping method assures thorough tilling Figure 10 Use an overlap technique on every pass Figure 11 Make a second set of passes at a right angle over the first set of passes Power Lawn Rake Attachment Model 12575 The Power Lawn Rake helps to keep your lawn healthy an...
Page 11: ...tight and that the On Off Switch wire connections are secure Also check that the switch wiring is in good condition ENGINE MAINTENANCE Engine Lubrication The engine is a two cycle engine Lubri cation is provided by mixing two cycle oil with unleaded regular gasoline as described in the Assembly Section Attempting to operate the engine on gaso line alone will cause the engine to over heat and seize...
Page 12: ...ual or if the soil is not being mixed as thoroughly Also in addi tion to the standard 10 tilling width tine configuration the tines can be arranged in two other configurations 1 A narrow 41 2 tilling width for smaller areas and 2 A special pattern for stony soil conditions IMPORTANT The ring lock pin A Figure 16 is under spring tension wear gloves to protect your fingers when removing or replacing...
Page 13: ...older than one season in order to avoid varnish deposits throughout the fuel system Dispose of the fuel mixture properly 2 Start engine and run until fuel mixture is used up This will prevent poor perfor mance from stale fuel when your equip ment is taken out of storage NOTE If Gasohol has been used com plete above instructions and then put 1 2 pint of gasoline properly mixed with two cycle oil se...
Page 14: ... dirty air filters tilling conditions 3 Stale fuel mixture 3 Drain old mixture Add fresh mixture 4 Carburetor out of adjustment 4 Adjust carburetor See Manual Engine overheats 1 Engine cooling fins clogged 1 Remove dirt and debris from fins 2 Improper amount of oil in fuel mixture 2 Drain tank fill with correct mixture Tines stop rotating 1 Object wedged between tines and hood 1 Remove wedged obje...
Page 15: ...ion case 5 12 1100069 Hex Screw 1 4 20 x 1 three locations identified as B on transmission case 3 13 1817146 Locknut Nyloc 1 4 20 8 14 1983635 Thrust Washer Output 050 A R 15 1983640 Thrust Washer Output 040 A R 16 1983641 Thrust Washer Input 020 A R 17 1983642 Thrust Washer Input 035 A R 18 1983638 Thrust Washer 2 19 1107381 Flat Washer 1 4 2 20 1983663 Hex Hd Screw 1 4 20 x 5 2 21 1909486 Clutch...
Page 16: ...Model 12215 1 5 13 13 13 13 13 13 17 18 20 46 42 42 SEE PREVIOUS PAGE 49 48 47 21 31 32 34 33 26 28 29 30 25 24 23 22 27 43 42 42 18 19 19 38 39 41 40 40 36 37 35 45 16 15 14 45 4 6 9 12 11 2 3 8 44 44 10 10A 7 16 ...
Page 17: ...1918061 Decal Logo 1 24 1904553 Decal Warning Rotating TInes 1 25 1904549 Decal Warning Hot Surfaces 1 26 1904552 Decal Caution Operation Hazards 1 27 1186292 Hex Hd Screw 10 24 x 1 2 2 28 1186387 Flange Locknut 10 24 2 29 1100241 Lock Washer 1 4 20 4 30 1100807 Hex Hd Cap Screw 1 4 20 x 2 4 31 1909540 Outer Tine Right Hand Side 1 32 1909539 Inner Tine Right Hand Side 1 33 1909712 Outer Tine Left ...
Page 18: ...3 Throttle Tines Lever 3 4 5 9 11 Features Controls 7 Fuel Mixture 5 6 12 13 Fuel Primer Bulb 4 8 9 12 14 Gasoline Two Cycle Oil 5 6 12 13 Handlebar Height Adjustment 7 8 Hardware 5 Lubrication 11 Maintenance 11 Model Serial Number Back Cover Oil Gasoline Mixture 5 6 12 13 Off Season Storage 11 Operation 8 Parts List 15 17 Power Lawn Rake 10 Preparation 3 8 Recoil Starter Rope 98 Repair Parts 15 1...
Page 19: ...Notes ...
Page 20: ...e unit Replacement Parts Factory specified replacement parts are available from your authorized dealer or directly from the Factory When ordering parts be sure to provide the following Model Serial Numbers of the unit Part number of the part needed Part Description Quantity needed NOTE All replacement parts must conform to our rigid quality specifications Although some replacement parts we provide...