©2000 MTD SOUTHWEST INC
Models
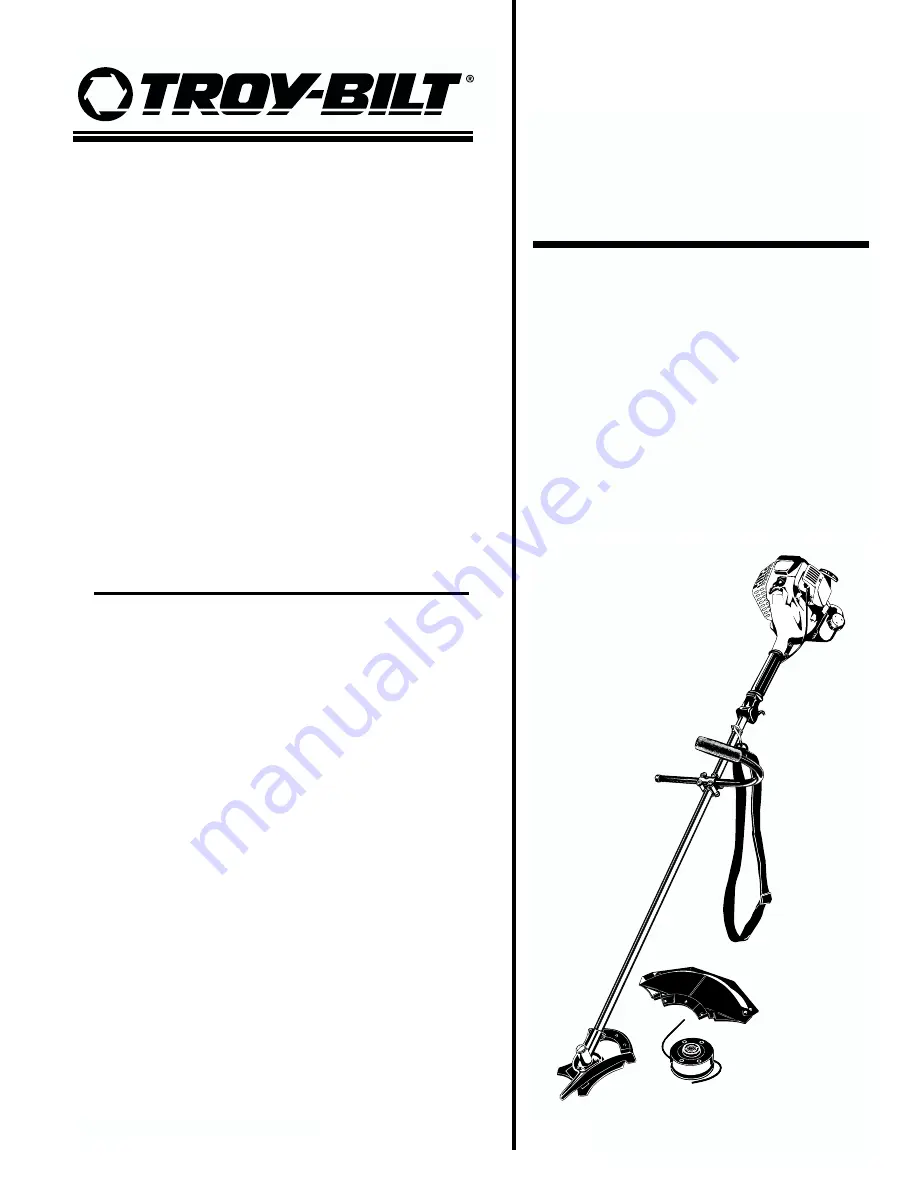
TB4000 –
26cc Straight Shaft
FORM 182825 (12/00) (10197 rev. A)
Printed in U.S.A.
Owner/OperatorManual
4-Cycle Trimmer/Brush Cutter
• Safety• Assembly• Operation• Maintenance
Page 1: ... 2000 MTD SOUTHWEST INC Models TB4000 26cc Straight Shaft FORM 182825 12 00 10197 rev A Printed in U S A Owner Operator Manual 4 Cycle Trimmer Brush Cutter Safety Assembly Operation Maintenance ...
Page 2: ...0 Removing and Installing the Cutting Attachment Shield 10 Remove the Cutting Attachment and Install the Cutting Blade 10 12 Remove the Cutting Blade and Install the Cutting Attachment 12 Section 4 Oil and Fuel 13 14 Recommended Oil Type 13 Recommended Fuel Type 13 Fueling Unit 14 Section 5 Operation 14 17 Starting Instructions 14 15 Stopping Instructions 15 Holding the Trimmer 16 Adjusting Trimmi...
Page 3: ...ashington require by law that certain internal combustion engines operated on forest brush and or grass covered areas be equipped with a spark arrestor maintained in effective working order or the engine be constructed equipped and maintained for the prevention of fire Check with your state or local authorities for regulations pertaining to these requirements Failure to follow these requirements c...
Page 4: ...maged parts Check for fuel leaks Make sure all fasteners are in place and secure Replace cutting attachment parts that are cracked chipped or damaged in any way Make sure the cutting attachment is properly installed and securely fastened Be sure the cutting attachment shield is properly attached and posi tioned as recommended Failure to so can result in personal injury to the operator and bystande...
Page 5: ...chment when it is rotating Do not touch the engine gear housing or muffler These parts get extremely hot from operation When turned off they remain hot for a short time Do not operate the engine faster than the speed needed to cut trim or edge Do not run the engine at high speed when not cutting Always stop the engine when cutting is delayed or when walking from one cutting location to another If ...
Page 6: ...re to secure the unit while transporting Store the unit in a dry area locked up or up high to prevent unauthorized use or damage out of the reach of children Never douse or squirt the unit with water or any other liquid Keep handles dry clean and free from debris Clean after each use see Cleaning and Storage instructions Keep these instructions Refer to them often and use them to instruct other us...
Page 7: ...ne cutting blade CHOKE CONTROL A FULL choke position B PARTIAL choke position C RUN position BRUSH CUTTERS Replace dull blade Do not sharpen the cutting blade Sharpening the blade can cause the blade tip to break off while in use This can result in severe personal injury TRIMMER BRUSH CUTTER SAFETY WARNING Thrown objects and rotating cutter can cause severe injury Keep bystanders especially childr...
Page 8: ...ght bush of up to 1 2 inch in diameter Cutting Attachment Shield Fuel Cap Throttle Control J Handle Cutting Attachment Gear Housing Shaft Grip Primer Bulb Choke Lever Spark Plug Shaft Housing Starter Rope Grip Blade Shield Shield Mount Cutting Blade Line Cutting Blade Muffler Support Fitting On Off Stop Control Oil Fill Plug Dipstick Air Filter Cover Start On I Stop Off O ...
Page 9: ...l line up only when assembled correctly 4 Place the clamps and J handle the over the shaft housing and onto the bottom clamp 5 Hold each hex nut in the bottom clamp recess with a finger Start screws with a large Phillips screw driver Do not tighten until you make the handle adjustment Adjusting 6 Loosen the screws so that the J handle can be easily moved in the clamp assembly Do not remove the scr...
Page 10: ...blade Remove the cutting attachment shield from the shield mount by removing the three 3 screws with a flat blade screwdriver Fig 3 7 Store parts for future use Install the cutting attachment shield when using the unit as a grass trimmer To avoid serious personal injury the cutting attachment shield SHALL be in place at all times while operating the unit as a grass trimmer Install the cutting atta...
Page 11: ... future use NOTE The blade retainer under the cutting attach ment will be used when installing the cutting blade Install the Cutting Blade To avoid serious personal injury always wear gloves while handling or installing the blade 4 Place the cutting blade on the output shaft bushing Fig 3 11 5 Make sure that the cutting blade is centered on the pilot step and sitting flat against the output shaft ...
Page 12: ...CHMENT Remove the Cutting Blade To avoid serious personal injury always wear gloves while handling or installing the blade 1 Align the shaft bushing hole with the locking rod slot and insert the locking rod into the bushing hole Fig 3 8 Pg 10 2 Hold the locking rod in place by grasping it next to the boom of the unit Fig 3 14 3 While holding the locking rod loosen the nut on the blade by turning i...
Page 13: ... oil to the fuel or fuel tank 5 Remove tag from oil fill plug dipstick 6 Wipe up any oil that may have spilled and reinstall the oil fill plug dipstick The importance of checking and maintaining the proper oil level in the crankcase cannot be overemphasized Check oil before each use and change as specified See Section 6 Maintenance Checking the Oil Level RECOMMENDED FUEL TYPE Old fuel is the prima...
Page 14: ...rmed up 1 Check oil level in crankcase See Checking the Oil Level in Maintenance section 2 Fill the fuel tank with fresh clean unleaded fuel See Section 4 Oil and Fuel 3 Put the On Off Stop Control in the START I posi tion Fig 5 1 4 Place the choke lever in the FULL choke A position Fig 5 2 NOTE There is a small notch for each position where the the choke lever sets NOTE Fill or add fuel to the ta...
Page 15: ...start using these procedures repeat steps 5 through 11 using TWO 2 pulls in the FULL choke A position Engine Re Start Warm Engine With Fuel 1 Put the On Off Stop Control in the START I position Fig 5 1 2 Move the choke lever to the PARTIAL B position Fig 5 2 3 Squeeze the throttle control to the wide open full throttle position 4 With the unit in the starting position Fig 5 3 pull the starter rope...
Page 16: ...ifficult as the cutting line becomes shorter NOTE Do not rest the Bump Head on the ground while the unit is running Do not remove or alter the line cutting blade assembly Excessive line length will make the clutch overheat This may lead to serious person al injury or damage to the unit Some line breakage will occur from Entanglement with foreign matter Normal line fatigue Attempting to cut thick s...
Page 17: ... others Replace the blade To reduce the chance of material wrapping around the blade follow these steps Cut at full throttle Swing the unit into material to be cut from your right to your left Fig 5 7 Avoid the material just cut as you make the return swing Do not clear away cut material with the engine running or blade turning To avoid serious per sonal injury turn off engine Allow the blade to s...
Page 18: ... mainte nance and repairs on a cool unit Disconnect spark plug wire to ensure the unit will not start LINE INSTALLATION This section covers both Membrane line and standard single line installation Always use manufacturer s 0 095 inch 2 41 mm replacement line Line other than specified may make the engine overheat or fail Never use metal reinforced line wire chain or rope etc These can break off and...
Page 19: ...y 20 feet 6 1 m of new trimming line Insert one end of the line through one of the two holes in the inner reel Fig 6 6 Pull the line through the inner reel until only about 4 inches is left out 9 Insert the end of the line into the open hole in the inner reel and pull the line tight to make the loop as small as possible Fig 6 6 10 Before winding split the line back about 6 inches 11 Wind the line ...
Page 20: ...the dipstick The importance of checking and maintaining the proper oil level in the crankcase cannot be overemphasized Check oil before each use 1 Stop engine and allow oil to drain into the crankcase 2 Place the unit on a flat level surface to get a prop er oil level reading Spring Fig 6 8 Top of Dipstick Oil Fill Plug Dipstick O Ring Oil Fill Plug Dipstick Oil Fill Hole O Ring 3 Keep dirt grass ...
Page 21: ...t Clean and re oil the air filter every 10 hours of opera tion It is an important item to maintain Not maintain ing the air filter will VOID the warranty 1 Remove the air filter cover by pulling up the two tabs on the bottom back of the cover then pull out and up Fig 6 12 2 Remove the air filter Fig 6 12 3 Wash the filter in detergent and water Rinse the filter thoroughly and allow it to dry 4 App...
Page 22: ... a time as needed to reduce idle speed Idle Adjustment Screw Checking the fuel mixture cleaning the air filter and adjusting the idle speed screw should solve most engine problems If not and The engine will not idle The engine hesitates or stalls on acceleration There is a loss of engine power have the carburetor adjusted by an authorized service dealer When the unit is turned off make sure the cu...
Page 23: ...install See Replacing the Spark Plug 13 Replace the spark plug wire REPLACING THE SPARK PLUG Use a Champion RDZ19H spark plug or equivalent The correct air gap is 0 025 inch 0 655 mm Remove the plug after every 50 hours of operation and check its condition 1 Stop the engine and allow it to cool Grasp the plug wire firmly and pull the cap from the spark plug 2 Clean dirt from around the spark plug ...
Page 24: ...t locked up to prevent unauthorized use or damage Store the unit in a dry well ventilated area Store the unit out of the reach of children LONG TERM STORAGE If the unit will be stored for an extended time 1 Drain all gasoline from the gas tank into a container Do not use gas that has been stored for more than 60 days Dispose of the old gasoline in accordance to Federal State and Local regulations ...
Page 25: ...tion Turn On Off Stop Control to START Empty fuel tank Fill fuel tank Primer bulb wasn t pressed enough Press primer bulb fully and slowly 5 7 times Engine flooded Use starting procedure with choke lever in the RUN position Pg 14 Old Gasoline Drain fuel tank Add fresh Gasoline Fouled spark plug Replace or clean the spark plug ENGINE WILL NOT START ENGINE WILL NOT IDLE ENGINE WILL NOT ACCELERATE EN...
Page 26: ...Diaphragm All Position Starter Auto Rewind Muffler Baffled with Guard Throttle Manual Spring Return Fuel Tank Capacity 20 oz 591 ml ENGINE DRIVE SHAFT CUTTING ATTACHMENT Drive Shaft Housing Aluminum Tube Throttle Control Finger Tip Trigger Unit Weight No Fuel with J handle Cutting attachment shield and Cutting attachment 13 5 lbs 6 13 kg Cutting Mechanism 4 Tooth Cutting Blade Dual String Cutting ...
Page 27: ...d call 1 800 345 8746 MANUFACTURER S WARRANTY COVERAGE The warranty period begins on the date the engine or equipment is delivered to the retail purchaser The manufacturer warrants to the initial owner and each subsequent purchaser that the engine is free from defects in material and workmanship which cause the failure of a warranted part for a period of two years Repair or replacement of warrante...
Page 28: ... SOUTHWEST INC MTD with respect with new merchandise purchased and used in the United States its possessions and territories MTD warrants this product against defects in material and workmanship for a period of two 2 years commencing on the date of original purchase and will at its option repair or replace free of charge any part found to be defective in material or workmanship This limited warran...