Models
12190 – 3HP
12191– 5HP
12193 – 6.5HP
Owner’s Manual
3HP, 5HP and 6.5HPModel Tillers
• Safety• Assembly• Controls• Operation• Maintenance
HP
TM
GARDEN WAY INCORPORATED
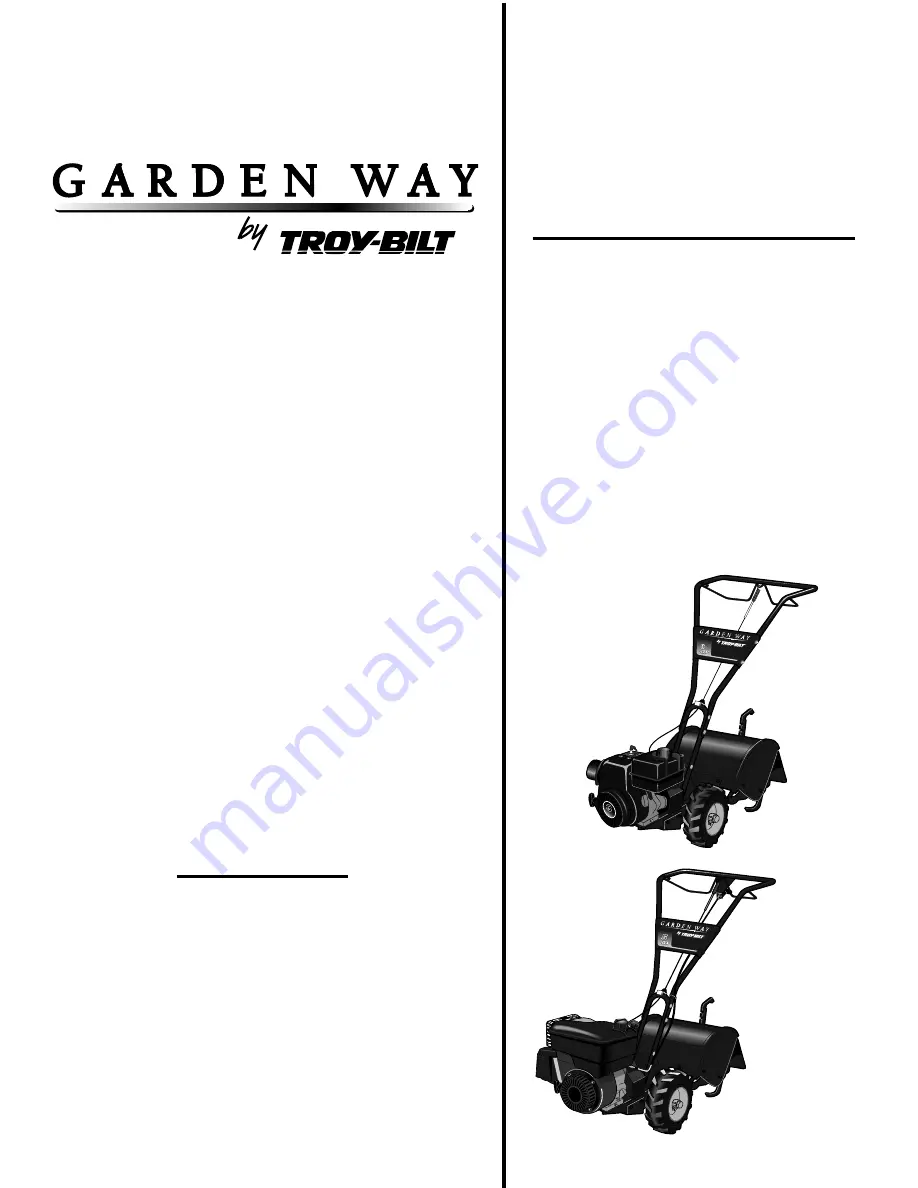
Model 12190
Model 12191
Page 1: ...Models 12190 3HP 12191 5HP 12193 6 5HP Owner s Manual 3HP 5HP and 6 5HP Model Tillers Safety Assembly Controls Operation Maintenance HP TM GARDEN WAY INCORPORATED Model 12190 Model 12191 ...
Page 2: ...jects as well Your tiller is famous for its ruggedness performance and high quality engineering We know you ll enjoy using it Please carefully read this Manual It tells you how to safely and easily assemble operate and maintain your machine Three models 12190 3HP 12191 5HP and 12193 6 5HP are covered in this Manual Where information applies only to a certain model or models specific refer ences to...
Page 3: ... Never make adjustments when engine is running unless recommended by manufacturer Operation 1 Do not put hands or feet near or under rotating parts The tines begin to rotate backward once the engine starts and the Forward Clutch Bail or Reverse Clutch Control if so equipped is engaged 2 Exercise extreme caution when on or crossing gravel drives walks or roads Stay alert for hidden hazards or traff...
Page 4: ...when backing up 17 Do not operate the tiller on a slope that is too steep for safety When on slopes slow down and make sure you have good footing Never permit the tiller to freewheel down slopes 18 Never allow bystanders near the unit 19 Only use attachments and acces sories that are approved by the manufac turer of the tiller 20 Use tiller attachments and acces sories when recommended 21 Never op...
Page 5: ...ard Clutch Control Operating Instruction Model 12190 Starting Stabilization Message on engine All Models Figure 1 Location of Safety and Operating Decals Model 12193 shown TO AVOID SERIOUS INJURY READ THE OWNER S MANUAL KNOW LOCATIONS AND FUNCTIONS OF ALL CONTROLS KEEP ALL SAFETY DEVICES AND SHIELDS IN PLACE AND WORKING NEVER ALLOW CHILDREN OR UNINSTRUCTED ADULTS TO OPERATE TILLER SHUT OFF ENGINE ...
Page 6: ...from the carton Check that you have the items listed below contact your local dealer or the factory if any items are missing or damaged NOTE Use the screw length template Fig 2 1 to identify screws Loose Parts List Qty Description 1 Handlebar Support see A Fig 2 2 page 7 1 Handlebar Assembly see K Fig 2 2 The following items are in the hardware bag 1 Slotted hd screw 10 24 x 2 1 Hex hd screw 1 4 2...
Page 7: ...urely 4 Tighten all handlebar mounting hardware securely STEP 3 Move Tiller Off Shipping Platform To move the tiller without the engine running put the wheels in their FREEWHEEL position as described below 1 Use a sturdy block to raise one wheel off the ground 2 Remove the hairpin cotter L Fig 2 3 and wheel drive pin M Slide the wheel inward on the wheel shaft N Reinstall the wheel drive pin and h...
Page 8: ...s of the coils Fig 2 7 The length should be approximately 1 7 8 If the length is correct turn the 10 24 hex nut Z down tightly against the cable adjuster X while holding the adjuster in place See Figure 2 7 If the length is incorrect you must make an adjustment to the cable tension as described in Checking and Adjusting Forward Drive Belt Tension in Section 5 When the spring length is correct tigh...
Page 9: ...he drive shaft 4 If the gear oil level is low add gear oil by referring to A To Check the Transmis sion Gear Oil Level in Section 5 STEP 7 Add Motor Oil to Engine The tiller is shipped without oil in the engine IMPORTANT Do not start the engine without first adding motor oil Severe engine damage will result if the engine is run without oil 1 Refer to the Engine Owner s Manual supplied with tiller ...
Page 10: ...engine is running Always put both wheels in the WHEEL DRIVE position before starting the engine Failure to comply could cause loss of tiller control property damage or personal injury WARNING Do not place the tiller on its side when changing the wheel drive positions as doing so could result in gasoline leaking from the fuel tank Failure to follow this instruc tion could result in personal injury ...
Page 11: ... 4 controls the engagement of reverse drive to the wheels and tines This powered reversing feature is used for maneuvering the tiller only never engage the tines in the ground while going in the reverse direction NOTE Model 12190 does not have powered reverse it must be pulled backward manually To Operate the Reverse Clutch Control 1 Operate only when the wheels are in the WHEEL DRIVE position see...
Page 12: ...i Reverse Stake This stake is located at the rear of the transmission under the tine hood see H Figure 3 7 Its purpose is to automati cally help prevent the counter rotating tines from letting the tiller back up in the direction of the operator if the tiller wheels had been inadvertently left in the FREEWHEEL position In this situation the Anti Reverse Stake will be forced down into the ground lif...
Page 13: ...4 Check transmission gear oil level after first 2 hours of operation STARTING AND STOPPING THE ENGINE Pre Start Checklist Make the following checks and perform the following services before starting the engine 1 Read the Safety and Controls sections in this manual Read the separate Engine Owner s Manual provided by the engine manufacturer 2 Check that the wheels are in the WHEEL DRIVE position whe...
Page 14: ... the CAUTION To help prevent serious personal injury or damage to equipment Before starting engine put both wheels in the WHEEL DRIVE position Never have the wheels in the FREEWHEEL position when the engine is running When the wheels are in FREEWHEEL they do not hold back the tiller and the tines could propel the tiller rapidly backward Before starting engine put Forward Clutch Bail all Models and...
Page 15: ...ce or rolled backward when wheels are in FREEWHEEL Figure 4 4 To begin turn lift handlebars until engine and tines are balanced over wheels Be sure tines are out of ground Figure 4 5 With tiller balanced over wheels and tines out of the ground push handlebars sideways to turn tiller WARNING Do not push down on the handlebars to try to make the tiller till more deeply This prevents the wheels from ...
Page 16: ...large hard clumps of soil that can interfere with planting If time permits wait a day or two after heavy rains to allow the soil to dry before tilling Test soil by squeezing it into a ball If it compresses too easily it is too wet to till Avoid making footprints Whenever possible walk on the untilled side of the unit to avoid making foot prints in your freshly tilled or cultivated soil Footprints ...
Page 17: ...also leaves room for cultivating IMPORTANT When tilling on slopes be sure the correct oil level is maintained in the engine check every one half hour of operation The incline of the slope will cause the oil to slant away from its normal level and this can starve engine parts of required lubrication Keep the engine oil level at the full point at all times A Tilling up and down slopes To keep soil e...
Page 18: ... the vehicle s engine off and apply its parking brake When going up ramps stand in the normal operating position and push the tiller ahead of you Have a person at each side to turn the wheels When going down ramps walk backward with the tiller following you Keep alert for any obstacles behind you Position a person at each wheel to control the speed of the tiller Never go down ramps tiller first as...
Page 19: ...ssure in tires if so equipped Service spark plug Check Anti Reverse Stake Change more frequently in dusty or dirty conditions Change after first 2 hours of break in operation Check after first 2 hours of break in operation See Engine Owner s Manual for service intervals and instructions WARNING Before inspecting cleaning or servicing the machine shut off engine wait for all moving parts to come to...
Page 20: ...ing a viscosity of SAE 140 SAE 85W 140 or SAE 80W 90 If refilling an empty transmission use only GL 4 transmission gear oil having a viscosity of SAE 85W 140 or SAE 140 NOTE Do not use automatic transmission fluid or engine oil in the transmission 7 While checking frequently to avoid overfilling slowly add gear oil into the oil fill hole until it reaches the halfway point on the drive shaft 8 Secu...
Page 21: ...ven spots or burrs from the tine shaft using fine sandpaper Then grease the tine shaft before rein stalling the tine assemblies Be sure all the cutting edges face so they will enter the soil first when the tiller is moving forward this means the cutting edge on the top of each tine faces toward the operator position Tighten hardware C Removing and Installing Individual Tines 1 Use two 9 16 box end...
Page 22: ...g A Figure 5 4 counterclock wise as viewed from the operator s position while holding the adjuster B steady to increase the length of the spring or turn clockwise as viewed from the operator s position to decrease the length of the spring NOTE If you have difficulty holding the adjuster steady by hand use a pliers or wrench on the adjuster While you turn the screw keep the Forward Clutch Cable Fig...
Page 23: ... it as soon as possible Check belt tension after the first two hours of break in operation new belt Check belt tension after every 10 operating hours To Check Reverse Belt Tension 1 Be sure that the engine is stopped and the spark plug wire is disconnected and moved away from the spark plug 2 Remove the screw in the plastic belt cover and slide the cover which is attached to the forward clutch cab...
Page 24: ...y or dirty conditions Service the air cleaner as instructed in the separate Engine Owner s Manual SPARK PLUG SERVICE Inspect and clean or replace the spark plug after every 100 operating hours or annually Clean the plug and set the gap as described in the separate Engine Owner s Manual In some areas local law requires using resistor spark plugs to suppress ignition signals If the engine was origin...
Page 25: ...e Service Dealer 4 Stale gasoline 4 Replace with fresh gasoline 5 Dirt or water in fuel tank 5 See Engine Service Dealer 6 Engine cooling system clogged 6 Clean air cooling system see Engine Owner s Manual Engine overheats 1 Engine cooling system clogged 1 Clean air cooling area see Engine Owner s Manual 2 Carburetor out of adjustment 2 See Engine Service Dealer 3 Oil level is low 3 Check oil leve...
Page 26: ... 38 38 38 Handlebars in lowest setting 57 57 57 TILLER WIDTH Hood Width 16 19 19 Tilling Width 14 16 17 Wheel Width 17 17 19 Handlebar Width 18 18 18 TILLER WEIGHT Approximate Weight without oil or gas 116 lbs 133 lbs 135 lbs TRANSMISSION GEAR OIL SPECIFICATIONS For small top offs Use SAE 140 SAE 85W 140 or SAE 80W 90 gear oil with an API rating of either GL 4 or GL 5 For Full Replacement Use SAE ...
Page 27: ...orized dealer or directly from the factory For parts ordering information refer to the parts catalog Engine Service and Repair For engine service or repair contact your nearest authorized engine dealer look in the Yellow Pages under Engines Gasoline The engine is warranted by the engine manufacturer Any unauthorized work performed on the engine during the warranty period may void this warranty For...
Page 28: ...1905229 11 98 Printed in U S A 1998 Garden Way Incorporated ...