TRT-BA-PAE60-PAE61-PAE80-PAE81-TC2021-15-002-EN
PAE 60 / PAE 61 / PAE 80 / PAE 81
EN
OPERATING MANUAL
AIR COOLER
Page 1: ...TRT BA PAE60 PAE61 PAE80 PAE81 TC2021 15 002 EN PAE 60 PAE 61 PAE 80 PAE 81 EN OPERATING MANUAL AIR COOLER...
Page 2: ...PAE 60 PAE 61 https hub trotec com id 45042 PAE 80 PAE 81 https hub trotec com id 45043 Safety Read this manual carefully before starting or using the device Always store the manual in the immediate v...
Page 3: ...from walls and other objects as well as the storage and operating conditions specified in the Technical annex Make sure that the air inlet and outlet are not obstructed Make sure that the suction sid...
Page 4: ...nel qualifications People who use this device must be aware of the dangers that occur when working with electric devices in damp areas have read and understood the operating manual especially the Safe...
Page 5: ...sconnect the device from the mains feed in Hold onto the mains plug while pulling the power cable out of the mains socket 3 Do not reconnect a defective device to the mains Information about the devic...
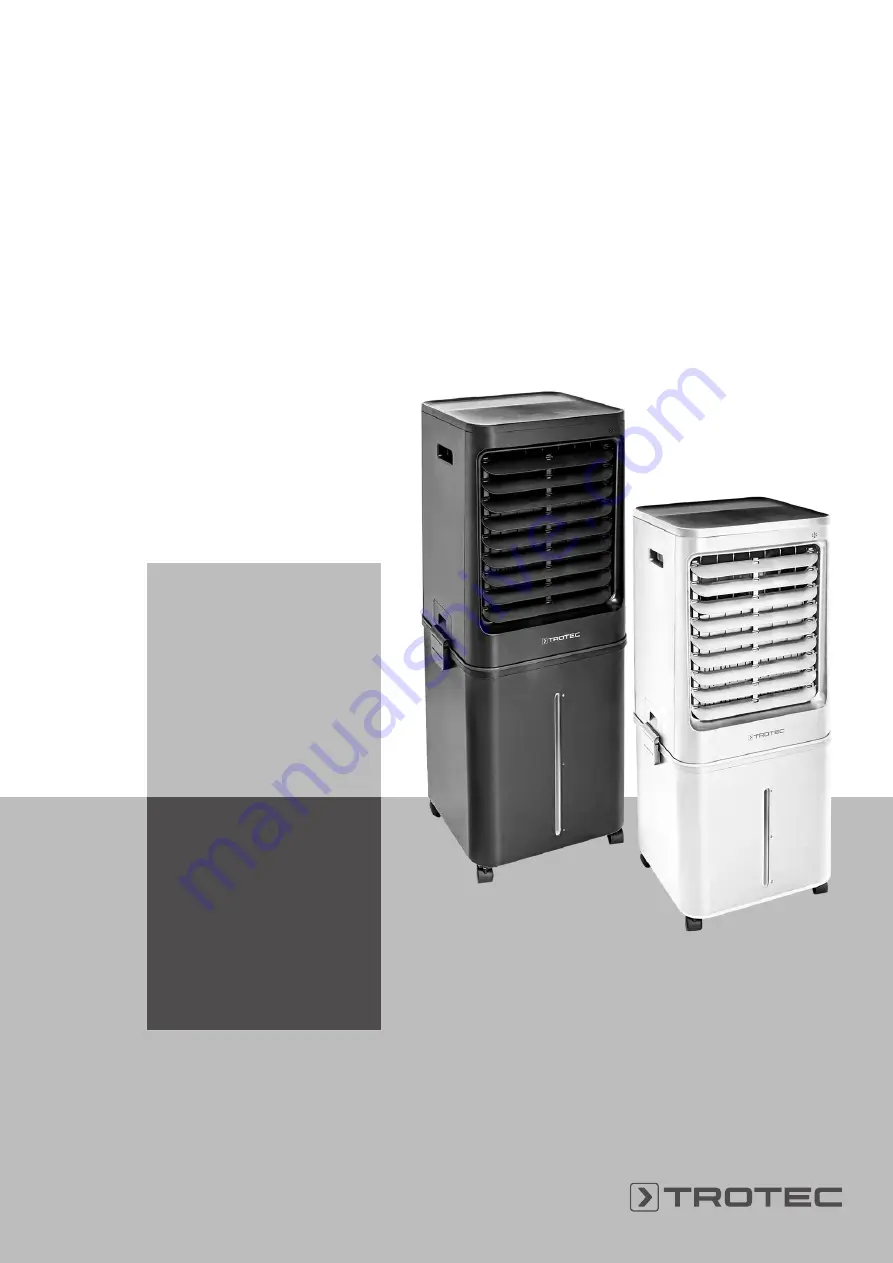
Page 6: ...ation flaps with swing function 4 Water funnel 5 Water tank with filling level indicator 6 Wheels 7 Remote control holder 8 Air inlet with air filter and evaporation filter 9 Hose connection for conti...
Page 7: ...ice observe the following Empty and clean the water tank prior to storage see chapter Maintenance Allow the evaporation filter to dry prior to storage Otherwise the device may distribute a musty smell...
Page 8: ...ng the device 1 Open the cardboard box and take the device out 2 Completely remove the packaging 3 Fully unwind the power cable Make sure that the power cable is not damaged and that you do not damage...
Page 9: ...m the top section 19 of the device as shown 19 20 5 PAE 80 PAE 81 Open the catch 21 on the inside of the pump holder 20 in the direction of the arrow and pull the telescopic rod out of the pump holder...
Page 10: ...n of the power cable If there are doubts as to the sound condition contact the customer service Only put up the device in an upright stable position on firm ground Do not create tripping hazards when...
Page 11: ...ce with water make sure that the float is attached If the float has not been attached yet proceed as described in the section Assembly in the Assembly and start up chapter Warning If the float is defe...
Page 12: ...et 8 and put ice packs into the open compartment if required A B 8 4 Version A Put the top section 19 of the device back on the water tank 5 and connect the top section and water tank using the fasten...
Page 13: ...t water connection hose make sure that the float is attached If the float has not been attached yet proceed as described in the section Assembly in the Assembly and start up chapter Warning If the flo...
Page 14: ...ice starts automatically The device starts in ventilation mode The fan speed LED 26 of fan stage 1 is illuminated Setting the operating mode The device comes with the following operating modes Air coo...
Page 15: ...ours The device switches off automatically after the set number of hours has elapsed Notes regarding automatic switch on and switch off Manually switching the device on disables the automatic switch o...
Page 16: ...ct the permanent water connection hose from the hose connection 9 of the device and from the water supply Close the hose connection 9 on the device Empty and clean the water tank see chapter Maintenan...
Page 17: ...device is loud or vibrates Check whether the device is set up in a stable and upright position The device does not respond to the infrared remote control Check whether the distance between remote con...
Page 18: ...crews X X Test run X Maintenance and care log Device type Device number Maintenance and care interval 1 2 3 4 5 6 7 8 9 10 11 12 13 14 15 16 Cleaning the water tank Check air inlets and outlets for di...
Page 19: ...the device cleaned by a specialist electrical company or by Trotec 5 Put the air filter back in Cleaning the housing Clean the housing with a soft damp and lint free cloth Make sure that no moisture e...
Page 20: ...k and the top section 19 of the device 19 Cleaning the air filter The air filter has to be cleaned as soon as it is dirty This is brought to light e g by a reduced capacity see chapter Errors and faul...
Page 21: ...5 2 Remove the top section 19 from the device 3 Detach the pump holder 20 from the top section 19 of the device as shown 19 20 4 Remove the water filter 11 from the pump holder 20 11 20 5 Clean the w...
Page 22: ...to air cooling mode the device must not be operated without the evaporation filter otherwise cooling will not work Note Do not operate the device without an inserted air filter Without the air filter...
Page 23: ...onal regulations 4 Insert the evaporation filter 14 into the device 14 5 Reinsert the air filter 8 into the device 8 Activities required after maintenance If you want to continue using the device Reco...
Page 24: ...0 240 V 50 60 Hz Nominal current consumption 0 4 A 0 4 A 0 5 A 0 5 A Power consumption 100 W 100 W 125 W 125 W Sound pressure level 1 m distance 56 dB A 56 dB A 59 dB A 59 dB A Water tank capacity 40...
Page 25: ...contact an official recycling centre for electronic and electrical equipment authorised for your country The separate collection of waste electrical and electronic equipment aims to enable the re use...
Page 26: ...Trotec GmbH Grebbener Str 7 D 52525 Heinsberg 49 2452 962 400 49 2452 962 200 info trotec com www trotec com...